My card today involves a lot of die cutting, embossing and ink blending. The card ended up being slightly smaller than an A7 card.

My post has a lot of photos as there were a lot of steps I did to create the card. I combined two different collections from two different vendors.

- I pulled the stamp and dies that I was going to use on the front of my card and planned my layout. This helped me figure out what size of card I would need to make to accommodate my vision.
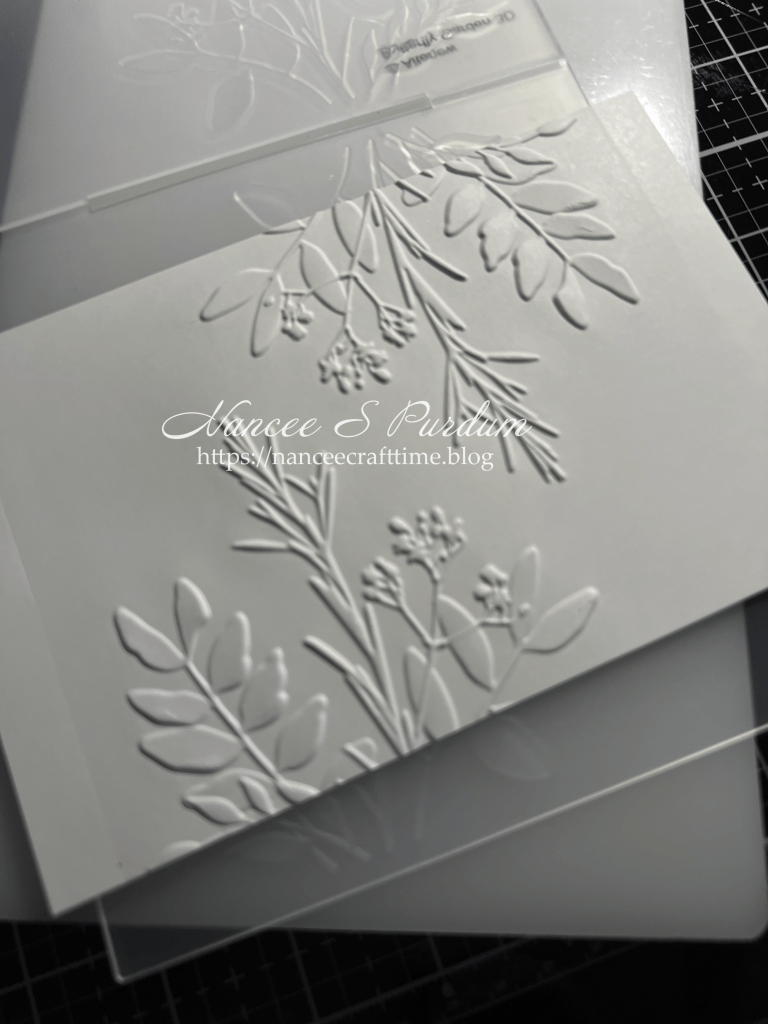
- I cut down a piece of white cardstock for my front panel.
- I misted the back of the cardstock before adding it to my embossing folder and running it through my die cutting machine.

- Once I had my panel embossed, I started on the images I was going to add to the front of the card.
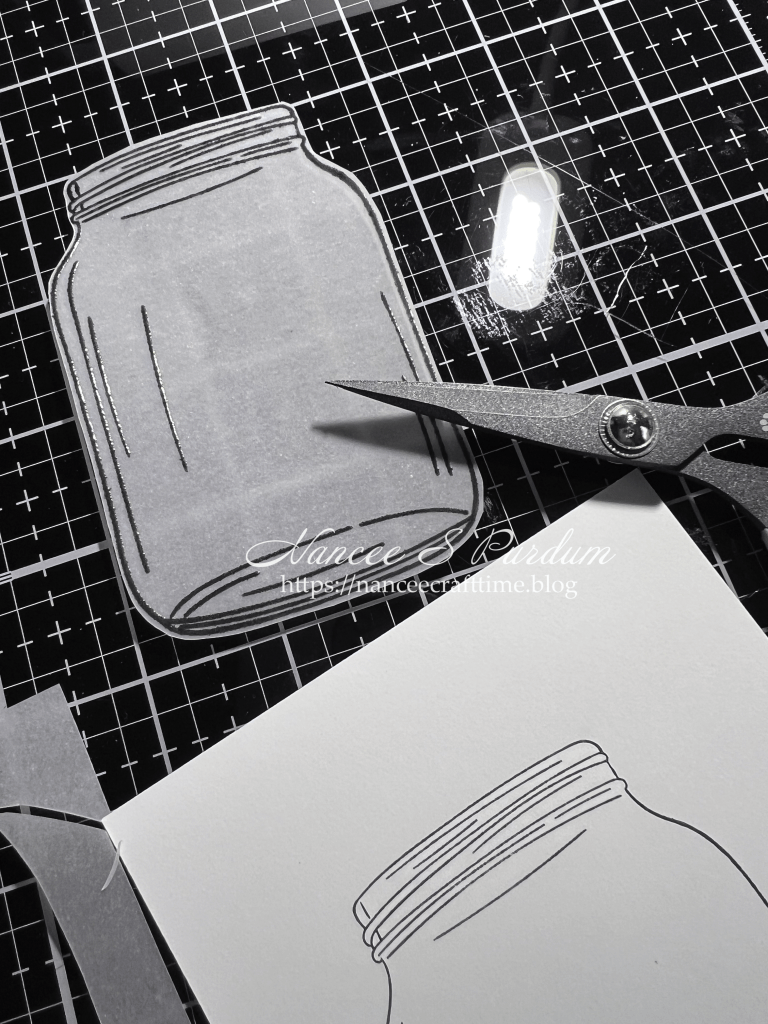
- I stamped the jar on some white cardstock and fussy cut it out.
- I added some color to the jar lid using my Copic markers.
- I had decided that I wanted the jar to be dimensional with flowers coming out of the top and the stems reaching into the jar. To be able to do that, I needed to add a piece of vellum over the top.
- I stamped the image on some vellum and added some embossing powder so I could heat emboss the outline.
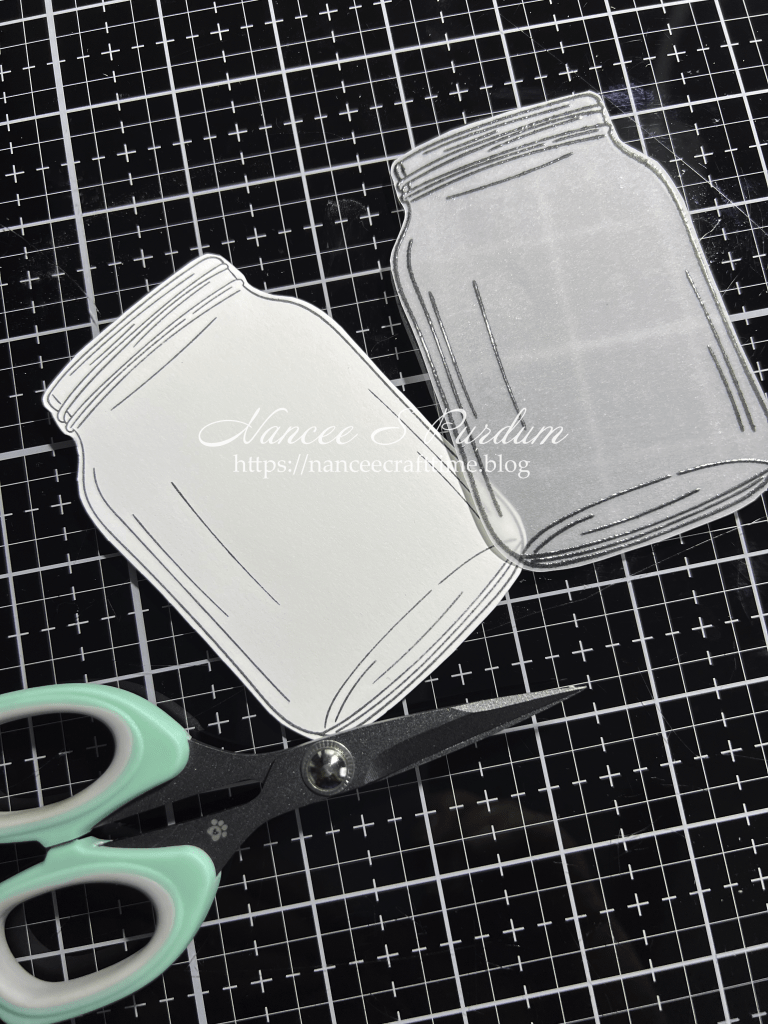
- I then fussy cut the vellum image.
- I set both pieces aside until I was ready for assembly.


- My next step was to die cut the flowers.
- I had imagined some purple Black Eyed Susans coming out of the jar. The Floral Stems by Simon Hurley (made and sold by Spellbinders) has several different flowers, one of which works.
- I die cut each of the pieces of the flower from white cardstock five times as well as stems and leaves for each of the flowers.

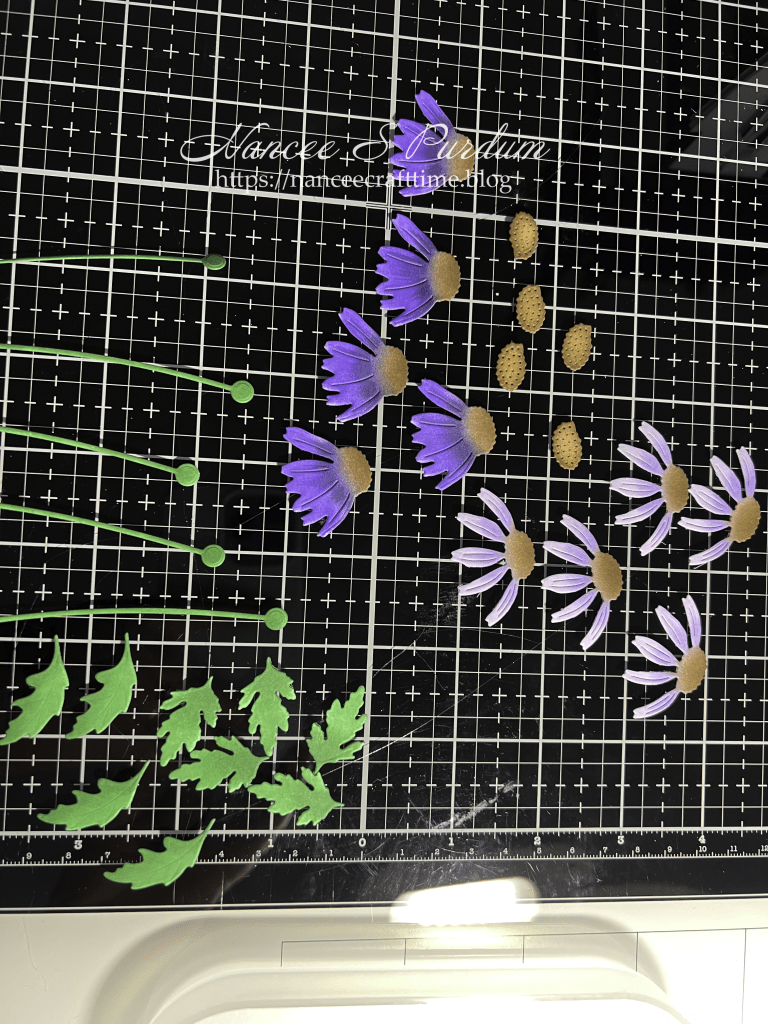
- Once I had all of the pieces cut, I needed to add the color.
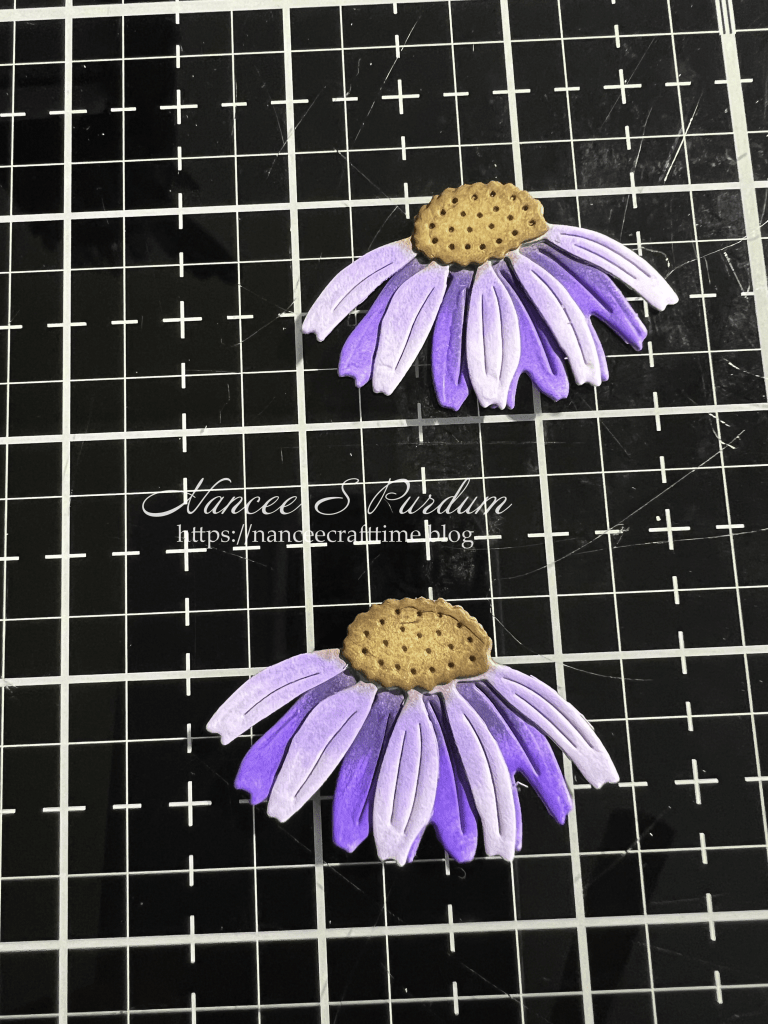
- I started with the bottom layers of the flowers and added my darkest color towards the middle of the flower. I then added the next lightest color and blended towards the middle where the darker color was.
- I repeated this process on the top layer of the flower, starting in the center and working my way out towards the tips with my lightest color.
- I didn’t want the center of the flower to be too dark so I opted for some lighter brown colors. I added the lightest brown in the middle and the darker color around the outside.
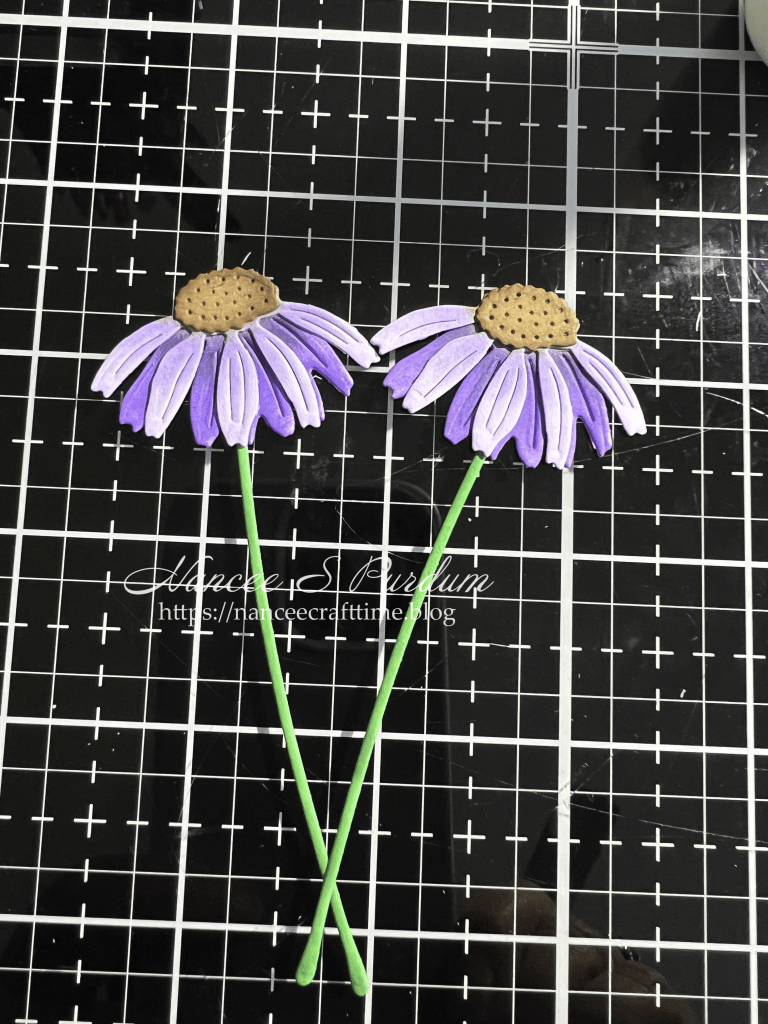
- For the leaves and stems, I blended two shades of green.
- Once I had my flowers colored, I needed to assemble them.
- I first added the top layer of the flowers to the bottom layer making sure that some of the bottom petals were exposed.
- I then added the center of the flowers.
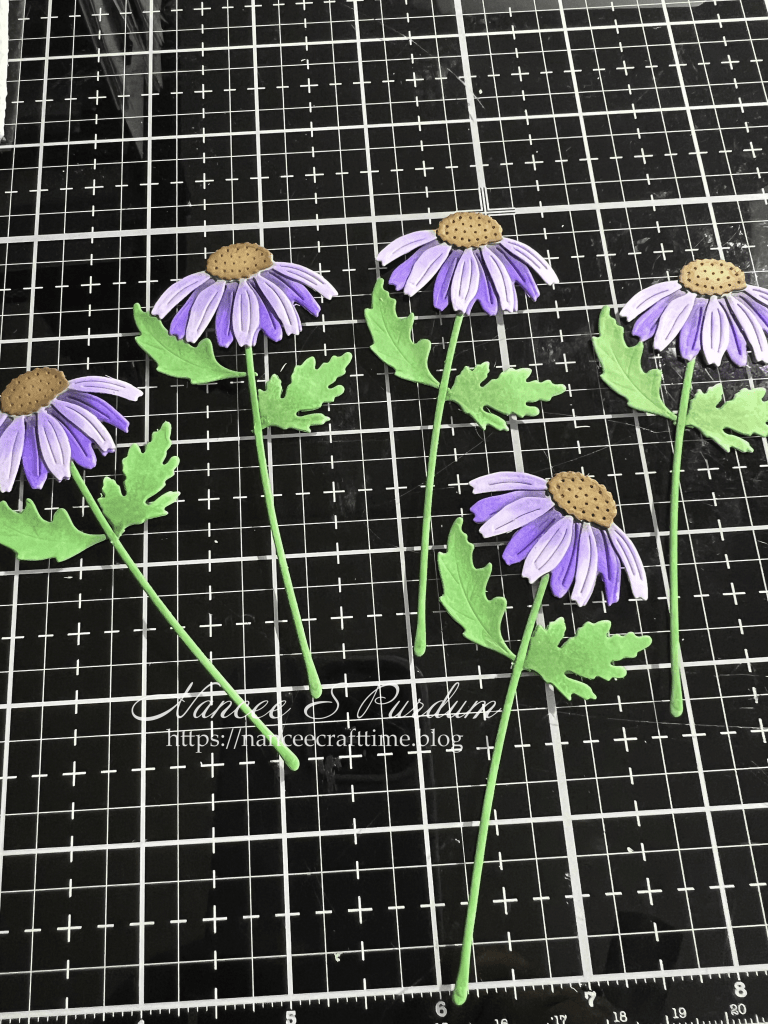
- Once I had the flowers assembled, I added the stems and leaves.
- When the flowers were assembled, I set them aside.


- I wanted some butterflies on my card.
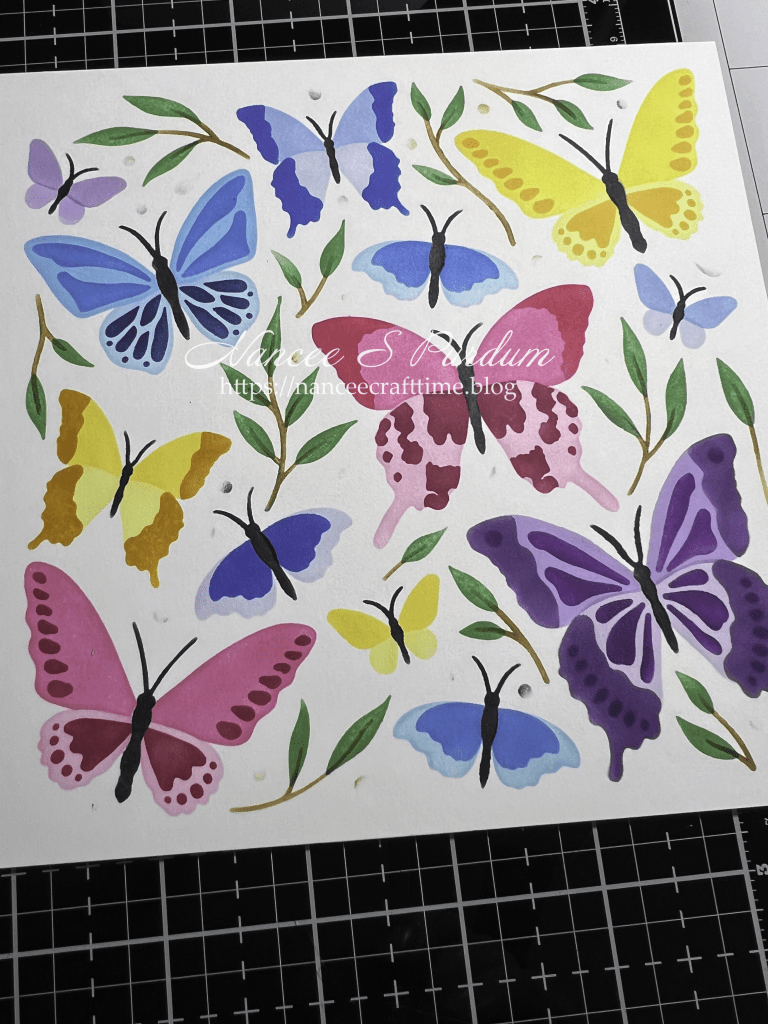
- The stencil creates many different sizes and types of butterflies.
- This is a layering stencil which has several different layers allowing you to add different colors to different butterflies.
- I used several different color combinations as I was not sure which ones I would be using on my card.
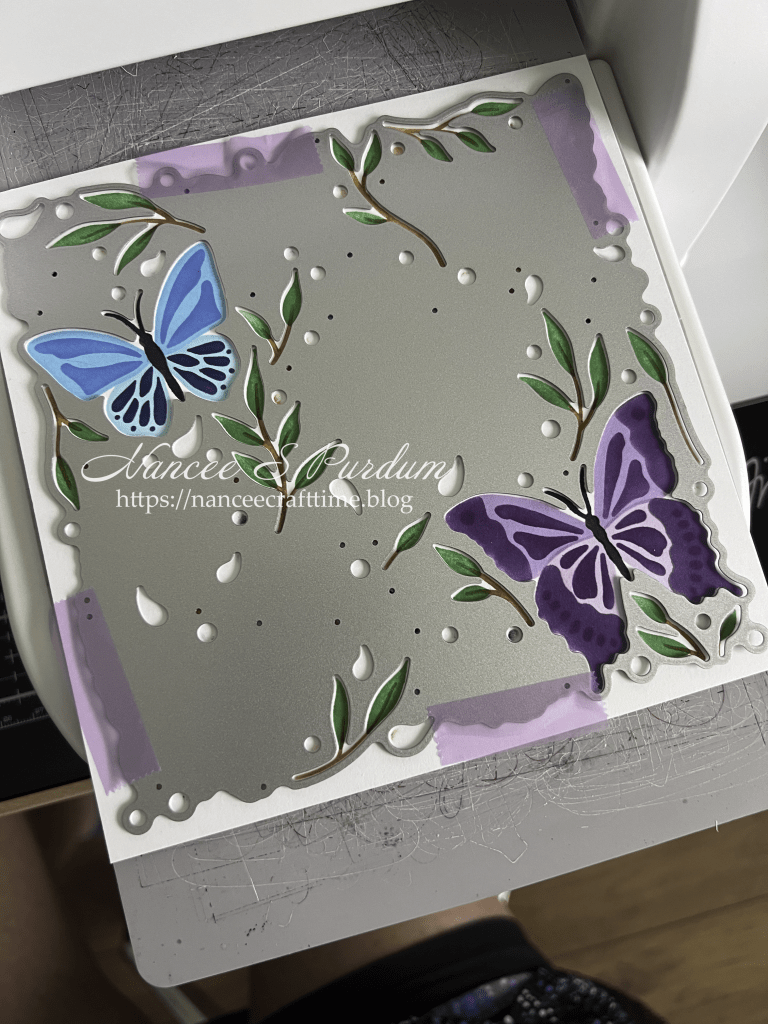
- The die that coordinates with the stencil is a “no waste” die.
- I lined up the die with the exposed butterflies and ran it through my die cutting machine.
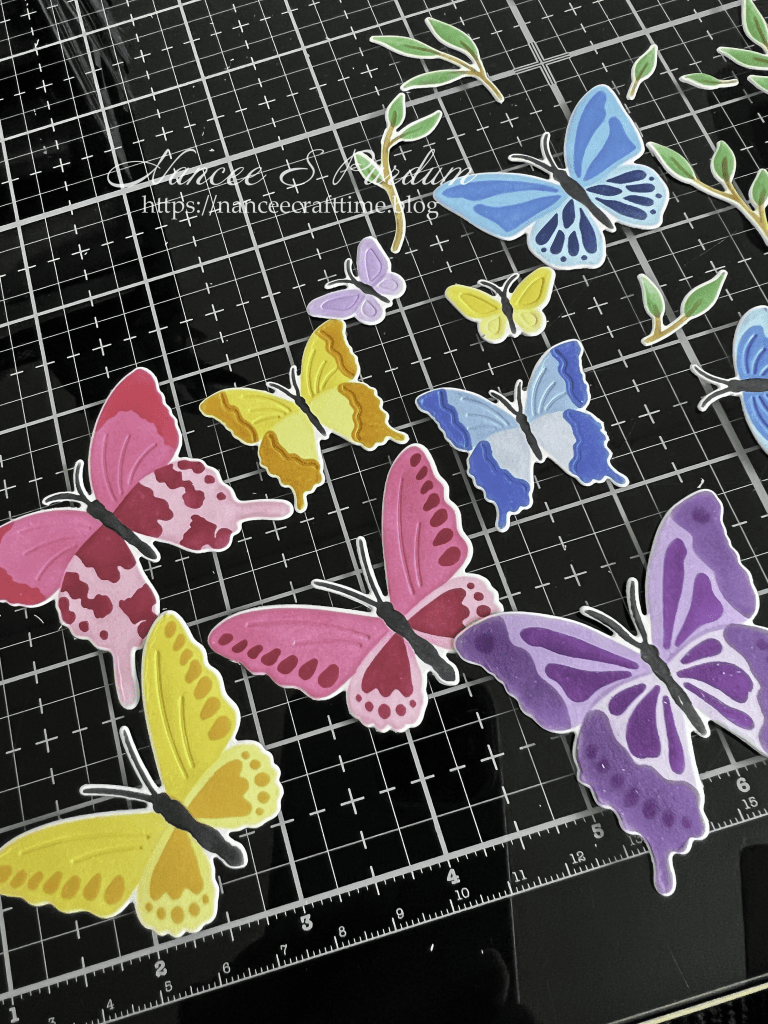
- I had numerous butterflies, leaves, stems with leaves and small dots from this one die.
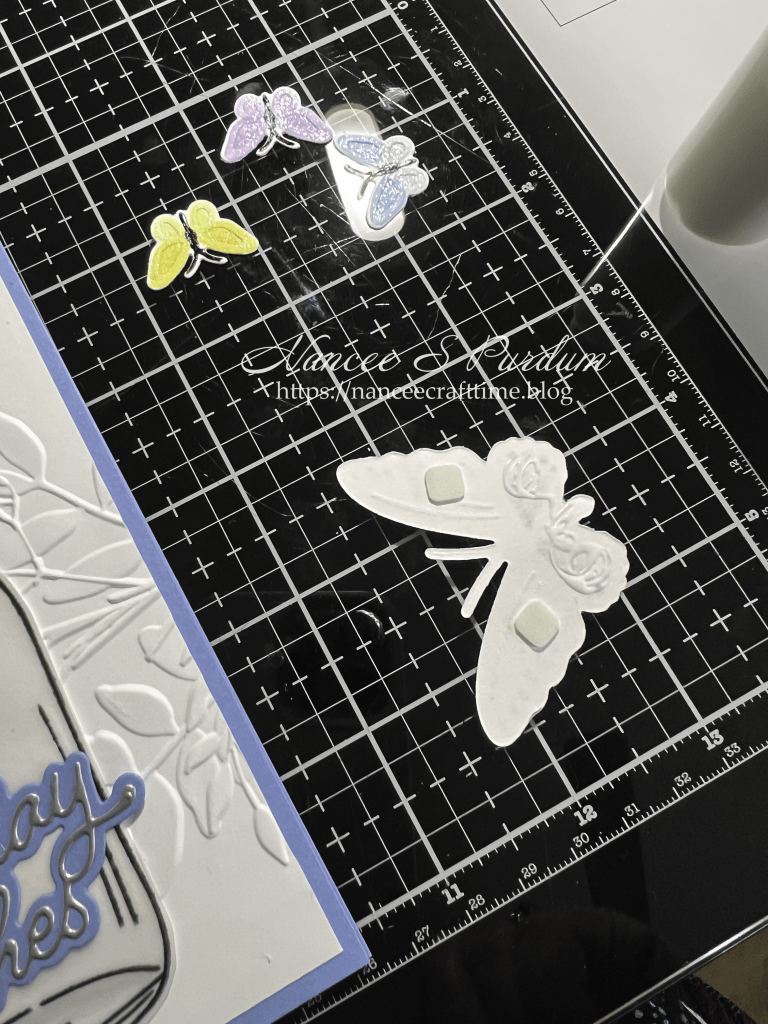
- I decided which butterflies I was going to use and added small foam dots to the back on the wings.
- I set these aside until I was ready to assemble my card.
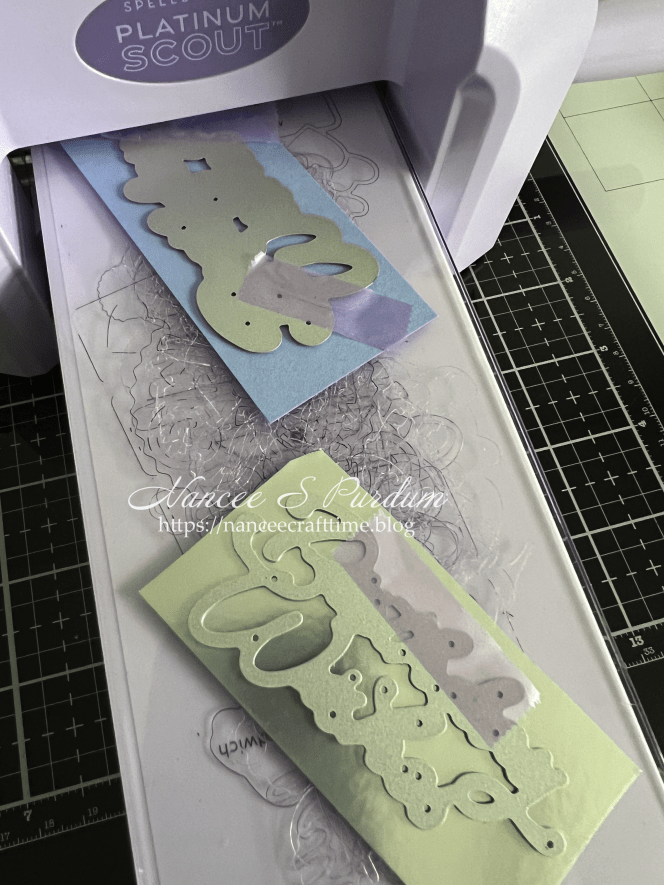
- I next selected my greeting for the front of my card.
- I die cut the shadow from the same powder blue cardstock as the card base I had selected.
- The words are cut from some silver cardstock. (It looks yellow in the photo above but it is silver.)
- I added the words to the shadow with some glue and set it aside.

- For the inside of my card, I stamped and heat embossed my sentiments.
- I selected two different sentiments from two different vendors.
- Once I had my sentiments done, I added some powder blue ink around the edges before adhering it to the inside of my card.

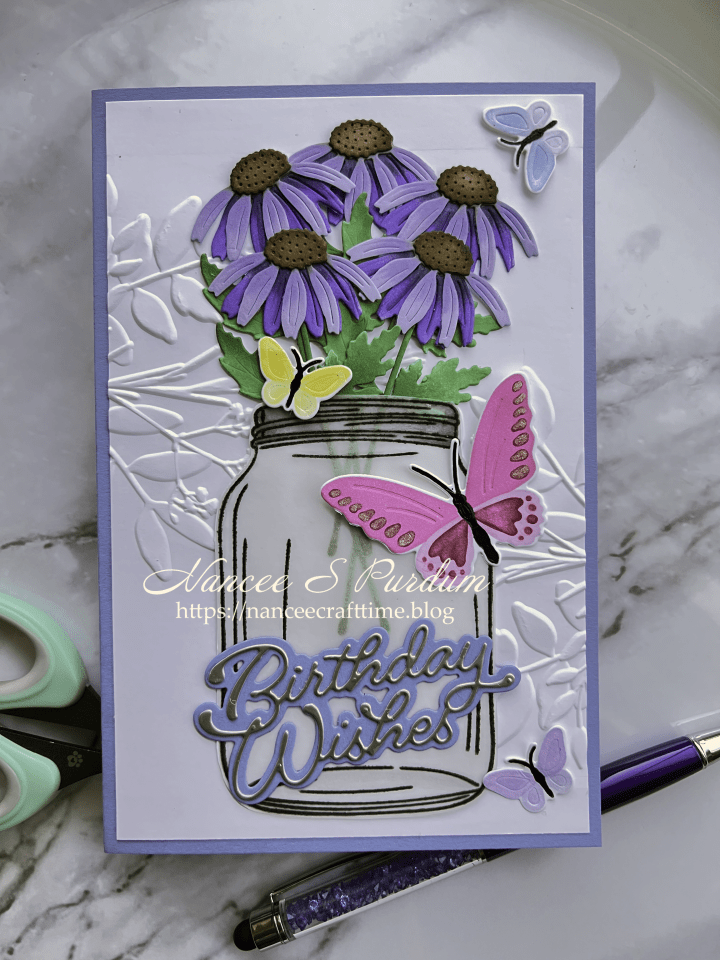
The card did turn out pretty much as I had imagined it. I really liked the flowers looking like they were actually in a jar.
Thanks for stopping by and Happy Crafting!

Supplies Used:
Altenew: Butterfly Garden (stamp, stencil, die)
Simon Hurley-Spellbinders: Floral Stems die
Poppy Stamps: Birthday Wishes Moonlight Script die
Riley and Company Funny Bones: Inside sentiment
Gina K: Detail clear embossing powder
Taylored Expressions: On Occasion
Cardstock:
Gina K: Powder Blue
Inks Used:
Gina K: Dark Chocolate, Warm Cocoa
Altenew Fresh Dye Inks: Just Green, Hunter Green, Soft Lilac, Wisteria, Andromeda, Ultraviolet, Hydrangea, Pinkalicious, Pink Diamond, Lavender Fields, Deep Iris, Midnight Violet, Honey Drizzle, Fresh Lemon, Rubellite, Razzleberry, Citrus Burst, Turquoise, Sea Breeze, Arctic, Caribbean Sky, Tide Blue, Persian Blue, Starlight, Sicilian Amber, Jet Black
VersaFine: Majestic Blue (can be found on Amazon)


Awesome card Nancee! A display piece! I love the look of the flowers inside the jar too! I have to remember this!
LikeLiked by 1 person
Thanks Pam!
LikeLike
[…] I’m back today with another birthday card using die cutting, ink blending and embossing. I made a card very similar to this one where I showed all of the steps to create the card. You can view that card here. […]
LikeLike