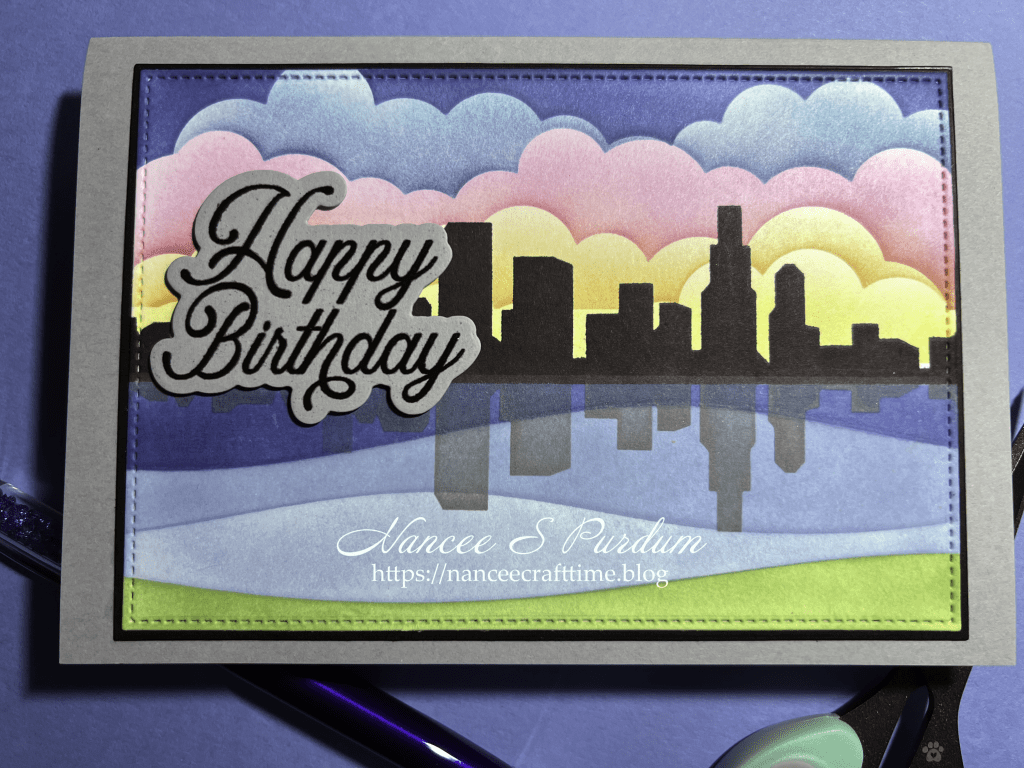
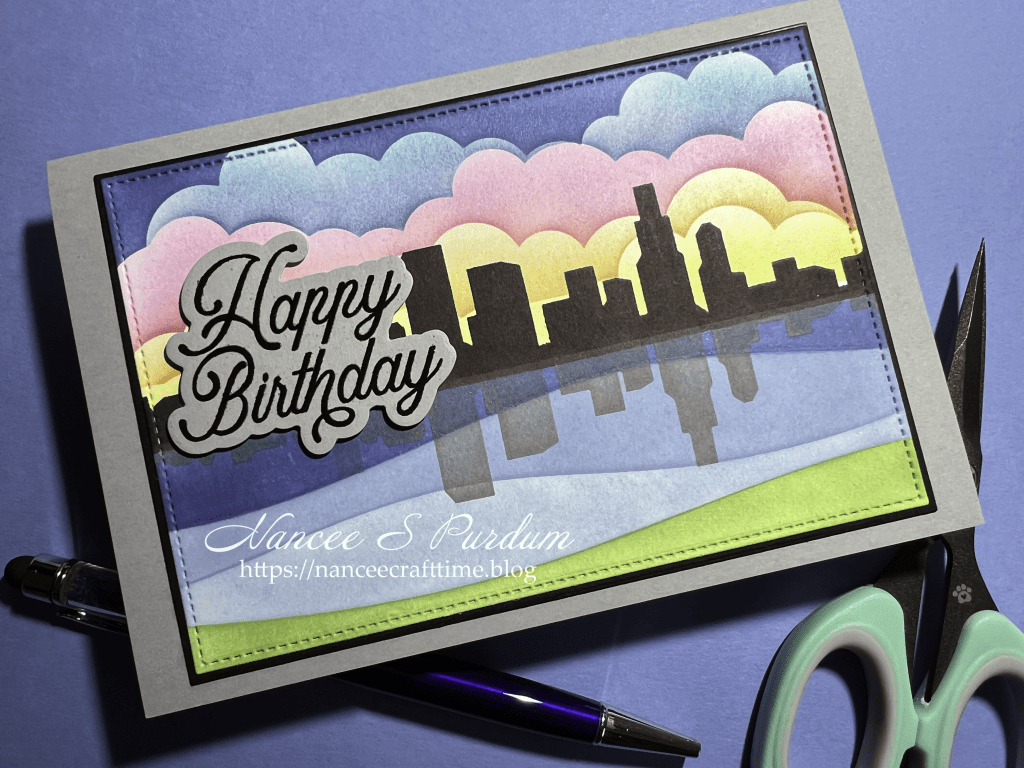
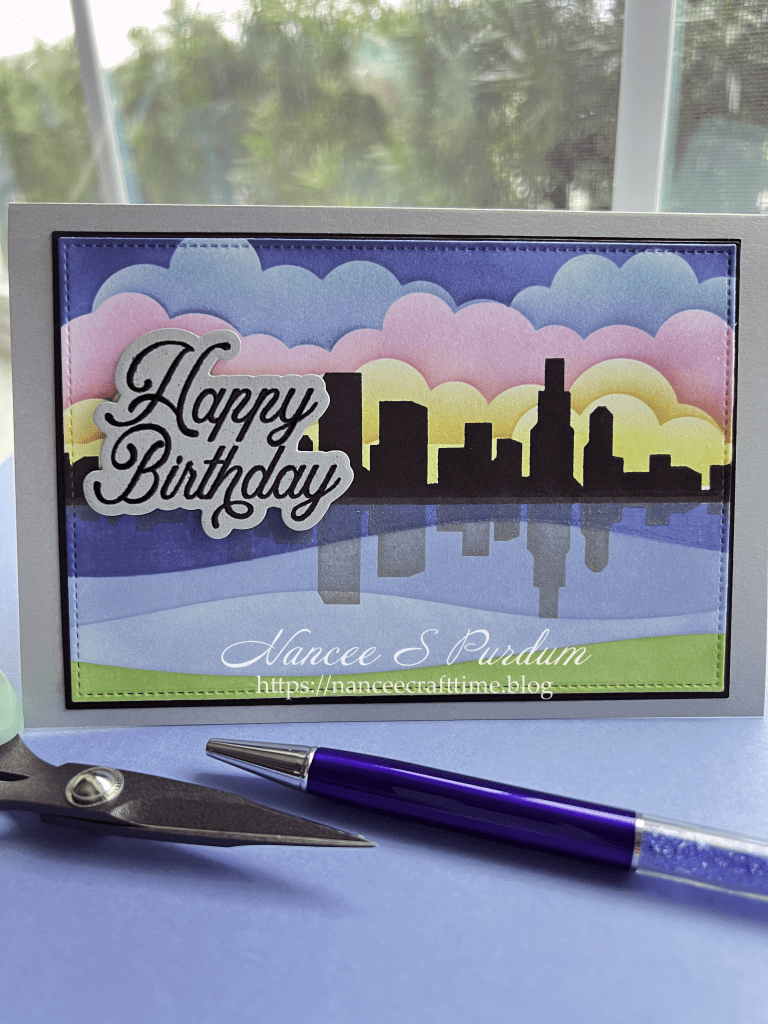
Today’s card could be made for any occasion. I needed a more “masculine” card, one that didn’t feature any flowers. My card today is an A6 card. I made the card using a couple of different stencils and die cuts.
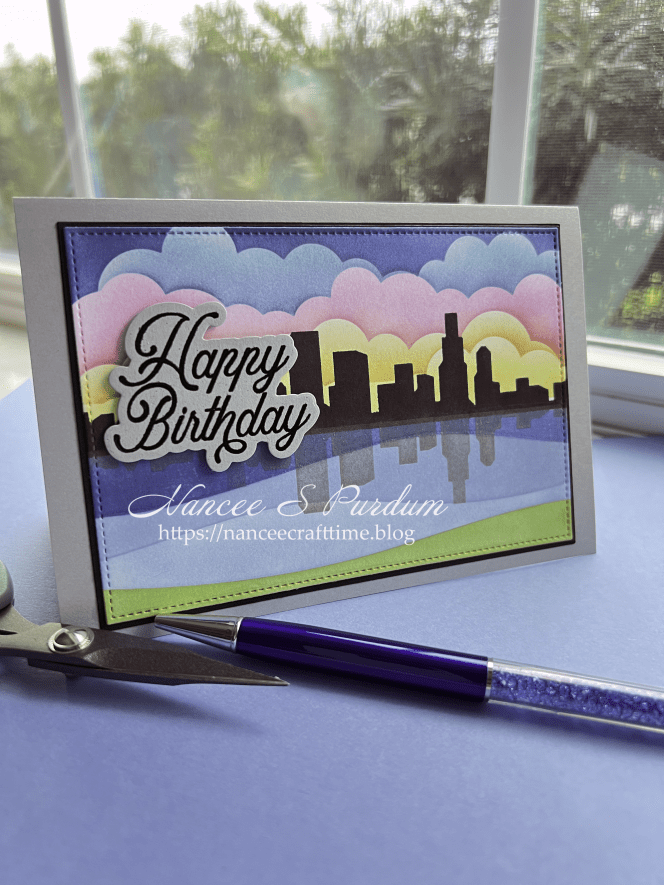
My card today features Simon Says Stamp stencils and Gina K Designs inks.
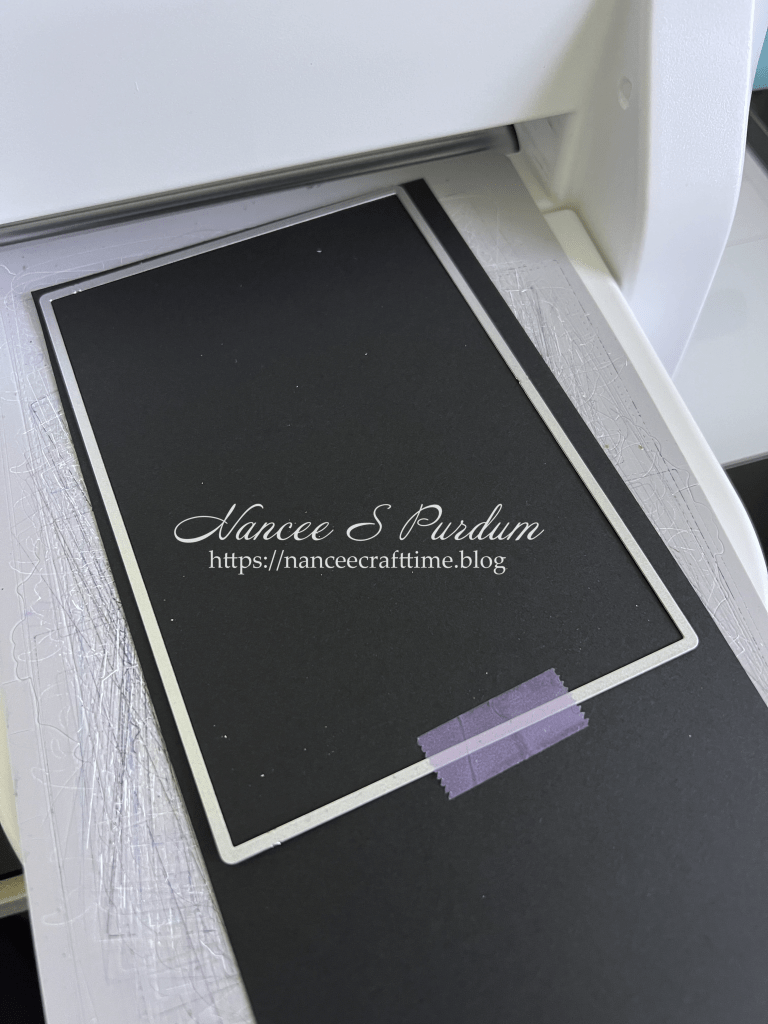
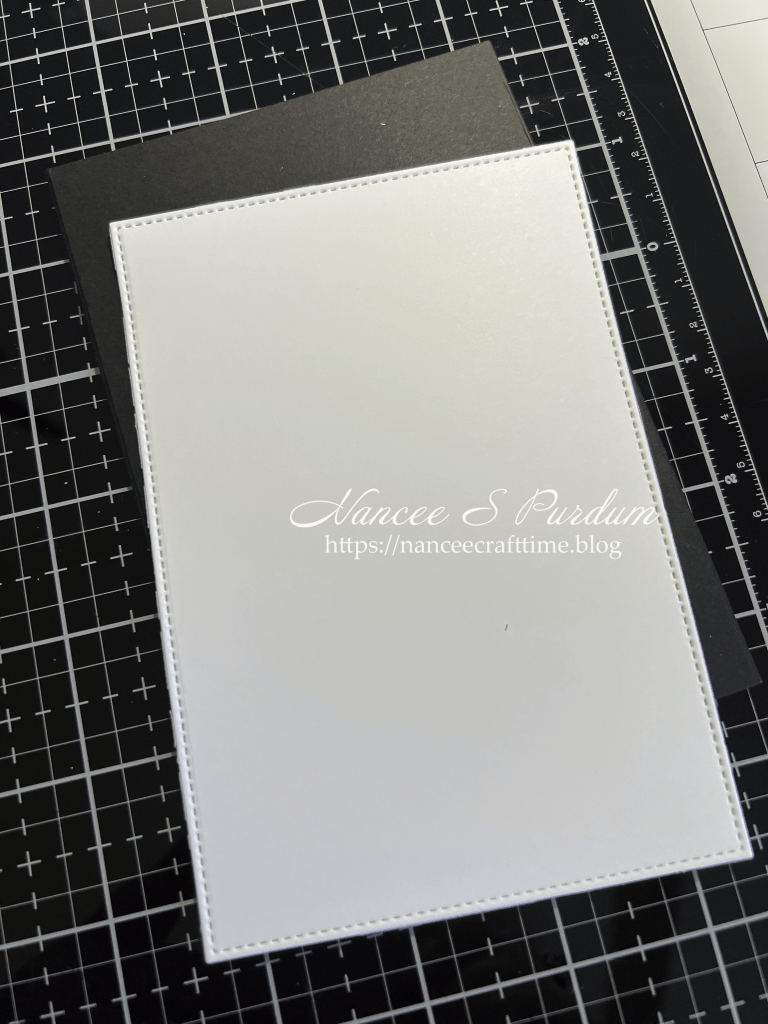
- My first step was to use Gina K’s Master Layouts to cut my card panel and a mat for the panel from some black cardstock.
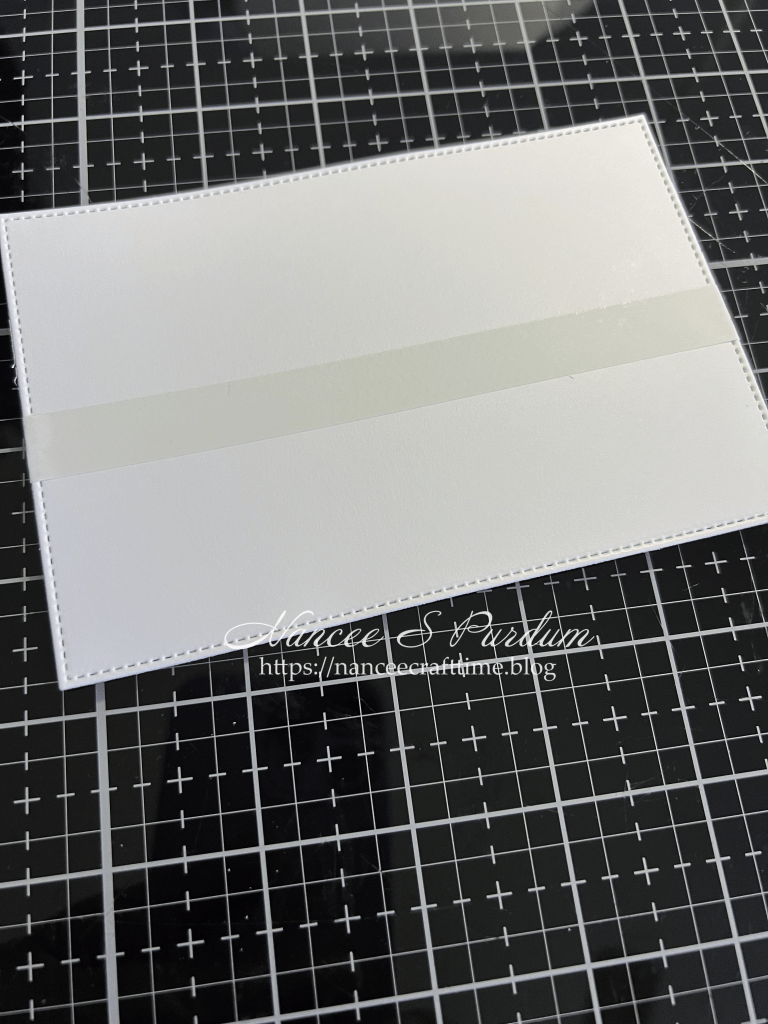
- To prepare my white panel for stenciling, I masked off a portion of the panel with a strip of Masking Magic.
- This allowed me section off my panel between the skyline and the water and grass portion of my card.
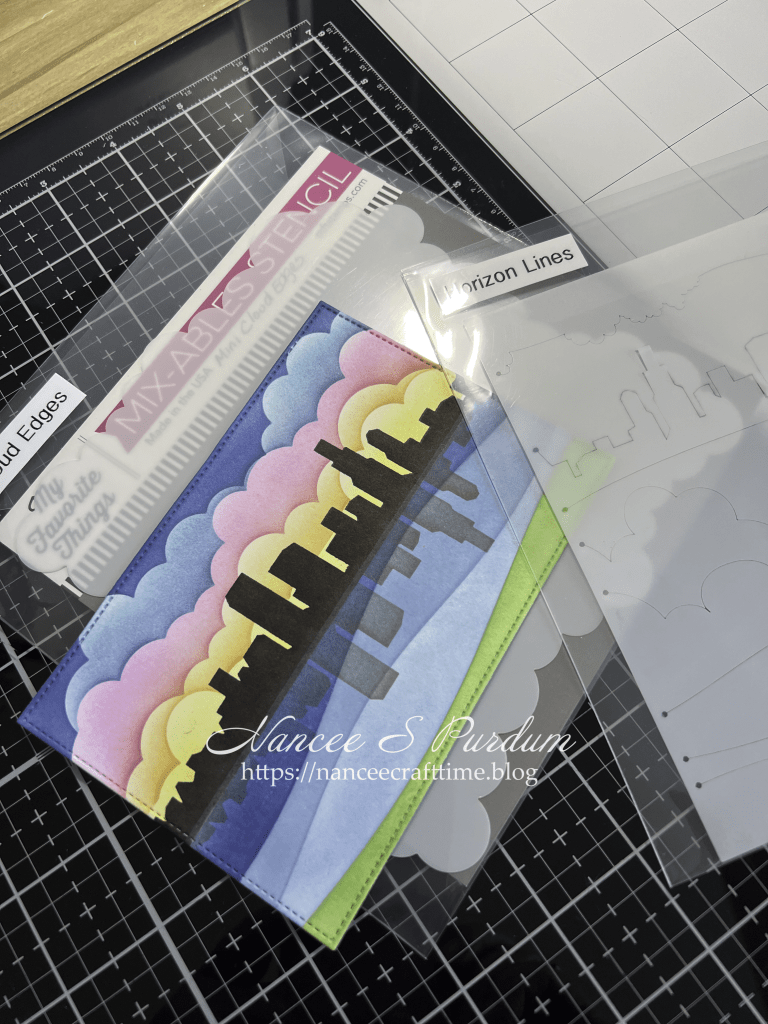
- The stencil has many different “stencils” for the many different horizons to create.
- I started at the bottom and created a “grassy” section. I positioned the stencil at the bottom so that only a small portion of my panel was exposed for coloring.
- I then repositioned the stencil so that it covered the grassy section and the area above the first section of the water.
- I repeated this until I had three different sections for water making sure that my stencil covered the area I had previously colored and only showing the next area that I was going to color.
- Once I had the bottom portion of my image colored, I repositioned the Masking Magic so that it covered the top portion of the water I had previously colored and exposed the entire top portion of the card.
- I changed stencils to the Clouds for Days stencil as I liked the cloud formations on that stencil. It has different sides that you can use so I could alter where the clouds appeared.
- I started at the bottom with a yellow ink and then rotated the stencil and added my next color.
- I continued this process until I had the top portion of the panel completed.
- Once I had completed the sky, I changed stencils again and lined up the “skyline” of buildings along the top of the water making sure that I had the stencil covering the sky and water.
- I added two layers of black ink to make sure that I had a really dark skyline.
- I wanted to show a shadow on the water, so I flipped the stencil over and lined it up as a reflection on the water. I added a dark grey ink over the “water”.
- This completed my stenciling.

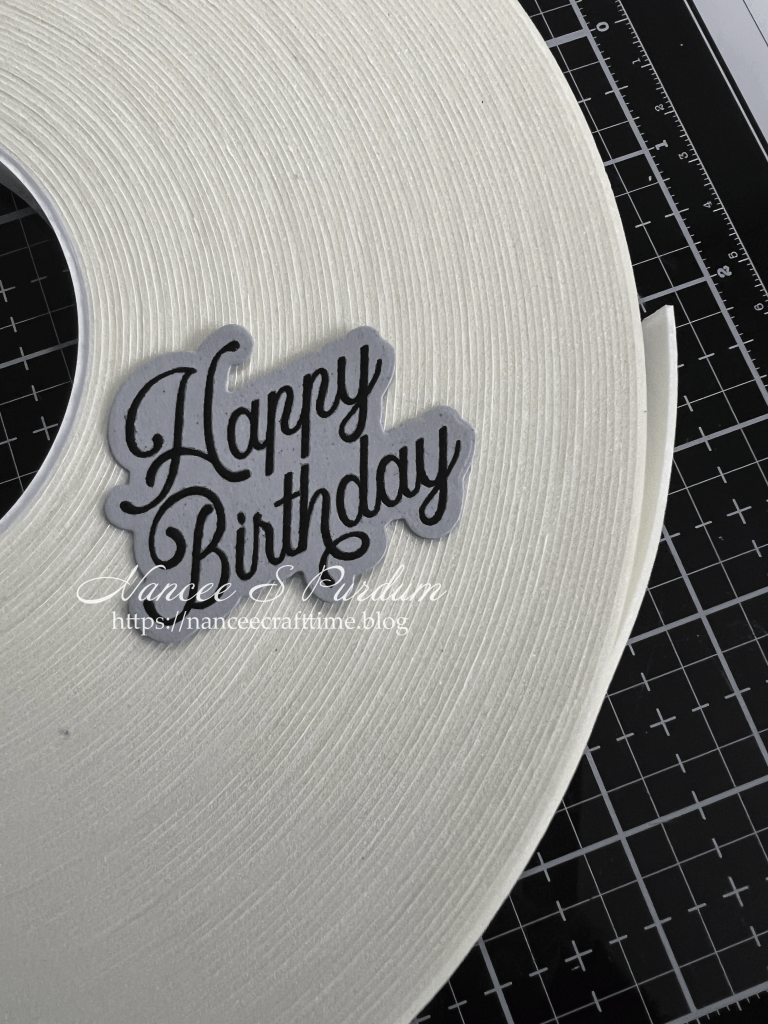

- For my greeting, I used a stamp and die set from Waffle Flower.
- I first stamped my greeting in Versa Clair Nocturne ink.
- Since this is a pigment ink, it stays wet long enough to add embossing powder over the greeting.
- I heat set the greeting. This gave the greeting some shine and a slight raise to the touch.
- I used the coordinating die to cut the greeting out.
- I added some foam tape to the back of the greeting before adding it to my panel.
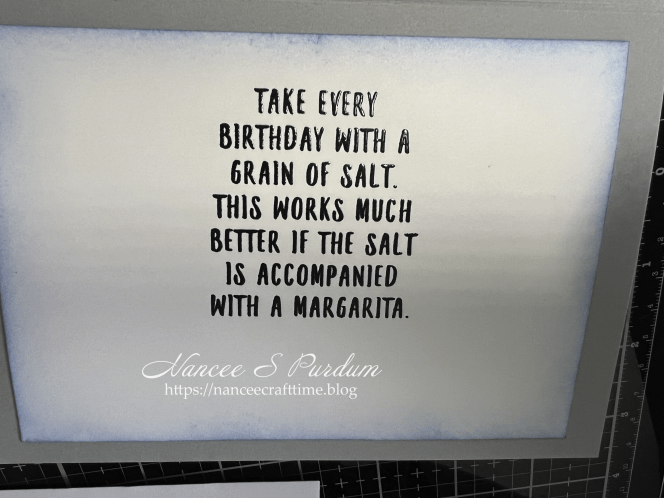
- I have several greetings from Riley & Company’s “Funny Bones” collection. I used one on the inside of my card.
- I stamped the greeting using the same Versa Clair Nocturne ink.
- I also added clear embossing powder and heat set the greeting.
- To make the panel stand out on the inside of the card, I used one of the blue inks to add a little bit of color around the outside of the panel before adhering it to the inside of the card.
This completed my card. Since there is not a lot of layers, this card is easily mailed as a standard letter without having to add any additional postage.
Thanks for stopping by and Happy Crafting!

Supplies Used:
Simon Says Stamp: Horizon Lines stencil, Clouds for Days stencil
Gina K: Master Layouts 17, Masking Magic Strips, Detail Clear embossing powder
Waffle Flower: Best Wishes (stamp and die)
Riley & Company Funny Bones: sentiment on inside of card
Cardstock Used:
Gina K: Black Onyx
Concord & 9th: Dove
Inks Used:
Gina K: Wild Dandelion, Sweet Mango, Tranquil Teal, Jelly Bean Green, Powder Blue, Blue Denim, Passionate Pink, Stormy Sky, Black Onyx, Lucky Clover


Leave a Reply