I made this card for a challenge from Kristina Werner’s mail call back in September. The challenge was to use an embossing folder. This is one of the card blog posts that got pushed aside while I was busy making my Christmas cards.
I started this card several times. I tried using Copic markers but didn’t like the result. I then tried colored pencils. I wasn’t satisfied with those results either. I thought about ink blending but felt I wouldn’t have enough control in the coloring.
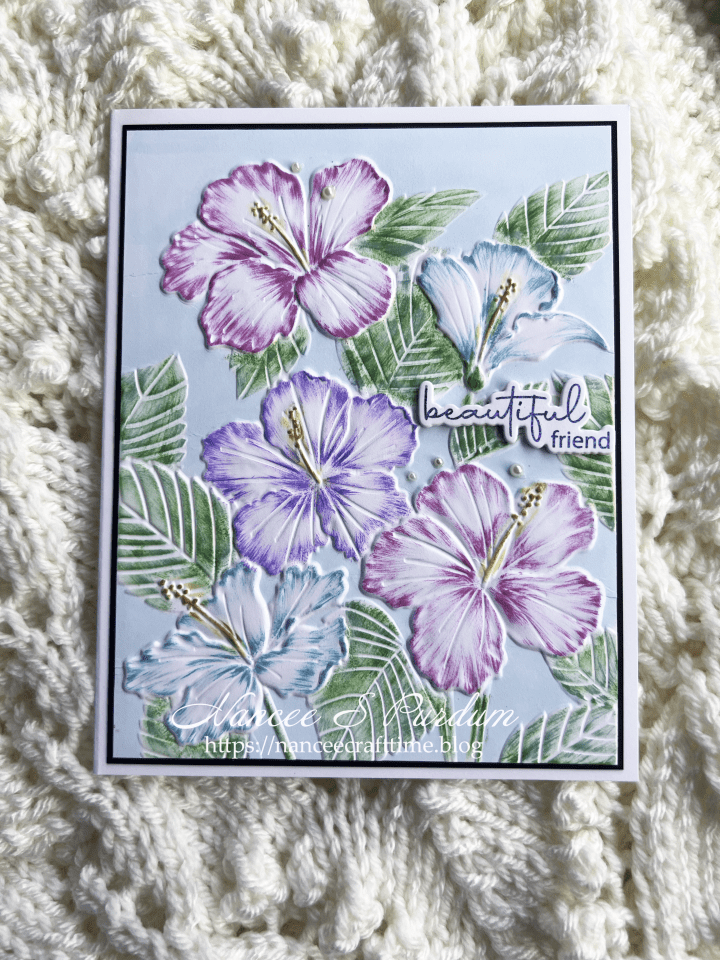
After thinking about it for a while, I tried using a Q-tip and was surprised with the results. I added ink from my ink pad and lightly stroked over the raised portions of the image which gave me some pretty results. I added several layers of color for each petal starting from the outer edges and then from the inner edge. I was very happy with the result.
Once I had the image colored, I went around the raised portion of the panel with a Copic marker to add some light color to the background.
For my sentiment, I used one of the sentiments from Gina K’s Delicate Flowers poly-glaze sheets. I foiled it using some Brilliant Blue foil.
To finish off my panel, I added a black mat and some small pearls from my stash.
Thanks for stopping by and Happy Crafting!

Supplies Used:
Simon Says Stamp: Hibiscus Cluster embossing folder
Gina K: Delicate Flowers Poly-Glaze sheet, Brilliant Blue Holographic foil
Inks Used:
Tim Holz Distress Inks: Evergreen Bough, Mowed Lawn, Peacock Feathers, Wilted Violet, Picked Raspberry, Squeezed Lemonade, Rusty Hinge
Copics Used:
BG000

