My card today is going back to a technique I have previously used. This is a great technique that doesn’t take a lot of time to create. Using detailed images can be the focal point of your card or used as a background for your card.
This technique involves heat embossing and emboss resist which is when the heat embossing image resists the ink applied. The ink will not stick to the heat embossing.

Here are the steps to create the background:
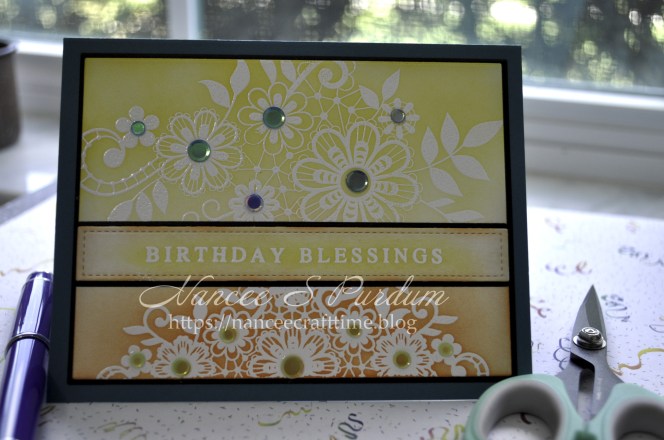
- The first step is to ink up your image with VersaMark Watermark ink. I used a piece of white cardstock cut from Master Layouts #1.
- Once you have inked up your image, you add embossing powder. I added white embossing powder as I wanted my image to really stand out, but you could also use clear or a colored embossing powder.
- You then heat set the embossing powder using a heat tool. I used a Wagner heat tool which has two heat settings. I did use the higher heat setting on this card.
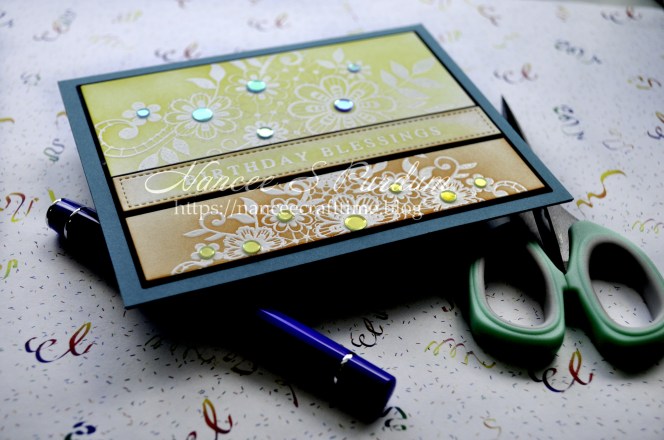
- After letting the panel cool, you add color using a blending brush or any other blending tool.
- I started using a darker color at the bottom of my panel and worked my way up my panel changing to a lighter color towards the upper half of my panel.
- Once you finish your ink blending, take a soft cloth and buff the heat embossing to remove any ink sitting on the top of your image. This will help brighten the image.
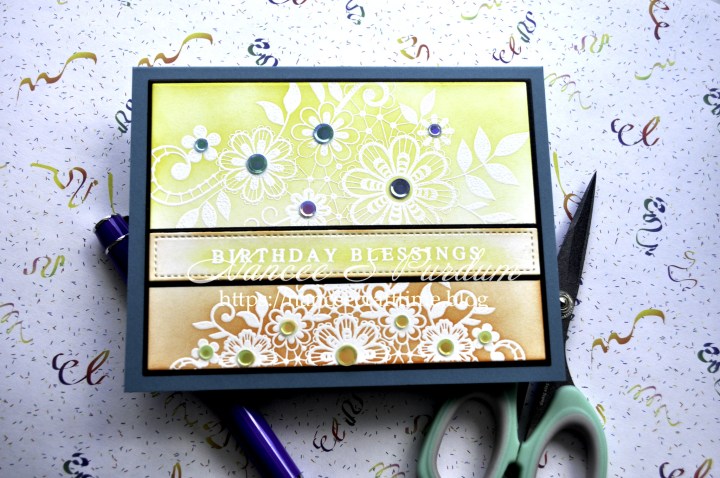
To add the finishing touches to my card I cut a piece of white cardstock and a black mat using Master Layouts #14.
I stamped my sentiment using VersaMark Watermark ink and added white embossing powder. I heat set my sentiment and then added color using my darker color towards the outside, upper and lower borders and lighter color towards the inside. I buffed the heat embossing to remove any excess ink and to brighten my sentiment.
I added my sentiment to a black mat and added it to my card. A few iridescent flat sequins finished my card.
I urge you to give this technique a try. It is a fun and easy technique which can become your focal point or create a nice background for your images. You can view my other cards using this technique here and here.
Thanks for stopping by and Happy Crafting!

Supplies used:
Gina K: Master Layouts #1, Master Layouts #14, Lovely Lace, Black Onyx cardstock, Tranquil Teal cardstock, Detail Clear embossing powder
Gina K inks: Wild Dandelion, Tangerine Twist
Simon Says Stamp: Suprise Party sequin mix
Other: VersaMark Watermark ink
Tools used:
Altenew: 9″ X 12″ Ultra Sticky Mat
Gina K: Intri-Cut die cutting & embossing machine

