When I color an image, it is usually a stamped image or a digital image. I have quite a few stencils and wondered about coloring an image with pencils rather than the normal ink blending.
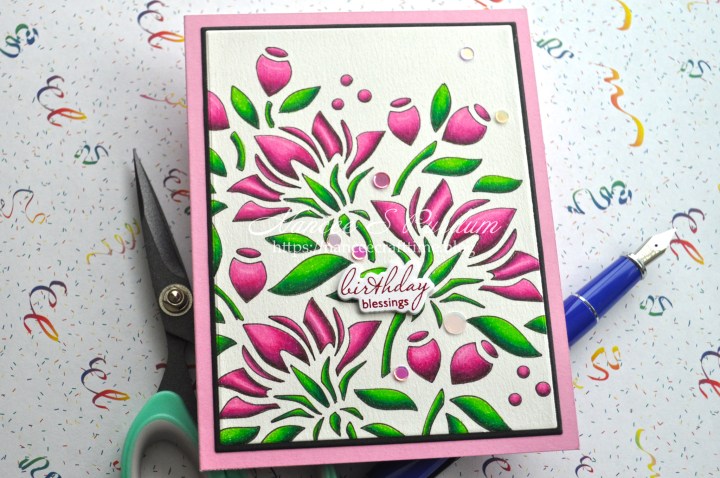
Gina K’s Summer Bouquet Layering Stencils worked perfect for this. I first placed each stencil over my Mi-Teintes colored pencil paper and used a Copic fine liner to trace around the inside of each of the openings of the stencil. Once I had this done, I repeated the process lining each of the remaining stencils up and tracing around the inside of the openings in the stencil.

I then went to work coloring the images with my Prismacolor pencils. I have listed the colors I used at the bottom of my post. I don’t use any solvent, just the pencils to color my images. This helps to keep the colors vibrant.
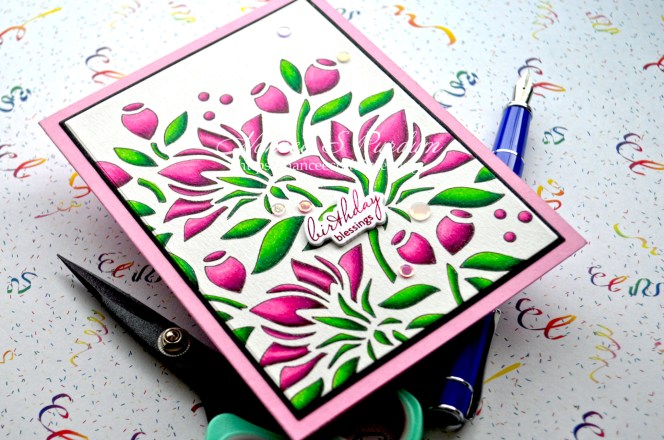
Once I had finished coloring the image, I used Master Layouts 01 to cut my panel down and to cut out the shadow layer. I added the panel to a Bubblegum Pink A2 card base. My sentiment is from the Vintage Summer Greetings Poly-Glaze sheet. I used my Fuse foiling system to add the Passionate Pink foil to the greeting. I used a matching die to cut the sentiment out. I cut three additional layers using white cardstock so I could add some dimension to the greeting. I added a few sequins from the Strawberry Shortcake sequins mix just to add a little embellishment to my card.

Thanks for stopping by and Happy Crafting!

Supplies used:
Gina K: Summer Bouquet Layering Stencils, Master Layouts 01, Vintage Summer Greetings, Passionate Pink Foil, Fuse Foiling System, Black Onyx Heavy Weight cardstock
Simon Says Stamp: Bubblegum Pink cardstock, Strawberry Shortcake sequin mix
Prismacolor pencils: PC908 Dark Green, PC909 Grass Green, PC913 Spring Green, PC1095 Black Raspberry, PC995 Mullberry, PC994 Process Red, PC993 Hot Pink


Love that pink! Great depth of colour in your shading.
LikeLiked by 1 person
Thank you!
LikeLike