
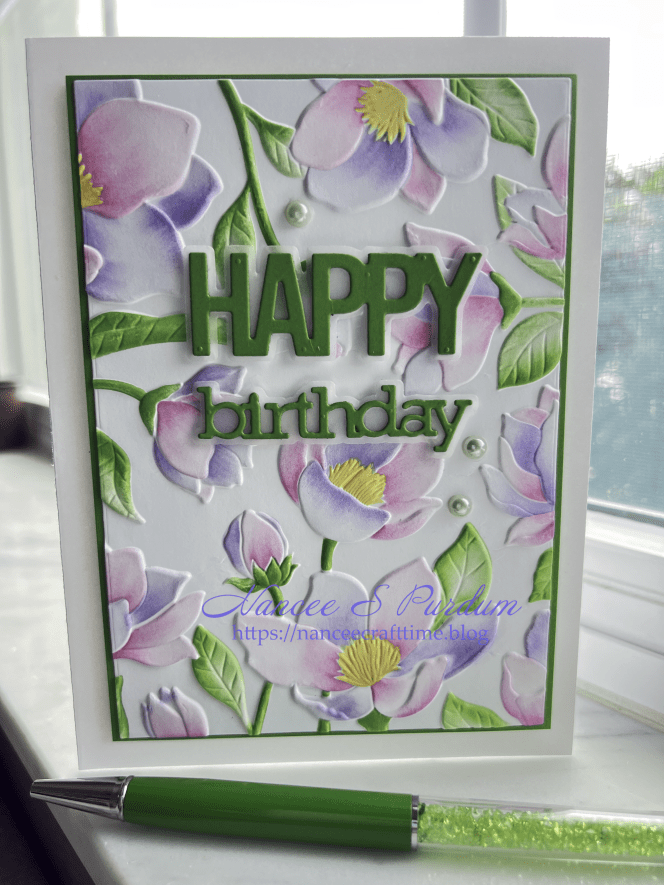
A little different card today. I used an embossing folder and a stencil over the embossing folder to color the images.
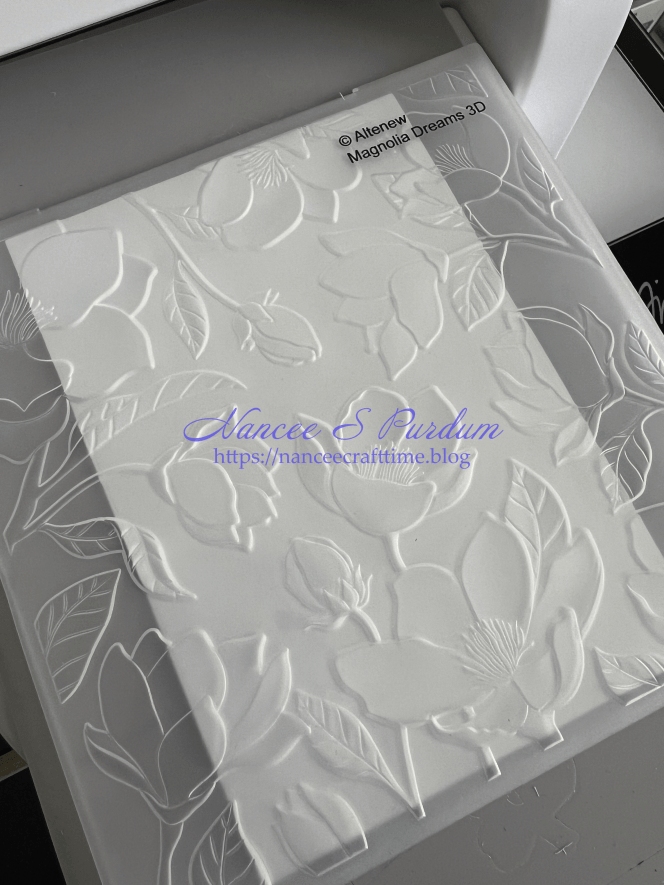
My first step was to place my white panel in the embossing folder and running it through my die cutting machine. Before I do that, I always spritz the back of my paper lightly with water. This helps to prevent some of the cracking of the paper when the impression is made.
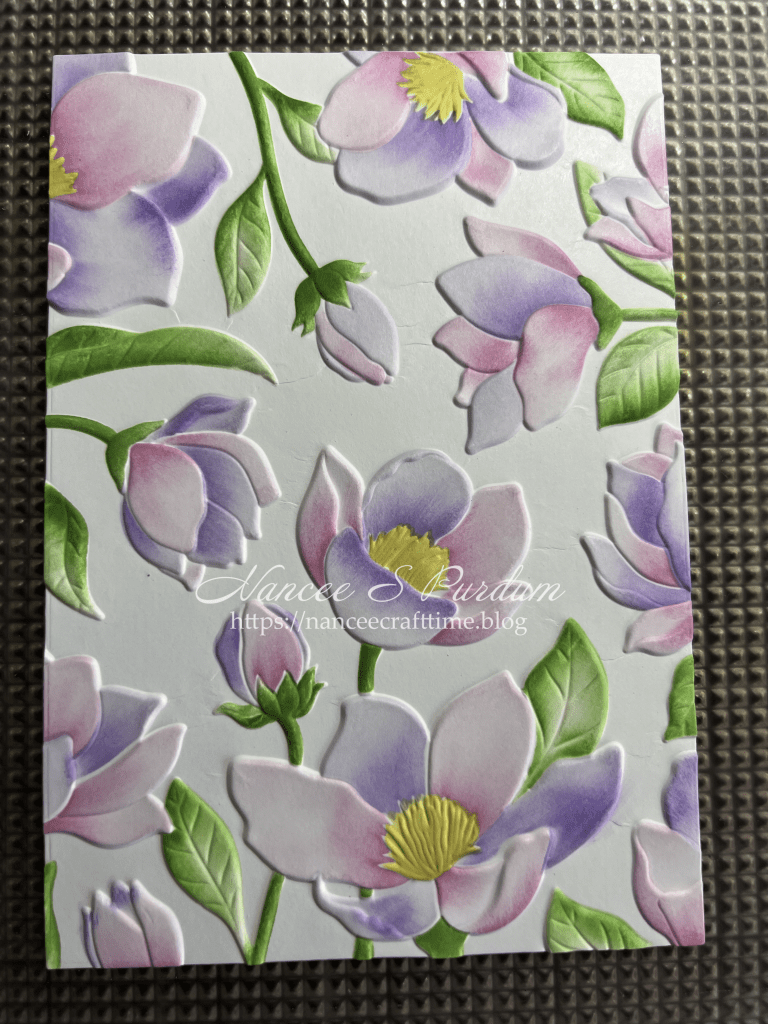
Once I had my image embossed, it was easy to line up the matching stencils. The stencils are layering stencils, so you can easily apply different colors to different areas. I often use a piece of stencil material or a note to mask off nearby areas to prevent the color I am applying from accidentally leaving ink where it is not desired.


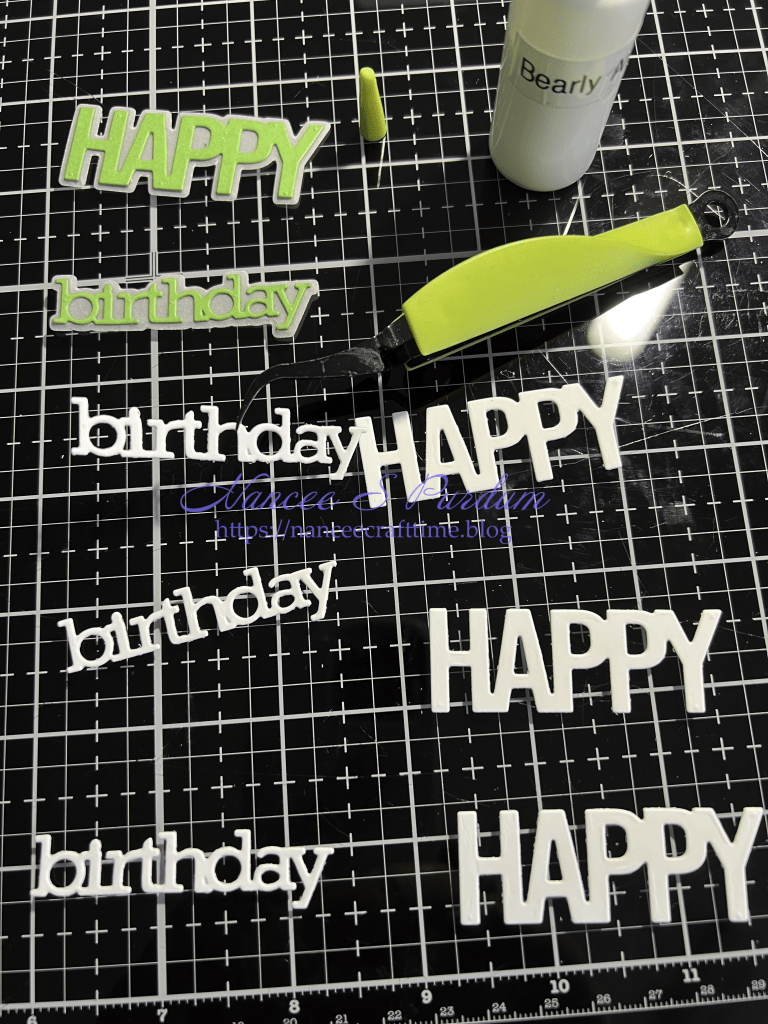
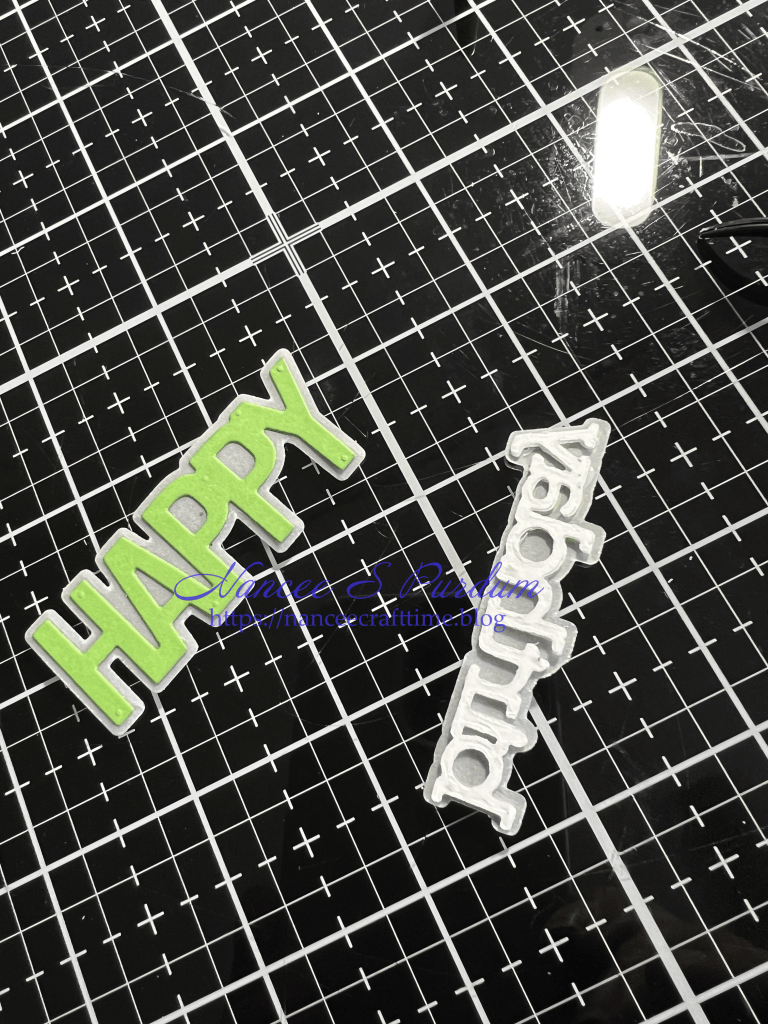
My next step was to create my sentiment. I die cut the words from the same paper I was going to use as a mat for my panel. I didn’t want to cover too much of the background, so I cut the shadow from some vellum. I wanted to raise the sentiment up, I cut some additional words from white cardstock. I glued them together and then adhered them to the back of the sentiments. Once I add them to my panel, they will give the appearance of “floating” above the panel.
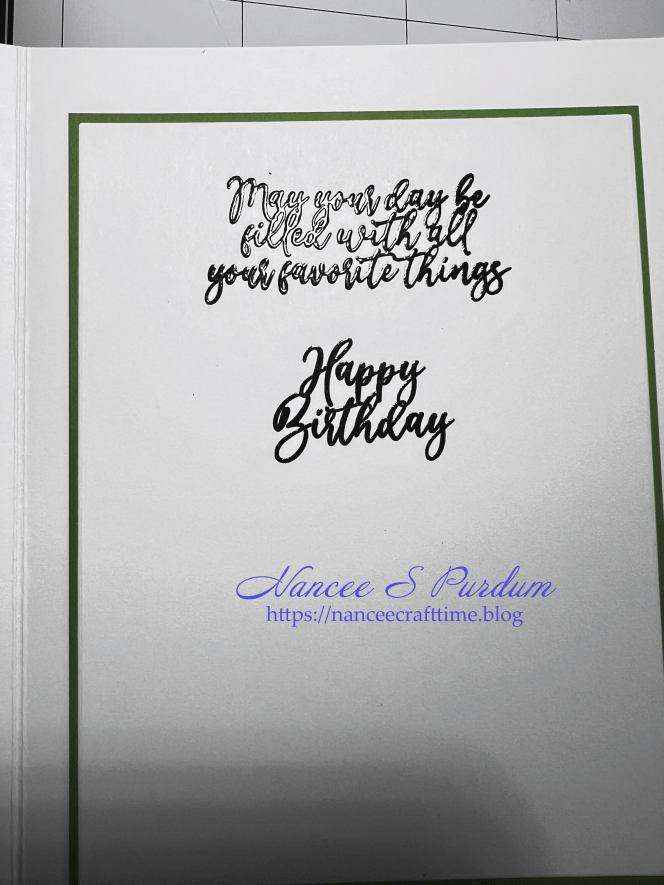
For my inside sentiment, I stamped my message in VersaClair Nocturne ink and added clear embossing powder over the top. Once I heat set it, it gives a raised appearance to the sentiment. I added a mat using the same color as the front of my card behind the inside message.
To finish off my card, I added some light green pearls to the panel. This finished my card.

Thanks for stopping by and Happy Crafting!

Supplies Used:
Altenew: Magnolia Dreams 3D embossing folder; Magnolia Dreams Simple Coloring Stencil Set
Gina K: Graphic Happy Birthday
Waffle Flower: Inside Sentiments Birthday
Cardstock:
Gina K: Lucky Clover
Simon Says Stamp: Vellum
Inks:
Altenew Fresh Dye Inks: Soft Lilac, Lavender Fields, Pink Diamond, Grass Field, Firefly, Pinkalicious, Citrus Burst, Butternut
Gina K: Lucky Clover
Miscellaneous:
Pearls from my stash

