
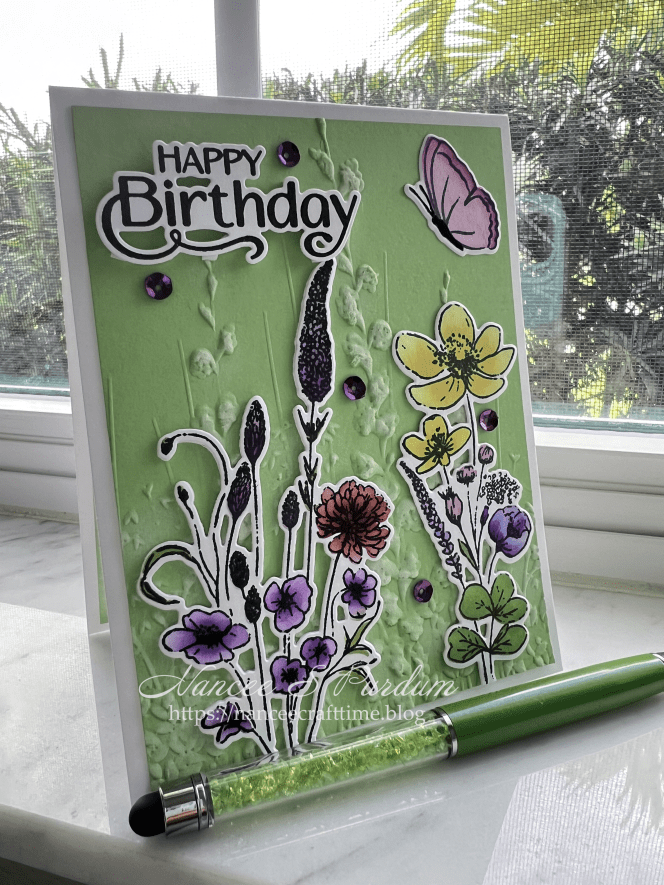
Today’s card is a simple card involving dry embossing, stenciling and die cutting. I needed to add more cards to my stash. This card uses several newer supplies that I had not used and some older items also.
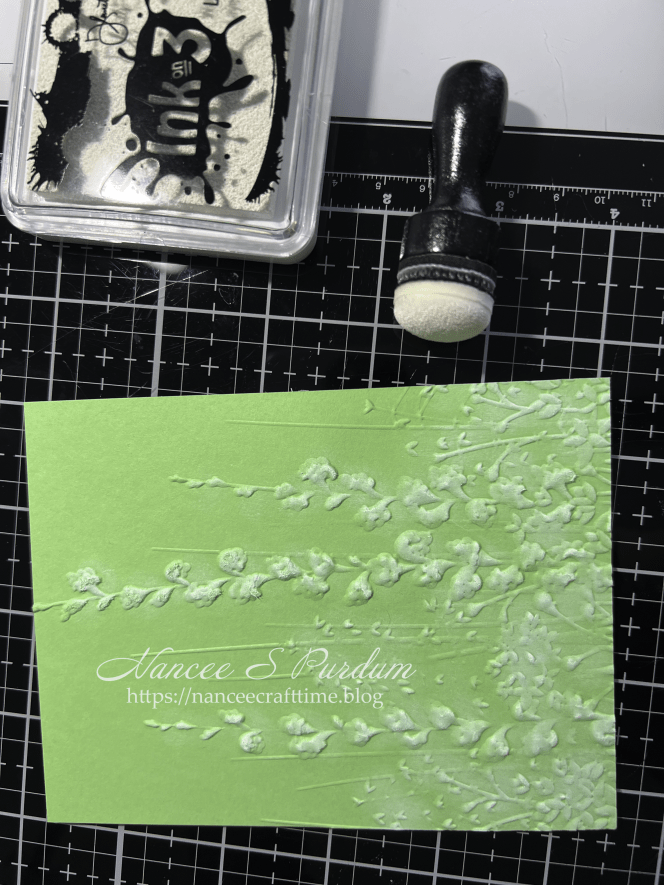
- To begin making my card, I cut down a piece of Applemint cardstock to fit the front of my A2 card.
- I first lightly misted the back of my cardstock to help reduce any cracking when I running it through my die cutting machine in an embossing folder. I made sure not to saturate the the paper.
- Once I removed the paper from the embossing folder, I used an ink blending tool to add some white ink over the raised portions.
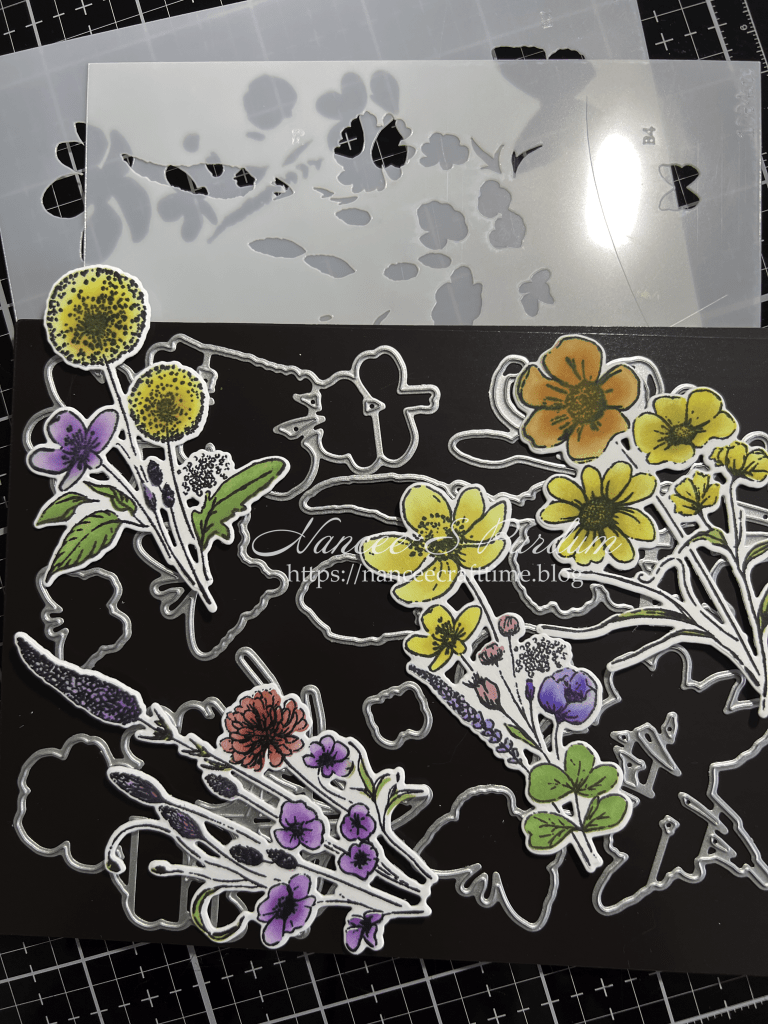
- My next step was to stamp the images for the front of my card.
- Once I had them stamped, I used the coordinating stencils to add color to the images.
- There are several stencils, so you can add different colors and shading to each image.
- I did mask off some of the flowers that were grouped together in the stencil so I could use different colors for the different types of flowers.
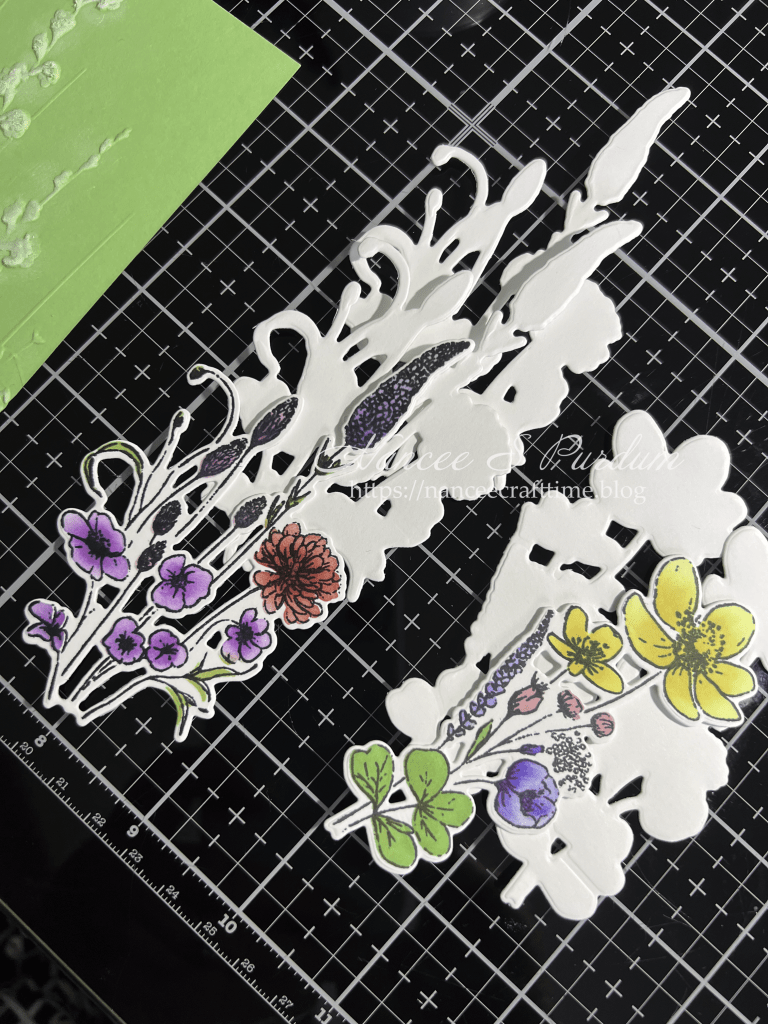
- Once I had my images colored, I used the matching dies to cut out the images.
- I cut additional pieces from white cardstock to add behind my images to give them a little more stability.
- My sentiment is from the same stamp set from Simon Says Stamp.
- I stamped the sentiment in black ink and then added clear embossing powder over the ink and heat embossed it.
- Once I had my sentiment completed, I used the coordinating die to cut it out.
- I then began the assembly of my card.
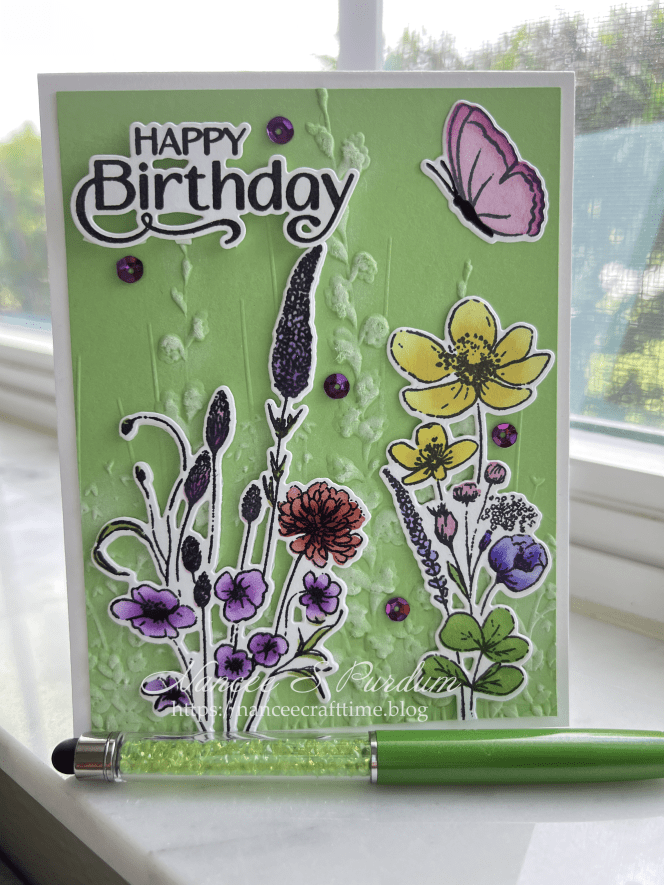
- I added my green embossed background to my card base.
- I arranged the florals where I wanted them towards the bottom of my panel making sure that some of the white highlighted images were showing.
- I added some foam tape behind my sentiment and added it to the card.
- I dug through my stash of images that I hadn’t used on previous cards and found a butterfly to add to the front of the card. I did not add any paper or foam tape behind the butterfly, just adhered it to the card panel.
- I also pulled out some older sequins and added those to the front of the card.
This completed my card.
Thanks for stopping by and Happy Crafting!

Supplies Used:
Simon Says Stamp: Butterfly Blossoms (stamp, stencil, die), Garden Spires embossing folder
Cardstock:
Gina K: Applemint
Inks:
Gina K: Lucky Clover, Jelly Bean Green, Lemon Drop, Wild Dandelion, Sweet Mango, Passionate Pink, Light Orchid, Dark Orchid, Bubblegum Pink, Lovely Lavender, Wild Lilac, Peach Bellini, Prickly Pear, Tangerine Twist, Cherry Red, Red Hot, Powder Blue, Tranquil Teal, Ocean Mist, Dusty Rose, Grass Green, Blue Denim, Light Lilac, Dark Lilac, Wild Wisteria
Altenew Fresh Dye Inks: Fresh Lemon, Citrus Burst, Maple Yellow
Ink on 3: Shark Tooth White
Embellishments:
Sequins from my stash

