
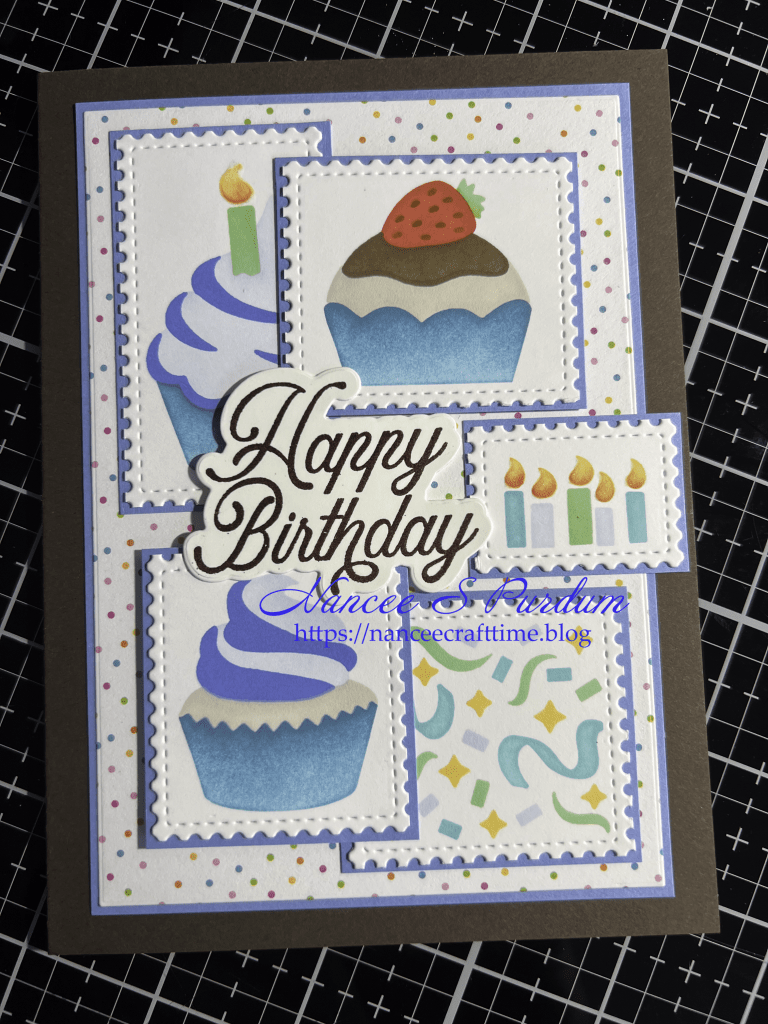
I seem to be on a stenciling kick lately and this card is no exception. Waffle Flower has a lot of different stencils for their Postage Collage die. This is one of the newer stencil sets.
- I used the Postage Collage die to cut down a piece of cardstock.
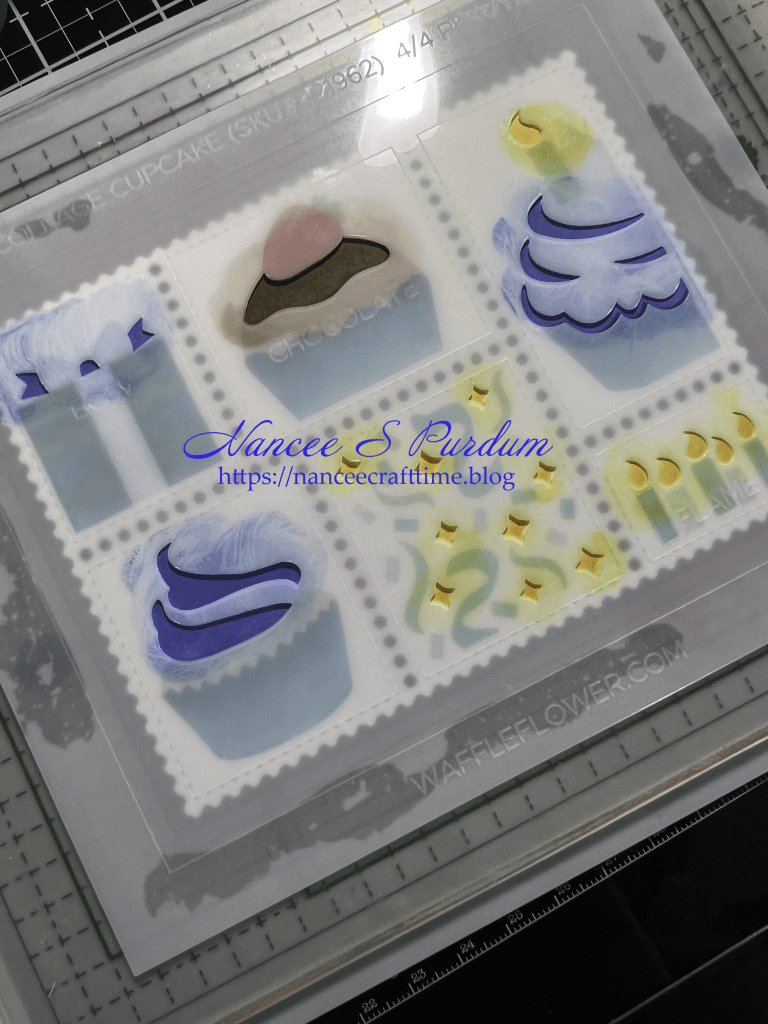
- I used the Postage Collage Cupcake laying stencils to color the images.
- There are four stencils in the set, which allows you to add different colors for each of the images.

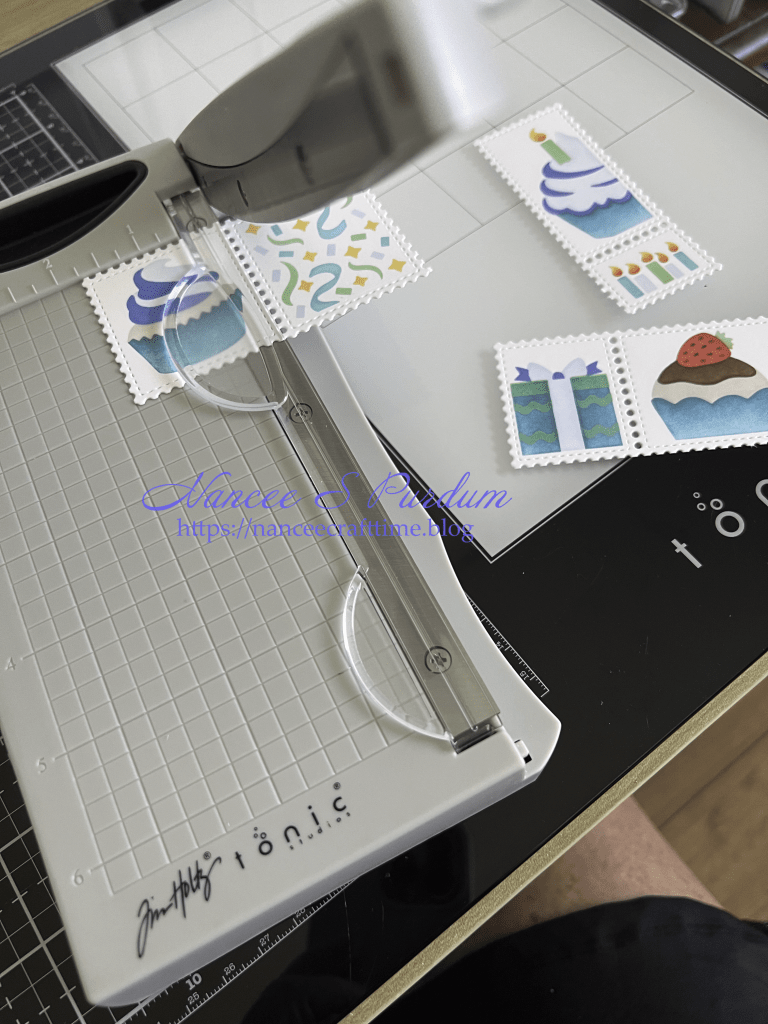
- Once I had the images colored, I decided to cut each one apart instead of leaving it as one piece.
- This gives the appearance of stamps for each of the individual images.
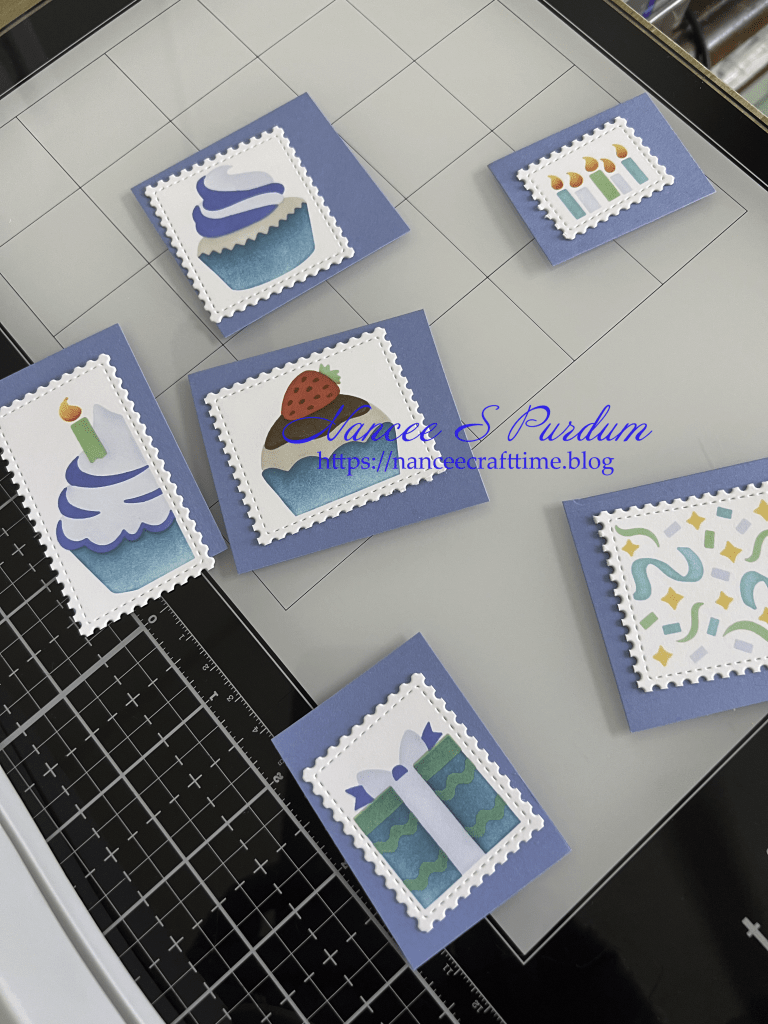
- I cut down some blue cardstock for each of the “stamps” to add as mats for each one.
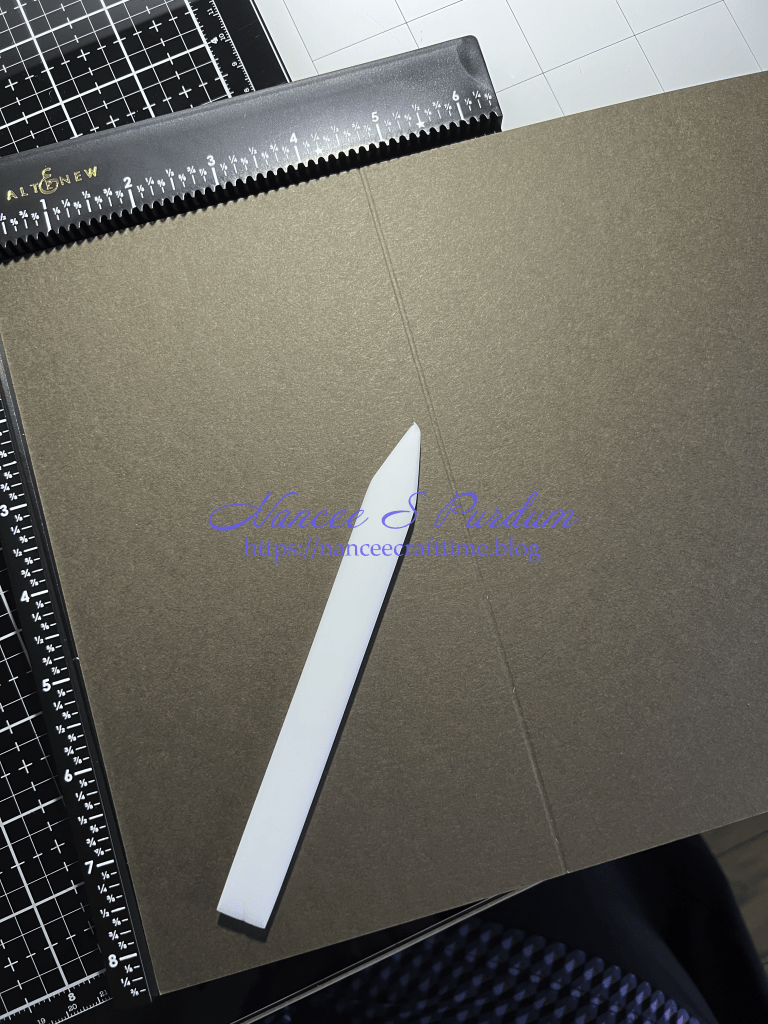
- Because I was making this larger than an A2 card, I needed to cut down a piece of 8 1/2 X 11 piece of cardstock.
- I used my scoring tool to score my paper where the fold in the card would be.
- Once I had my paper scored, I folded it over to create my card and cut off the excess paper using my paper cutter.
- For the background of my images, I found a piece of pattern paper in my stash that I thought would work well behind my images.
- I used Master Layouts to cut down the pattern paper and set it aside until I had all of my pieces ready for assembly.

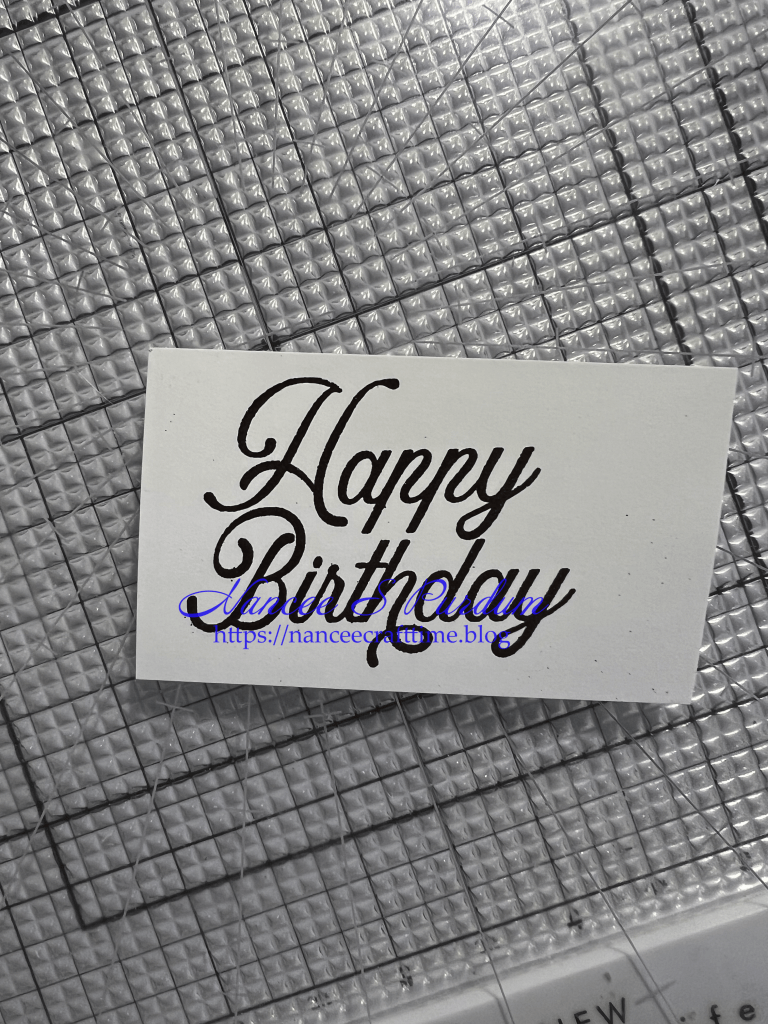
- I stamped and then heat embossed my sentiment before using the coordinating die to cut it out.
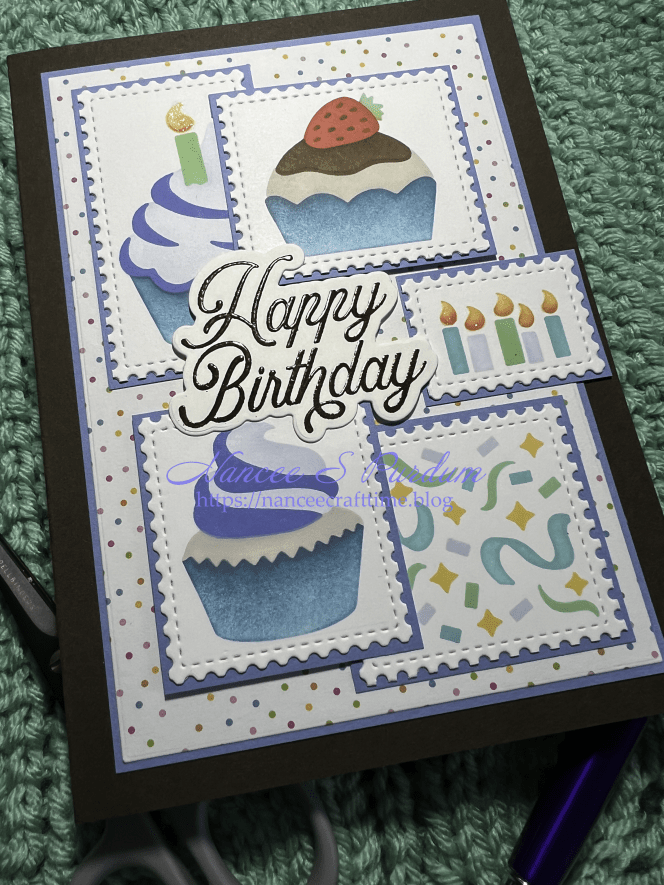
- Once I had all of my pieces for the front of my card, I started arranging them on the front of my card.
- Once I had decided the placement, I glued the upper left hand piece and lower right hand piece directly on my panel.
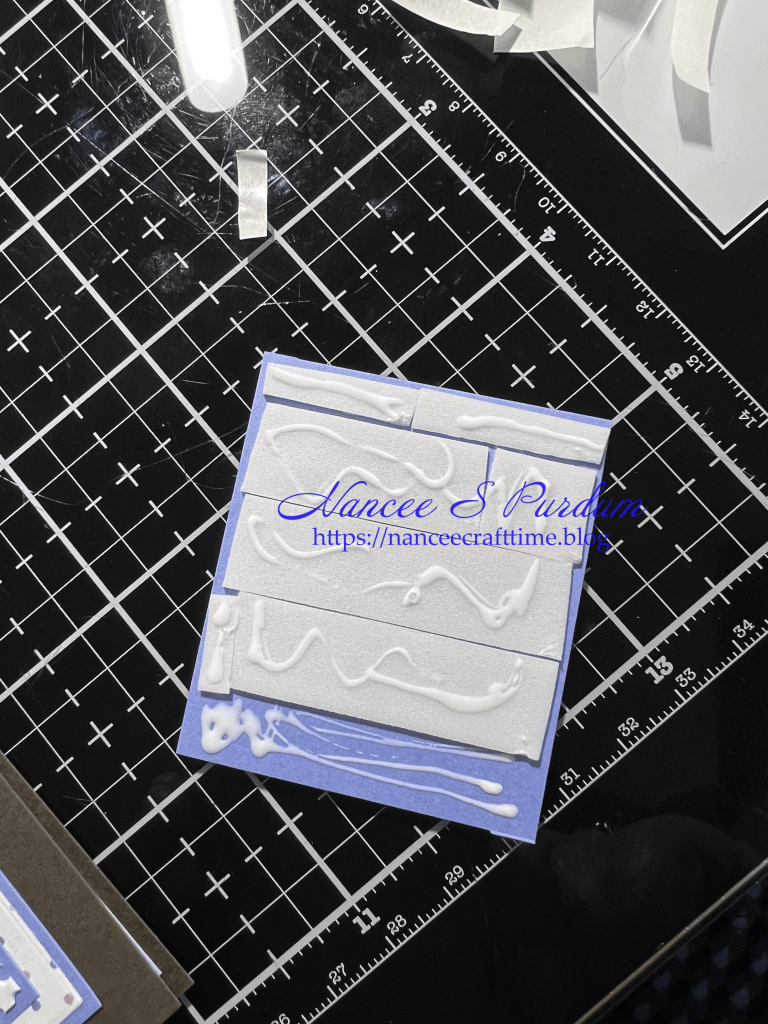
- Because the other three “stamps” overlapped the first ones I had glued to the card, I added some foam tape to those images where they did not overlap the ones already on my card base and glue to the areas that would overlap.
- Once I had all of my “stamps” in place, I positioned the sentiment to the card using both foam tape and glue.
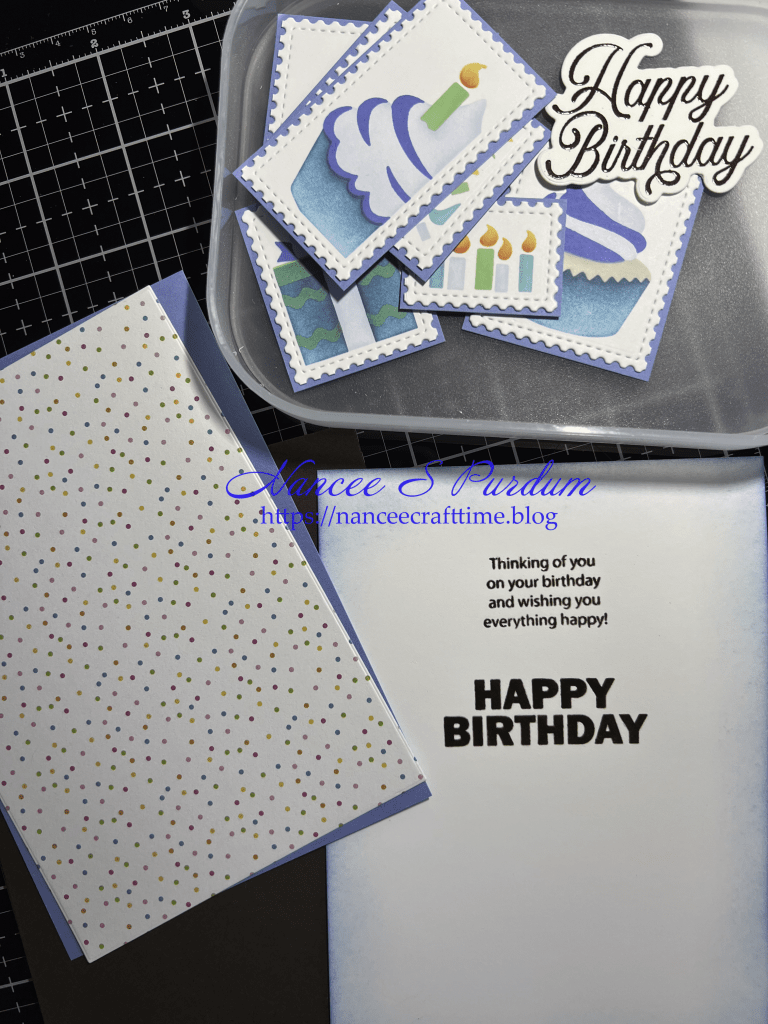

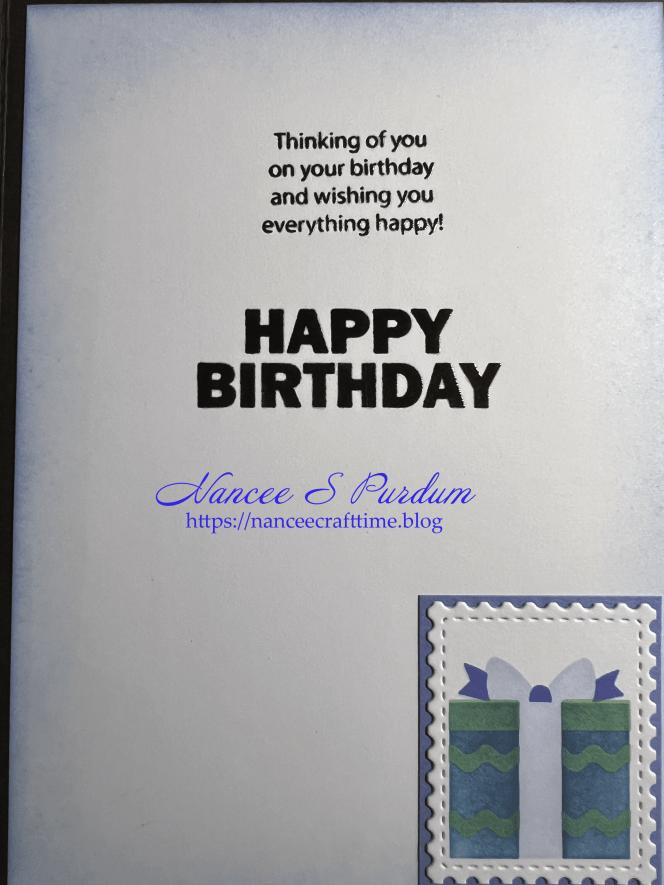
- For the inside of my card, I stamped and heat embossed my message.
- I then added some ink blending to the outer edges of my panel before adhering it to the inside of my card.
- I had one “stamp” that would not fit on the front of my card so I added it to the lower right hand corner.
I added some Nuvo Aqua Shimmer Glitter to the candle flames to give them a little sparkle. This completed my card.

Thanks for stopping by and Happy Crafting!

Supplies Used:
Waffle Flower: Postage Collage Die, Postage Collage Cupcake, Best Wishes (stamp, die)
Gina K: Master Layouts #17, Birthday Cheer, Detail Clear embossing powder
Cardstock:
Gina K: Powder Blue, Chocolate Truffle
Inks Used:
Altenew Fresh Dye Inks: Arctic, Persian Blue, Cherry Sweet, Pink Sand, Sweet Leaf, Snapdragon, Crimson, Maple Yellow
Gina K: Turquoise Sea, Tranquil Teal, Dark Chocolate
Miscellaneous:
Versamark Watermark ink
Nuvo Aqua Shimmer Glitter Gloss

