
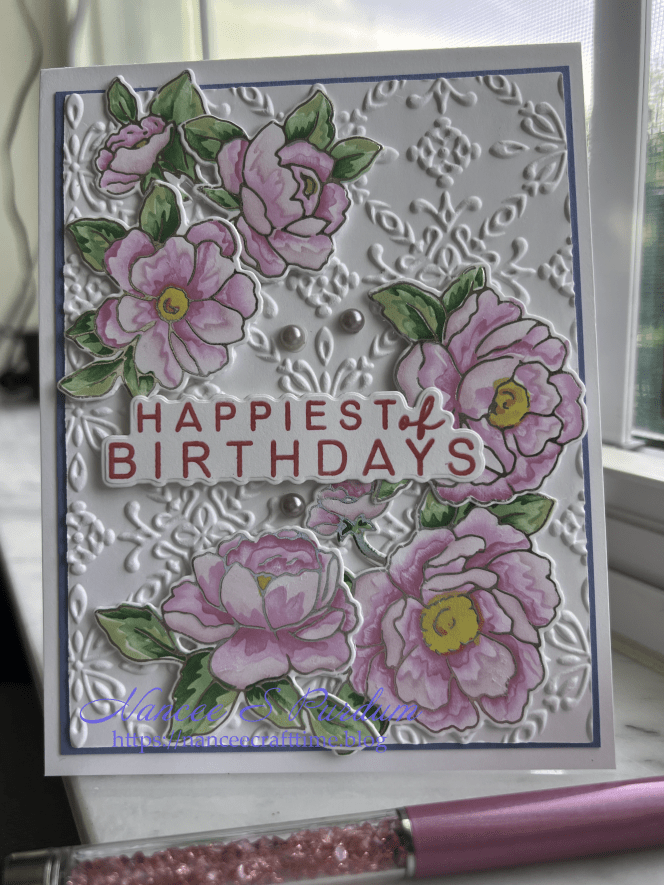
Today’s card features embossing, foiling and stenciling. As the birthday’s in my family increase over the next several months, I am trying to get cards made well in advance. During the summer months, I don’t spend as much time in my craft room.
- My first step was to foil the images that I was going to be coloring with the coordinating stencil.
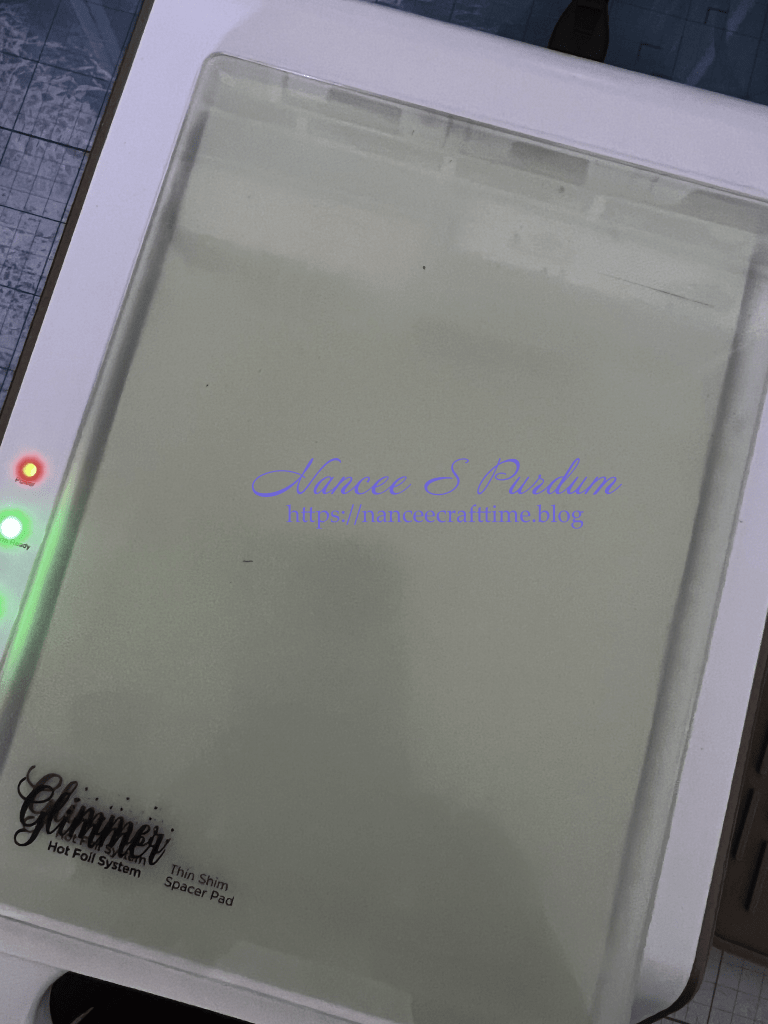
- I was using the heat foiling process, so I let my Glimmer machine heat up.
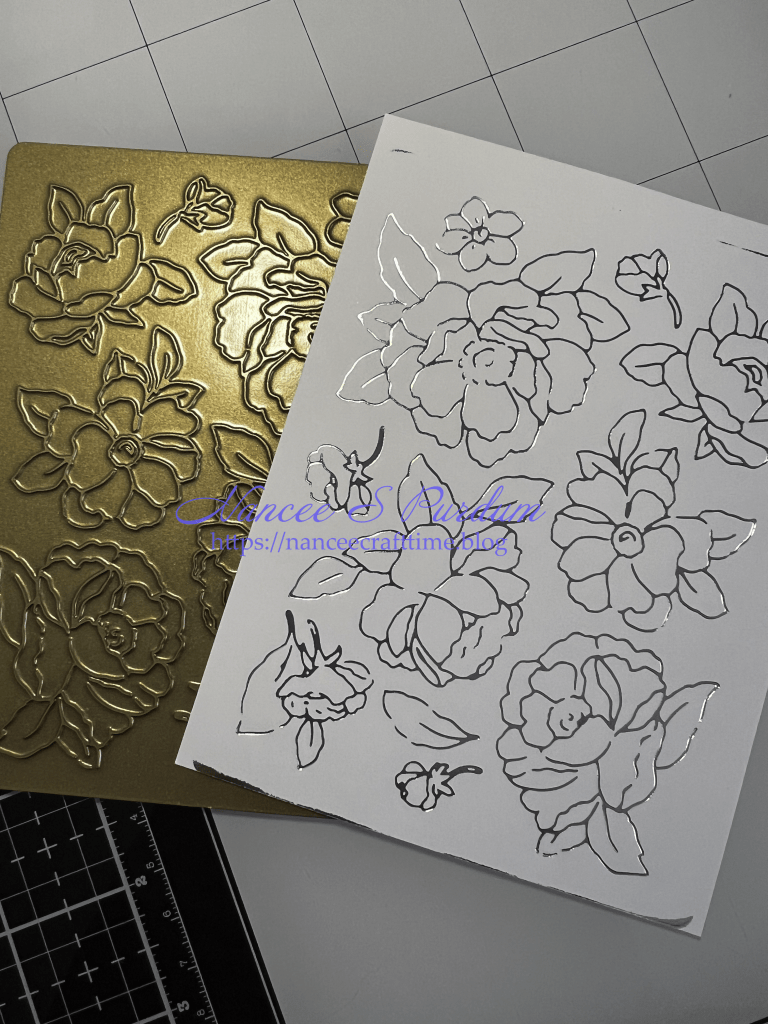
- Once it was ready, I put the plate face up and added the silver foil with the pretty side facing the plate.
- I added a piece of white cardstock to the top and added the top plate and shim before pressing the timer button.
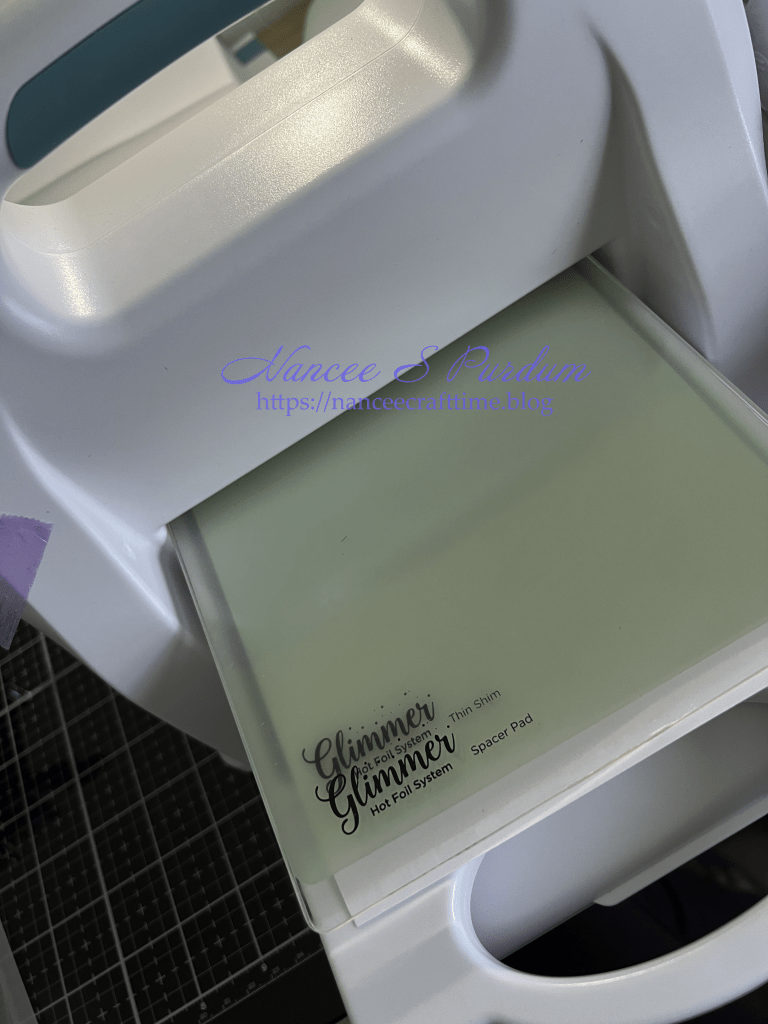
- When the light turned to a steady color, I ran the platform through my die cutting machine to add pressure.
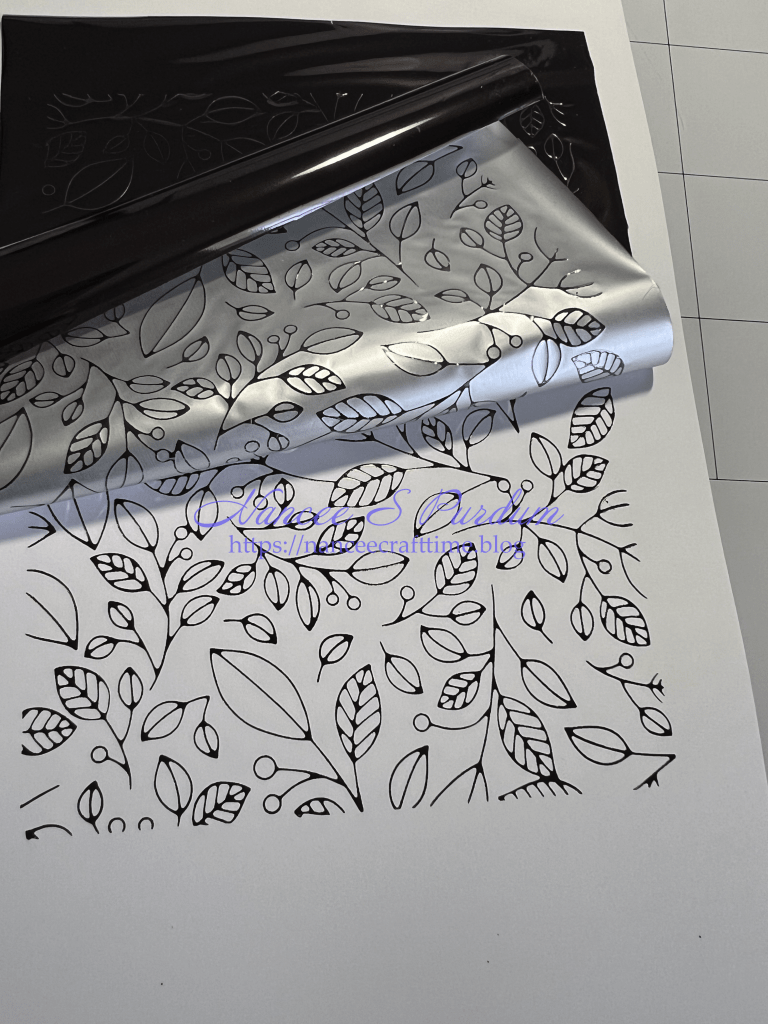
- I slowly pealed the foil back from the cardstock to reveal the foiled images.
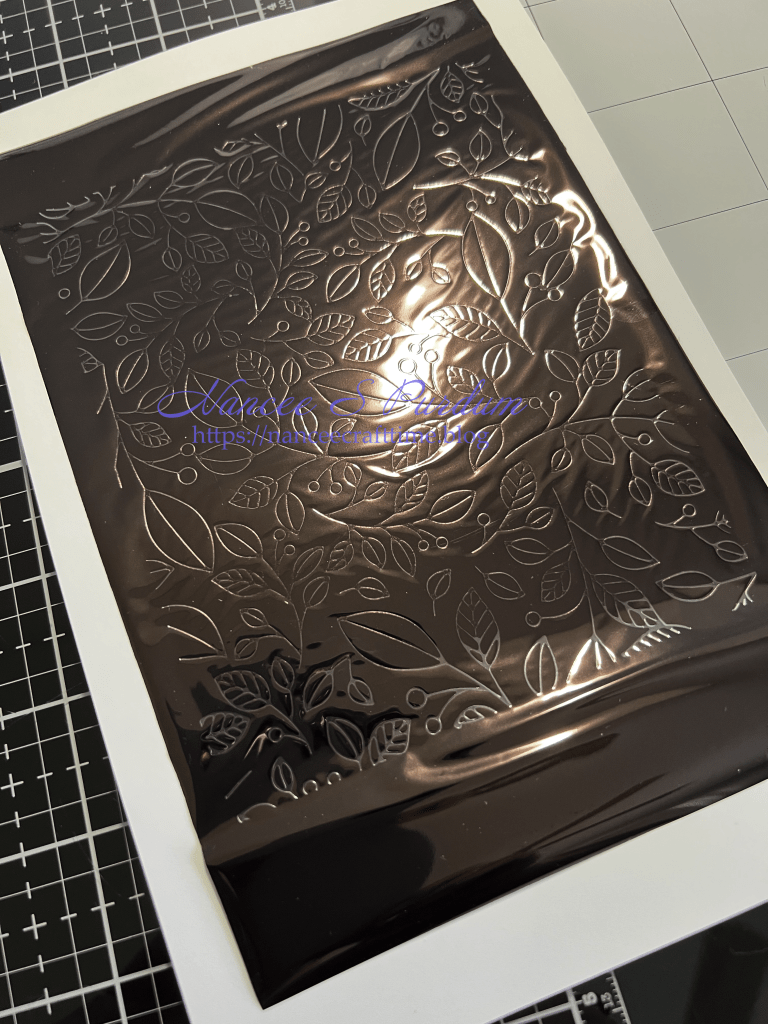
- I did the same process with a background plate.
- I used some brown foil for the background with the thought to add some green color to the leaves.
- Once I had the color applied, I changed my mind as I felt it was a little too much green.
- Rather than foiling another piece of cardstock, I decided on something different for the background.

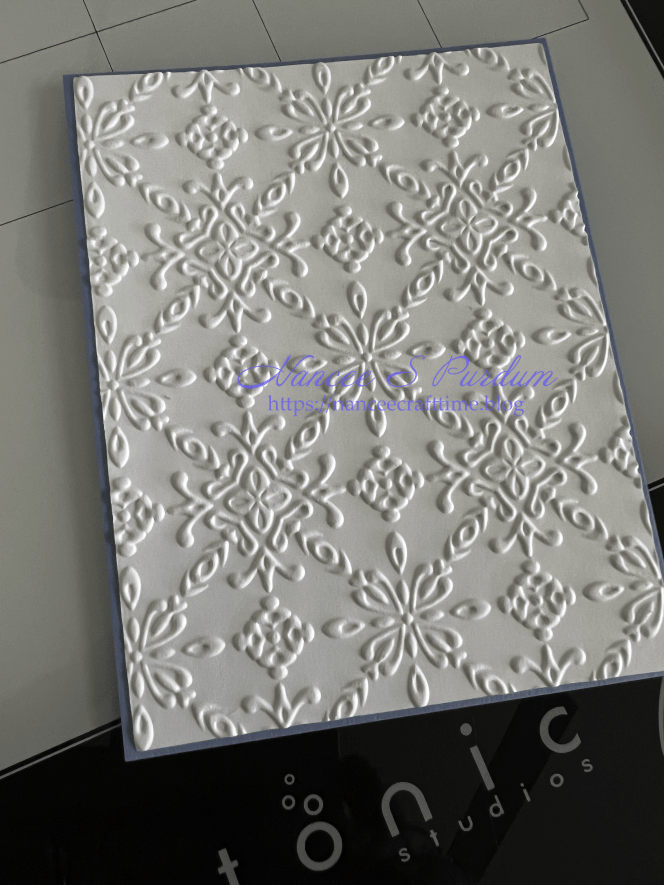
- I have a newer embossing folder from Altenew and decided that I would use it as my background.
- I spritzed the back of my cardstock with a light mist of water, placed the cardstock in my embossing folder and ran it through my die cutting machine.
- I thought about adding some color to the raised portion of the cardstock, but ultimately decided to just leave it white.
- I added the embossed card stock to a piece of powder blue cardstock from Gina K.
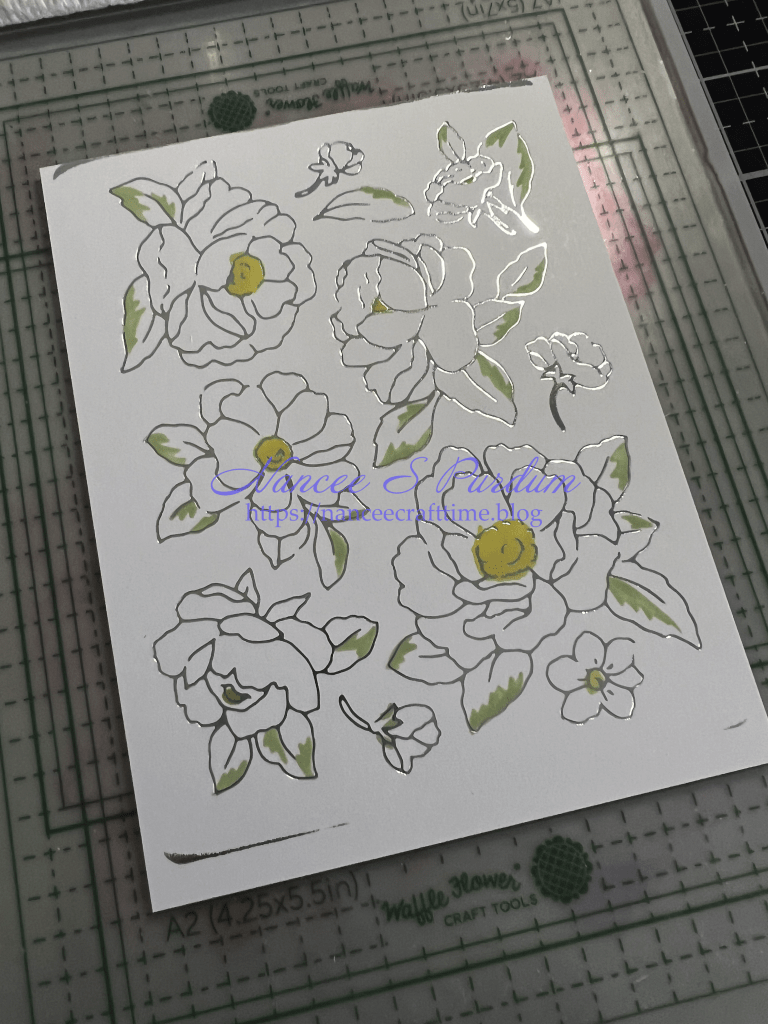
- Once I my background decided, I moved on to coloring the flowers.
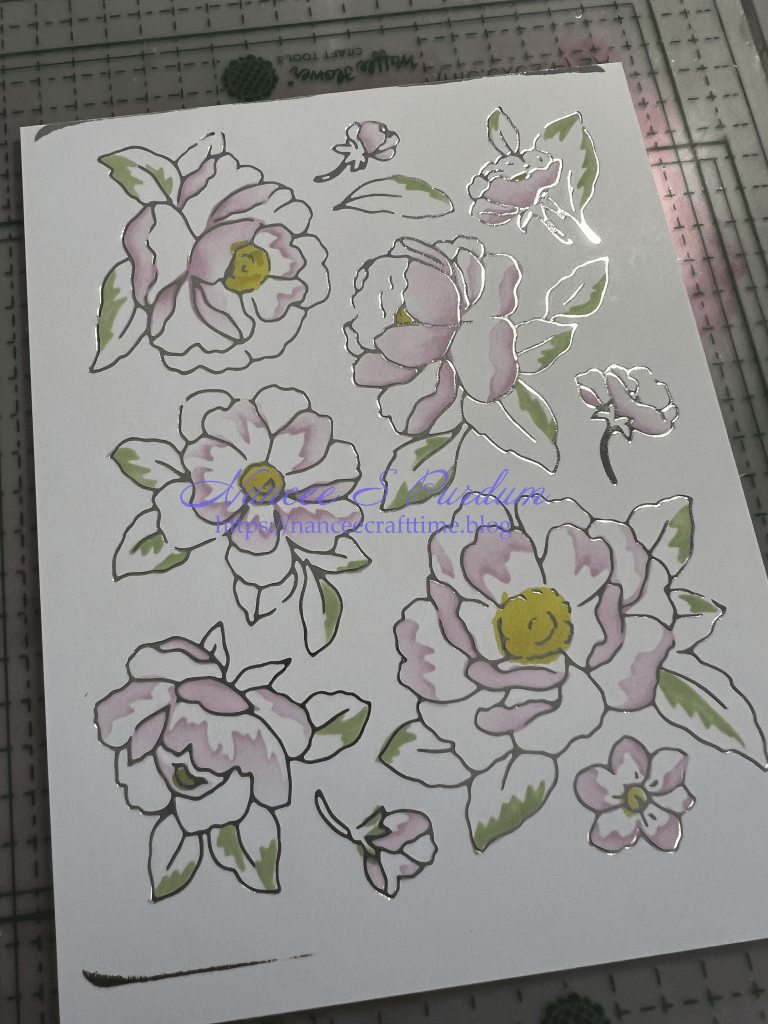
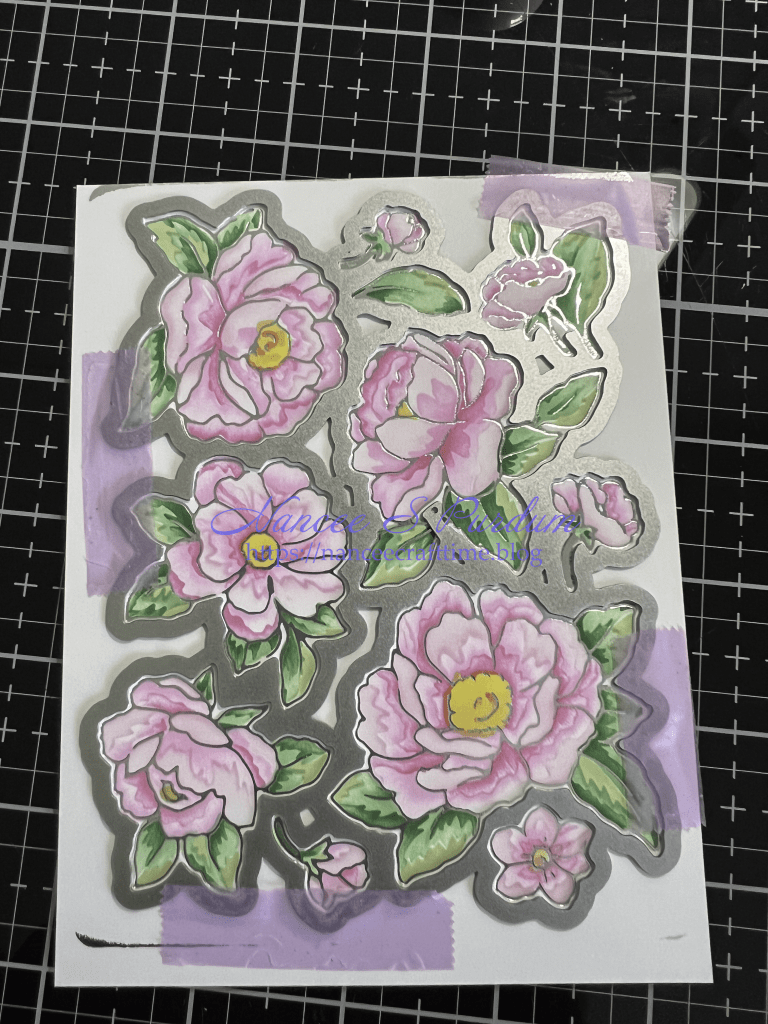
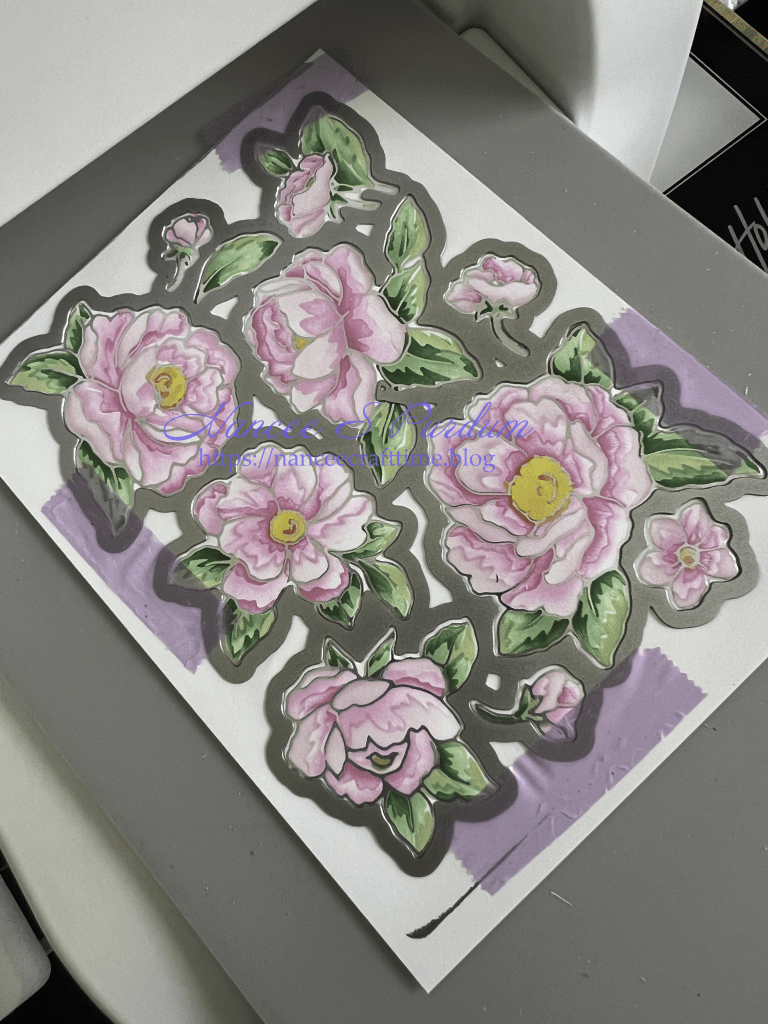
- I placed the first layer of the stencils on my flowers and added very light ink.
- I added a touch of the next darkest color to the base of petals on the first stencil.
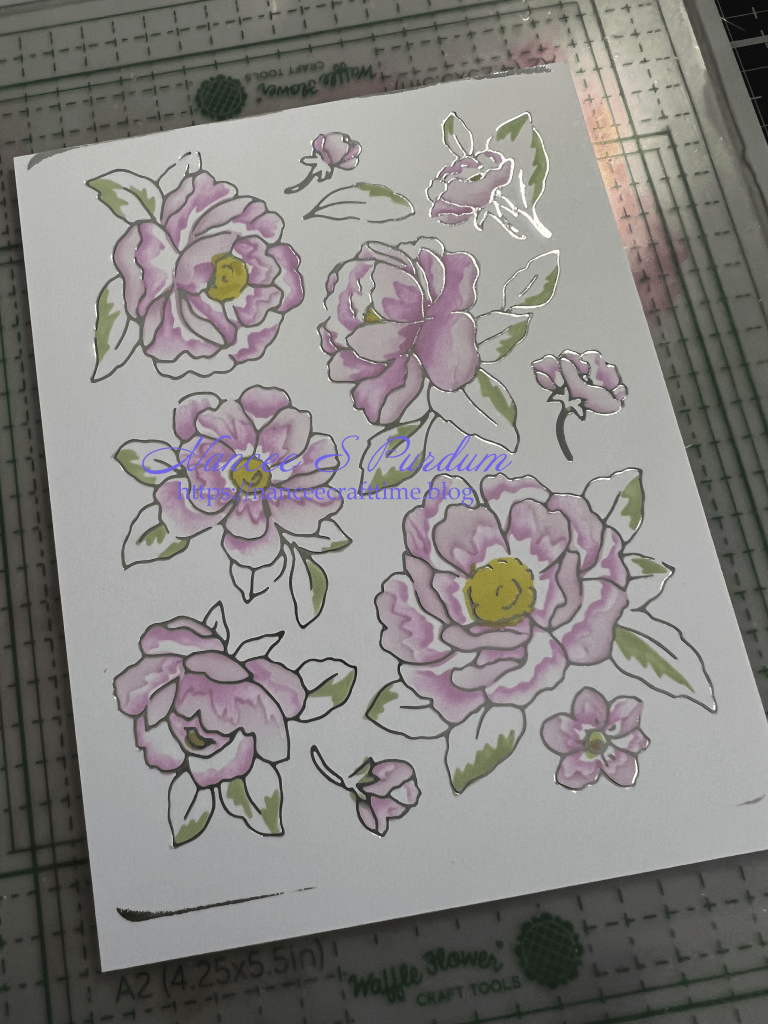
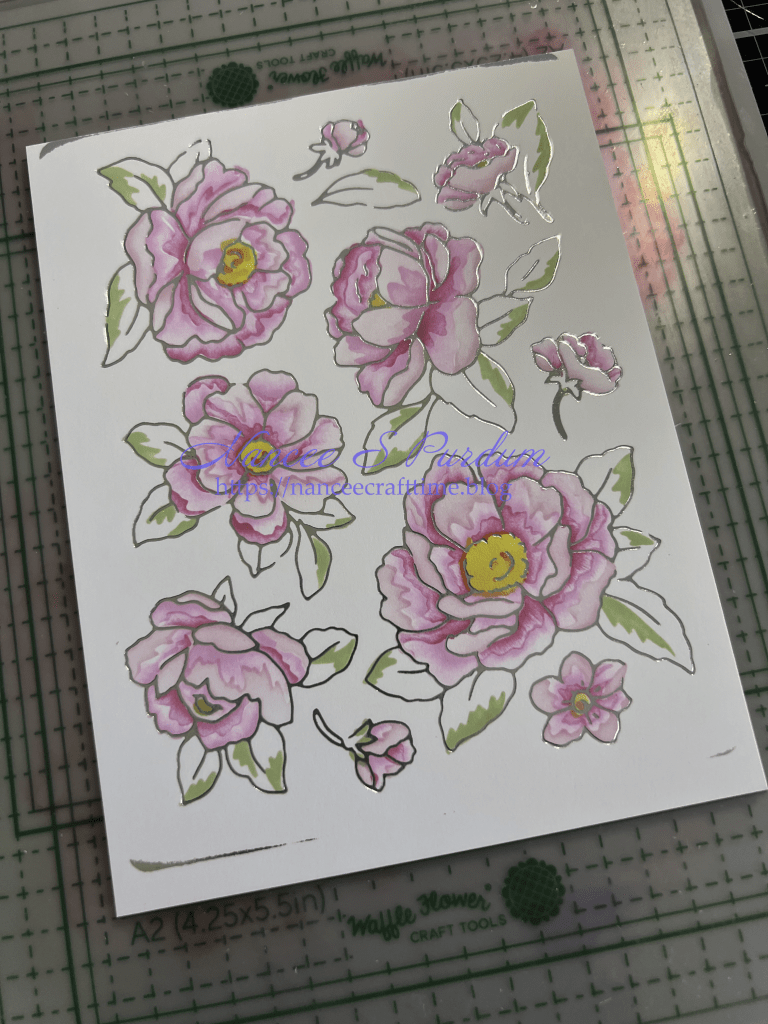
- I repeated this process with the next stencil and the next darkest color.
- With each of the stencils I started with the darker color that I had added on the previous stencil and then added a touch of the next darkest color just to add some depth to the petals.
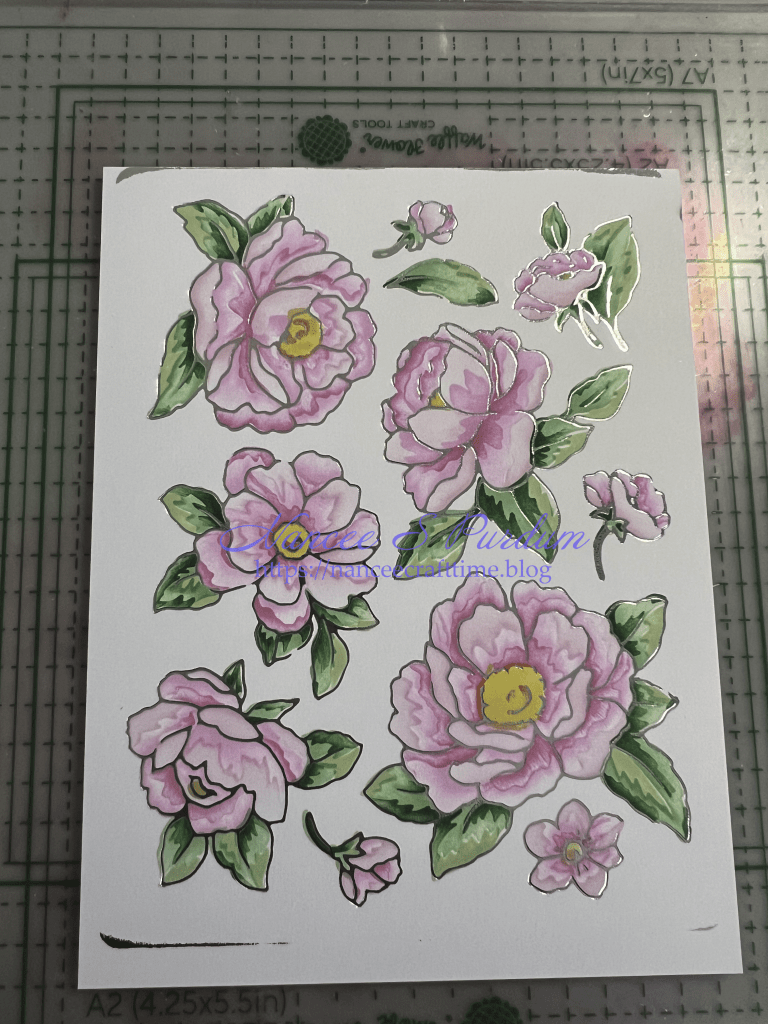
- Once I had all of the images colored, I needed to cut them out.
- This set also has a coordinating die that cuts all of the images out at once.
- I placed the die over my colored images lining them up and taping the die down so I don’t accidentally move it before running it through my die cutting machine.
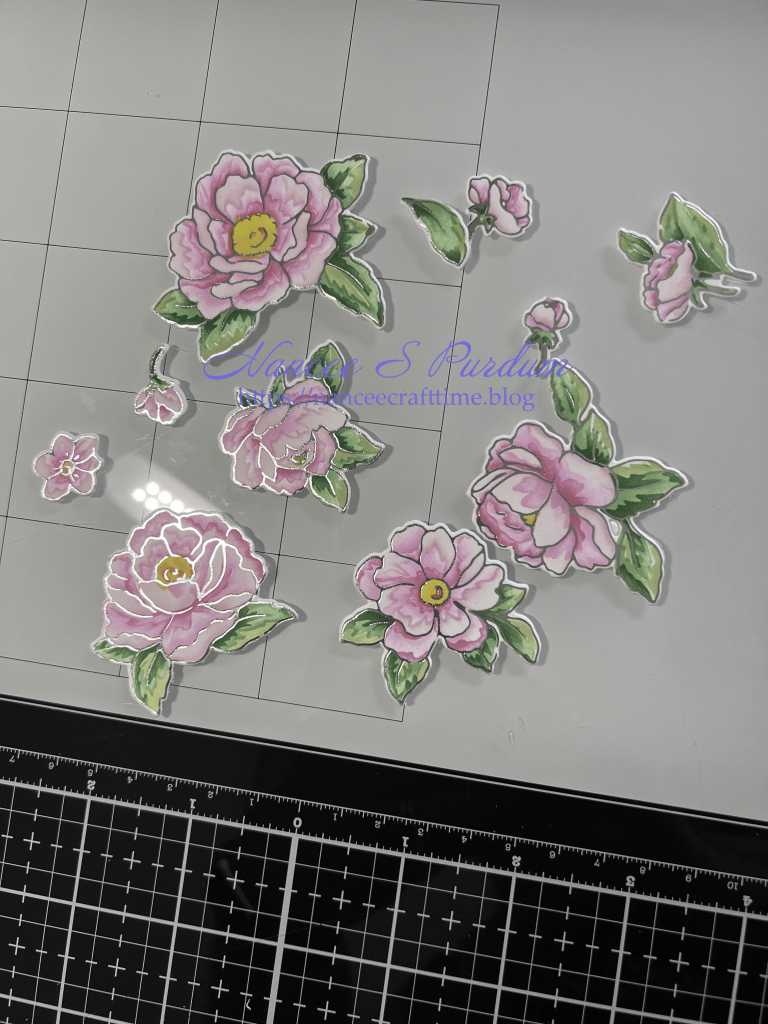
- Once I ran the die through my die cutting machine, I was able to separate all of the flowers and leaves.
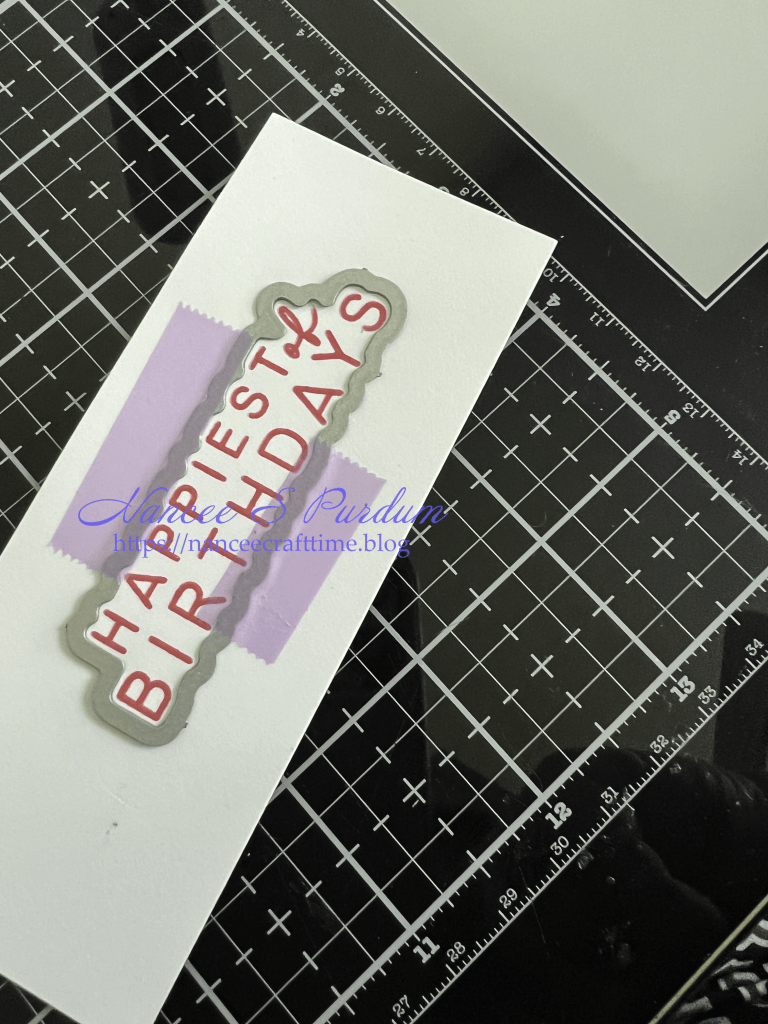
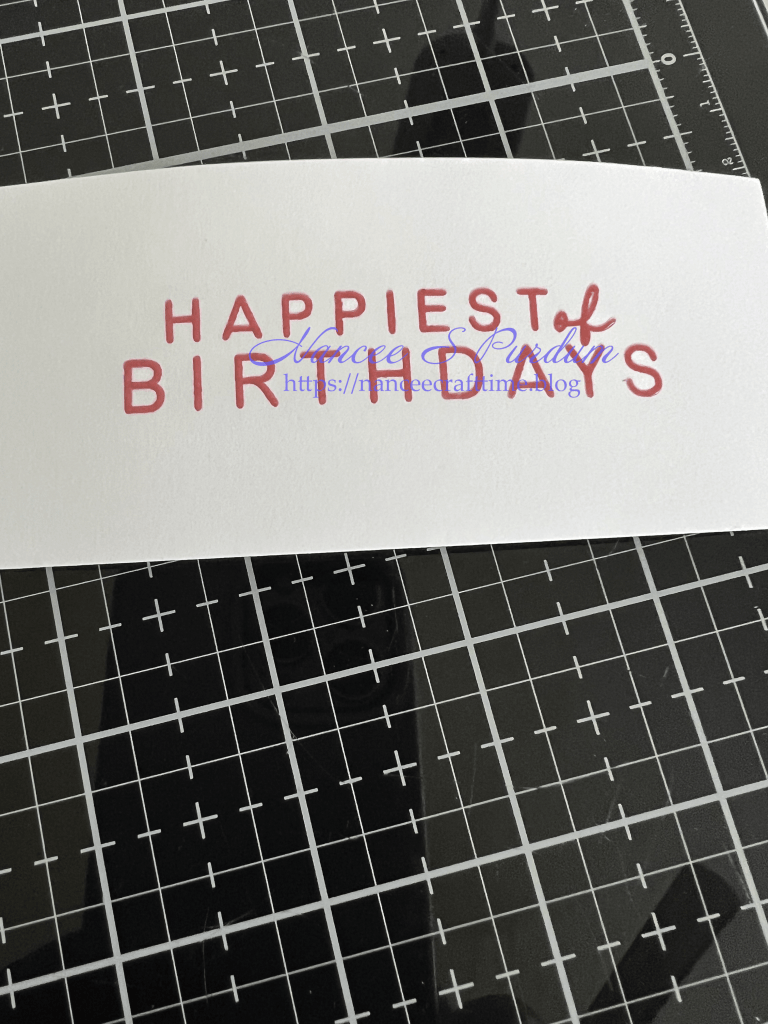
- My next step was to create a sentiment for the front of my card and inside greeting.
- I stamped my greeting in some matching ink from the flowers, added some embossing powder and heat set it.
- I used the coordinating die to cut the sentiment out.
- For the inside greeting, I stamped the sentiments, added clear embossing powder and heat set it.
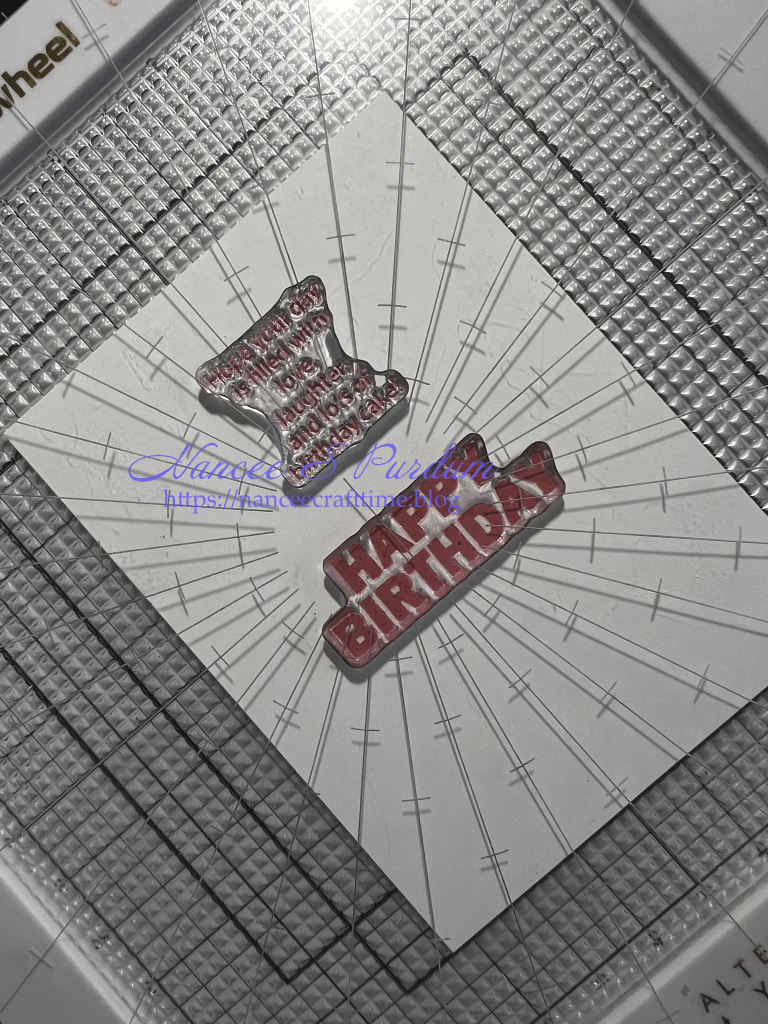
- To add a little more interest and to show a separation from the card base, I added some ink blending around the outside edges of the interior panel.
- I then added the panel to the inside of my card base.

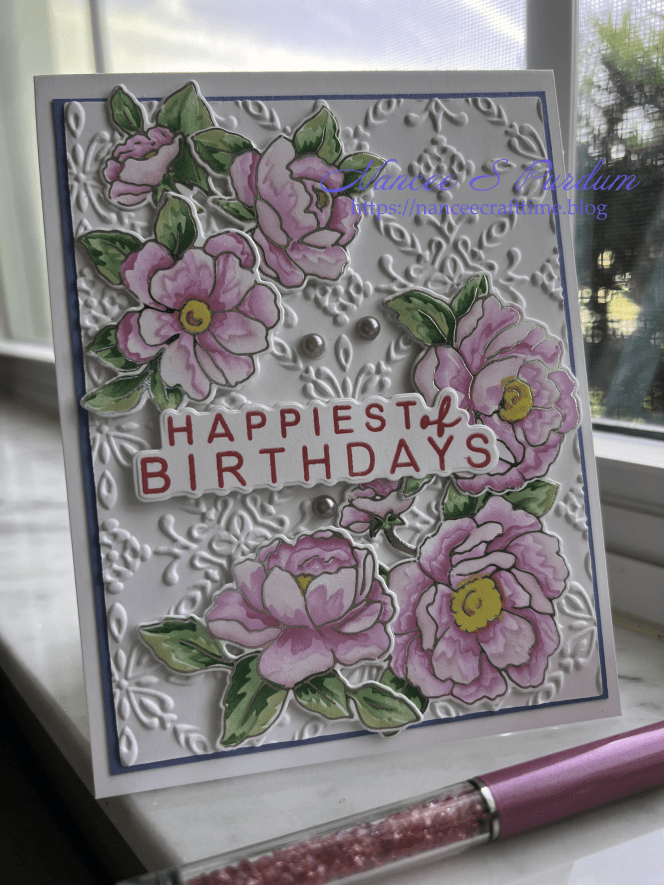
- I arranged my flowers on the upper left-hand corner and bottom right-hand corner.
- I decided to have some adhered directly to my card base and the ones that overlapped would be raised slightly.
- I added some foam tape to the flowers that overlapped the ones attached directly to my card base.
- I adhered my sentiment adding foam tape to the left side and just glue to the part of the sentiment that was over the flower.
- To finish off the front of my card I added a few pearls.
Thanks for stopping by and Happy Crafting!

Supplies Used:
Pinkfresh Studio: Peony Fantasy (hot foil plate, stencil, die)
Spellbinders: Glimmer Aluminum Foil
Hero Arts: Nested Arches Infinity dies
Altenew: Moroccan Tile embossing folder
Gina K: Birthday Cheer, Detail Clear embossing powder
Simon Says Stamp: Birthday Basics (stamp, die)
Cardstock Used:
Gina K: Powder Blue
Inks Used:
Altenew Fresh Dye inks: Fresh Lemon, Butternut, Frayed Leaf, Sweet Leaf, Forest Glades, Hunter Green, Pink Diamond, Baby Pink, Mint Choc, Pinkalicious
Miscellaneous:
Versamark Watermark Ink
Pearls from my stash

