For my card today, I created a new background and added some of my leftover pieces from another card that I made.
My card was made to add to my stash of cards. I’m trying this year to build my stash of cards for all occassions.
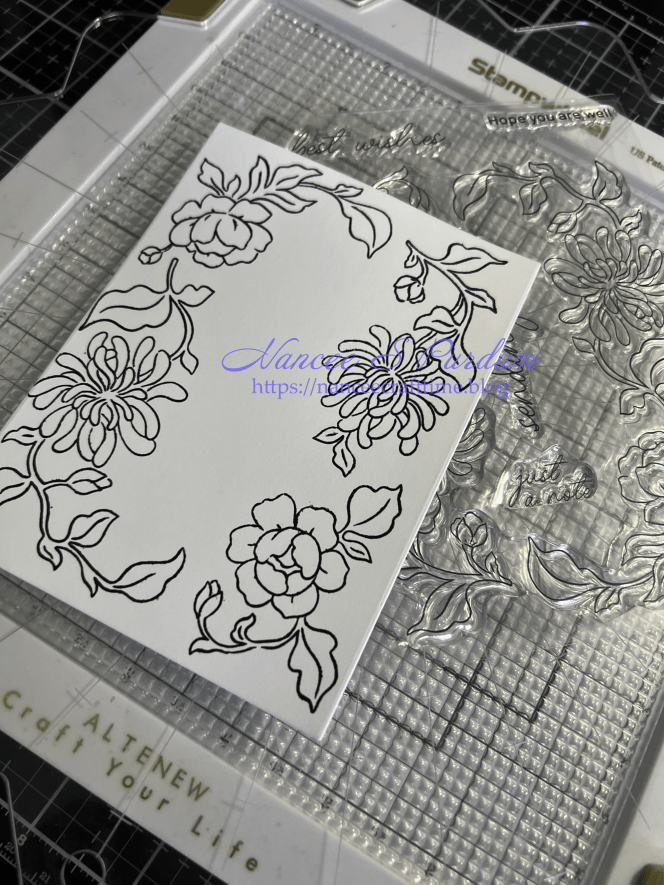
- I first stamped the image on a piece of white cardstock. I stamped it a couple of times to make sure I had a good clear image.
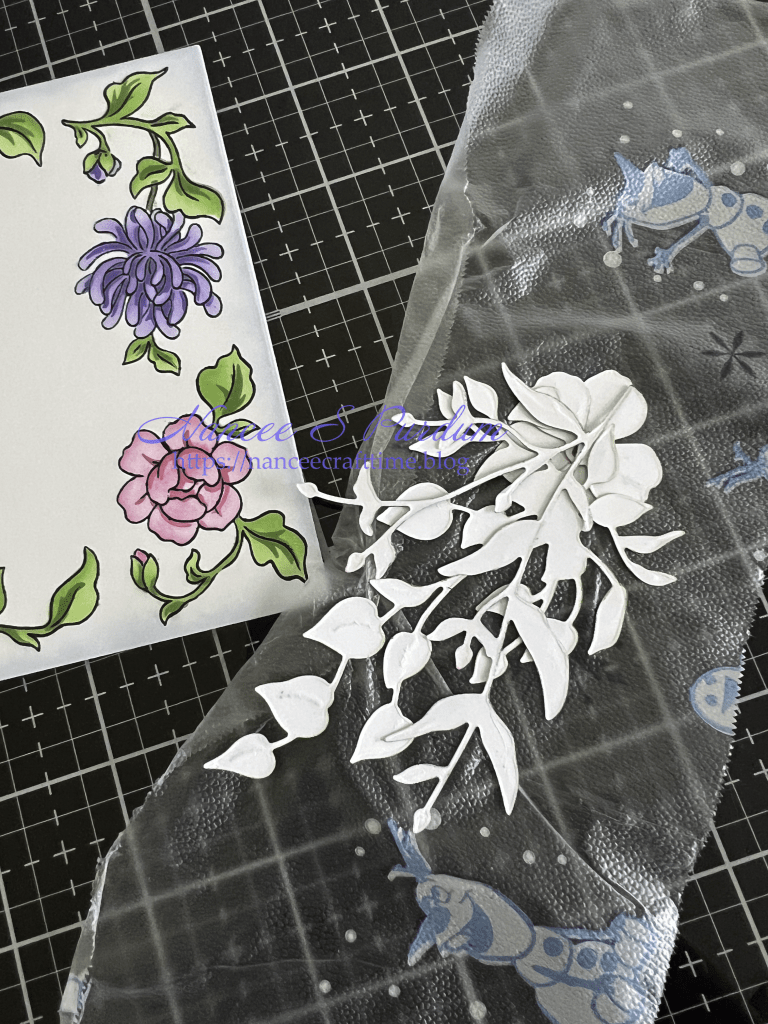
- Once I had the image stamped, I used the coordinating stencils to color the image.
- Since this was going to be the background for my card, I then used Master Layouts to cut it down to fit on my A2 card.
- I also used the Master Layouts to cut a mat for my stenciled image.
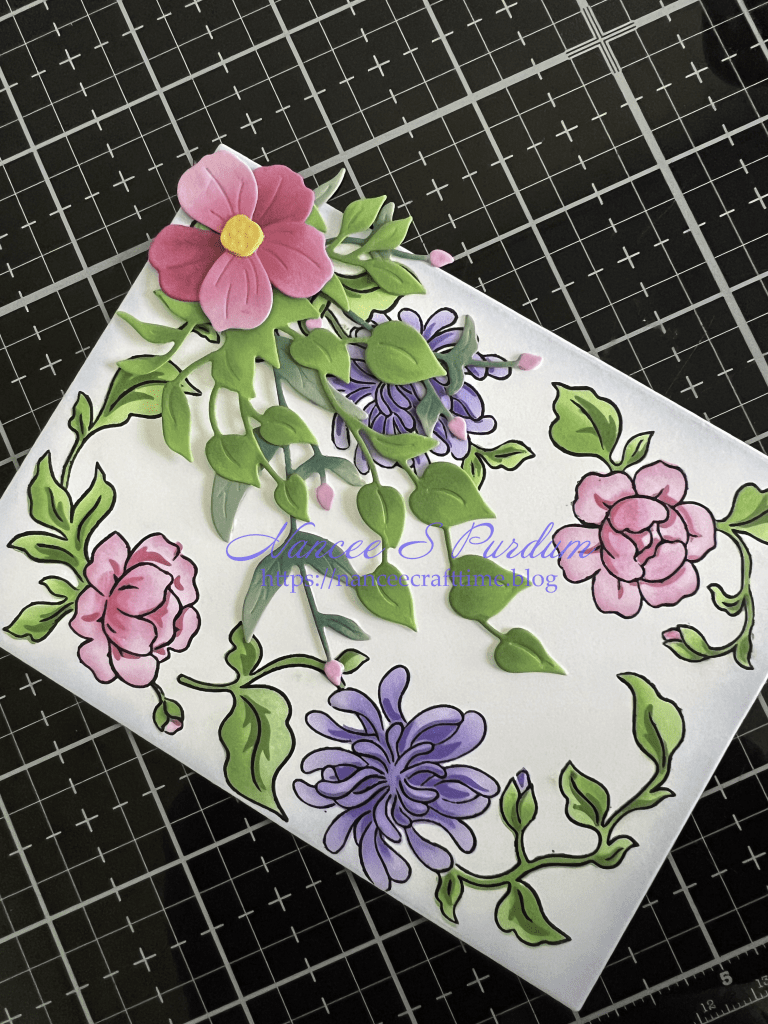
- I had no vision in mind on how to finish the card as my image merely created a border around the panel.
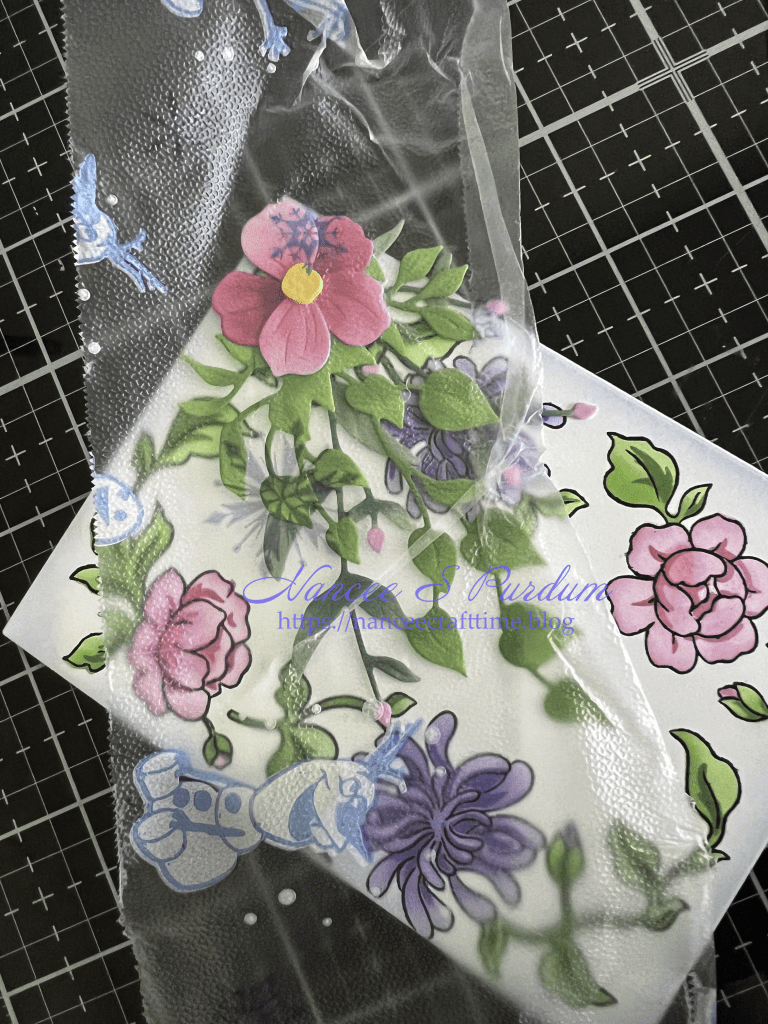
- I searched through my many leftover die cuts and started placing them on my card in various arrangements.
- Once I found the arrangement that I liked, I added a piece of Press N Seal over the top of it so I could remove the pieces but keep them in the arrangement I had come up with.
- Once I pealed the Press N Seal off of my card, I was able to add glue to back of the die cuts.
- Once I had the glue on the back, I placed the Press N Seal back on the card panel and pressed the die cuts in place.
- I let the Press N Seal sit for about a minute so the glue would start to adhere and then slowly pealed the Press N Seal off.
I learned the Press N Seal trick from Jennifer McGuire. The Press N Seal is just tacky enough to keep your die cuts in place, but not too tacky that it damages the die cuts. I was able to add glue to the back of the arrangement and then place it back on my card panel knowing that it would stay just the way I had arranged it. You can add additional glue if necessary once the die cuts are in place.
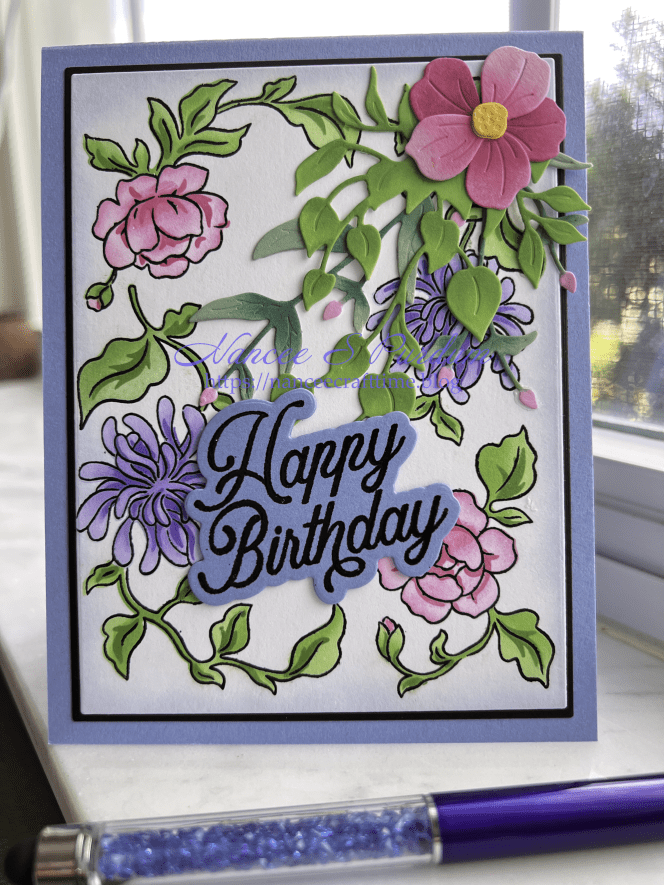
- All I needed to finish my card was a sentiment.
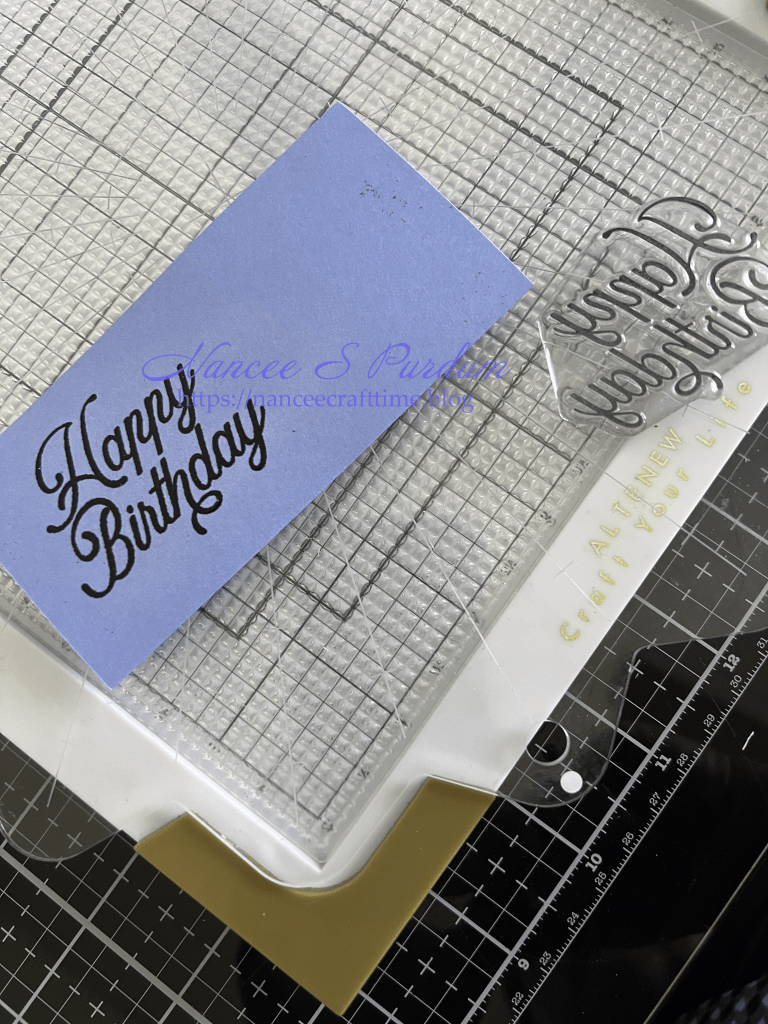
- I stamped my sentiment in VersaFine Clair Nocturne ink and added clear embossing powder over the ink.
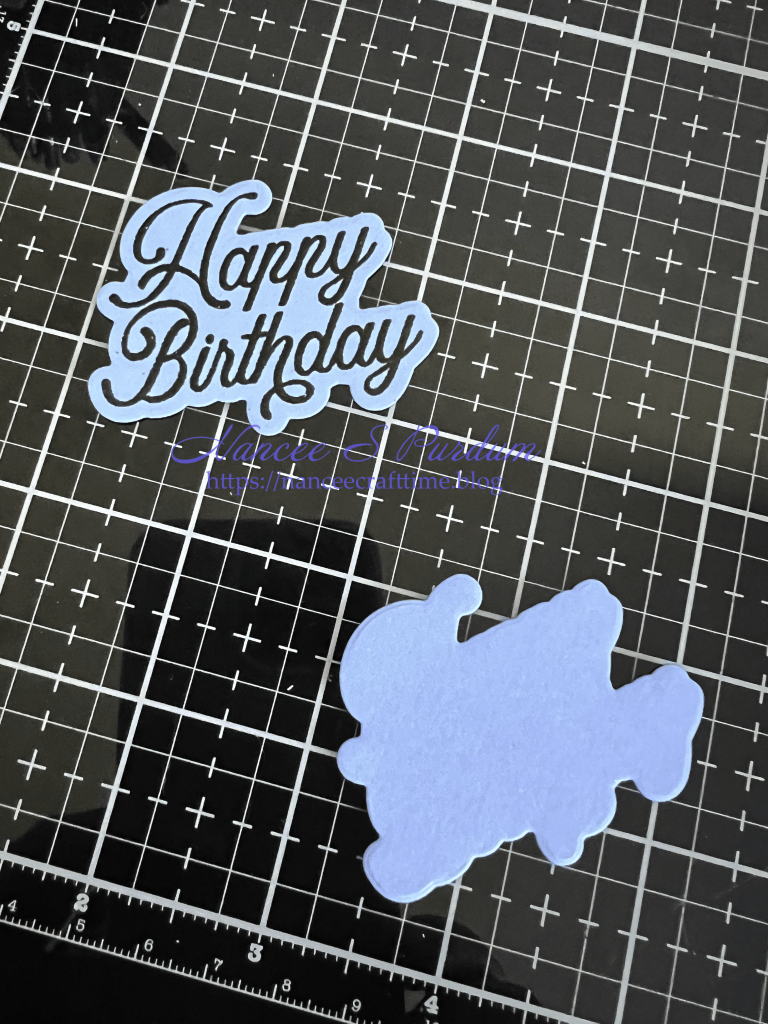
- Once I had heat set the embossing powder, I used the coordinating die to cut out the sentiment.
- I die cut an additional piece of blue cardstock to add to the back of my sentiment.
- I stamped my inside greeting in VersaFine Nocturne ink, added clear embossing powder over the top of the ink and heat set it.
- I then added some ink blending to the outside edges of my card.
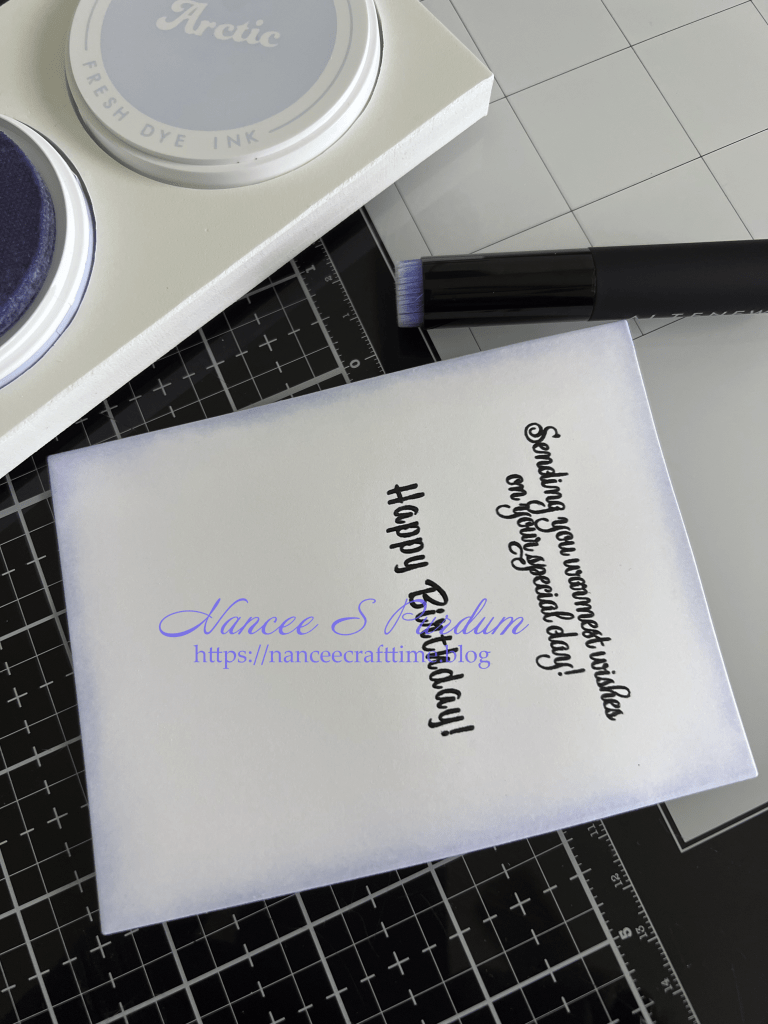
When I use a pigment ink to stamp my sentiments and inside greetings, I don’t need to restamp them in VersaMark Watermark ink as the pigment stays wet long enough to add the embossing powder. I only have a few pigment inks, so when I use them I can skip the extra step.
I added my card panel to a blue card base. I didn’t add any other embellishments to my card as I felt it looked complete with the draping die cuts.

Thanks for stopping by and Happy Crafting!

Supplies Used:
Pinkfresh Studio: Best Wishes (stamp, stencil)
Gina K: On the Inside-Birthday, Detail Clear embossing powder, Detail Black embossing powder
Waffle Flower: Best Wishes (stamp, die)
Cardstock Used:
Gina K: Powder Blue, Black Onyx
Inks Used:
Altenew Fresh Dye Inks: Pink Diamond, Ultraviolet, Wisteria, Pinkalicious, Rubellite, Hydrangea, Shadow Creek, Arctic, Grass Field, Firefly
Gina K: Black Onyx
Miscellaneous:
Versamark: Watermark ink, Nocturne Versafine Clair

