I am trying to participate in Kristina Werner’s monthly Mail Call each month. She has a different challenge for each month. I find that it is a great way for me to stretch my creativity based on the challenge for the month. This card was my submission for March’s Mail call, ink blending.

I had an idea of using two different stencils to create a background for my image. I wasn’t sure if my idea would work, but I was quite pleased with how this card turned out.
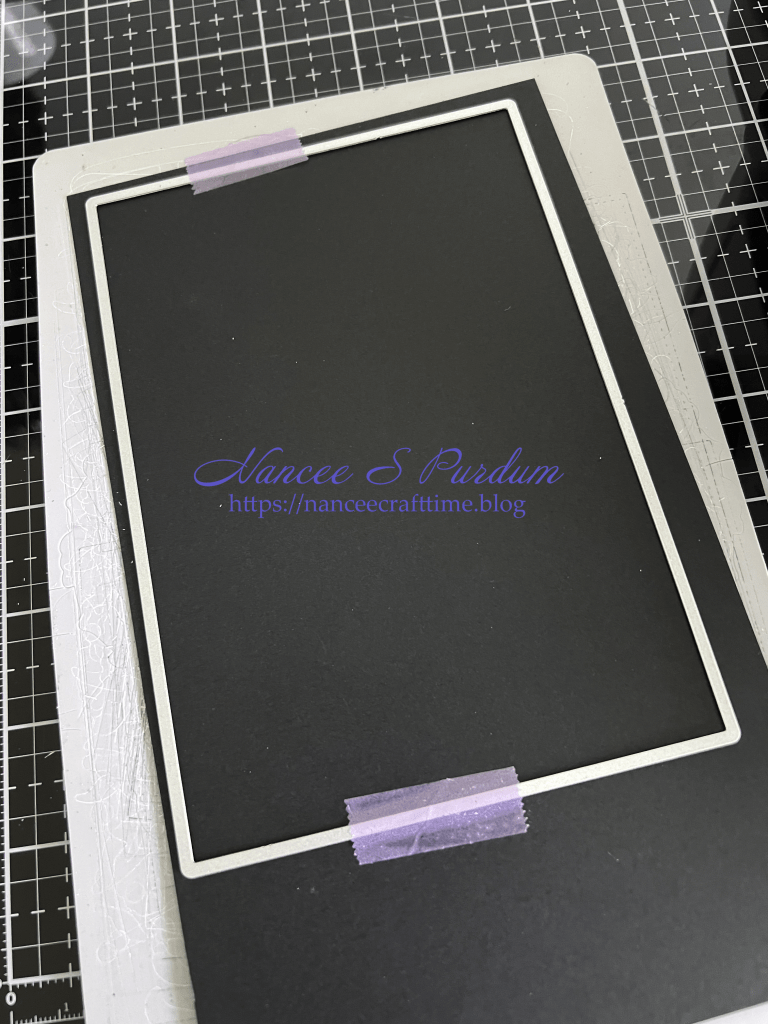

- I first cut a white panel with a black mat using Master Layouts #8 as I had decided to make a 5 X 7 card.
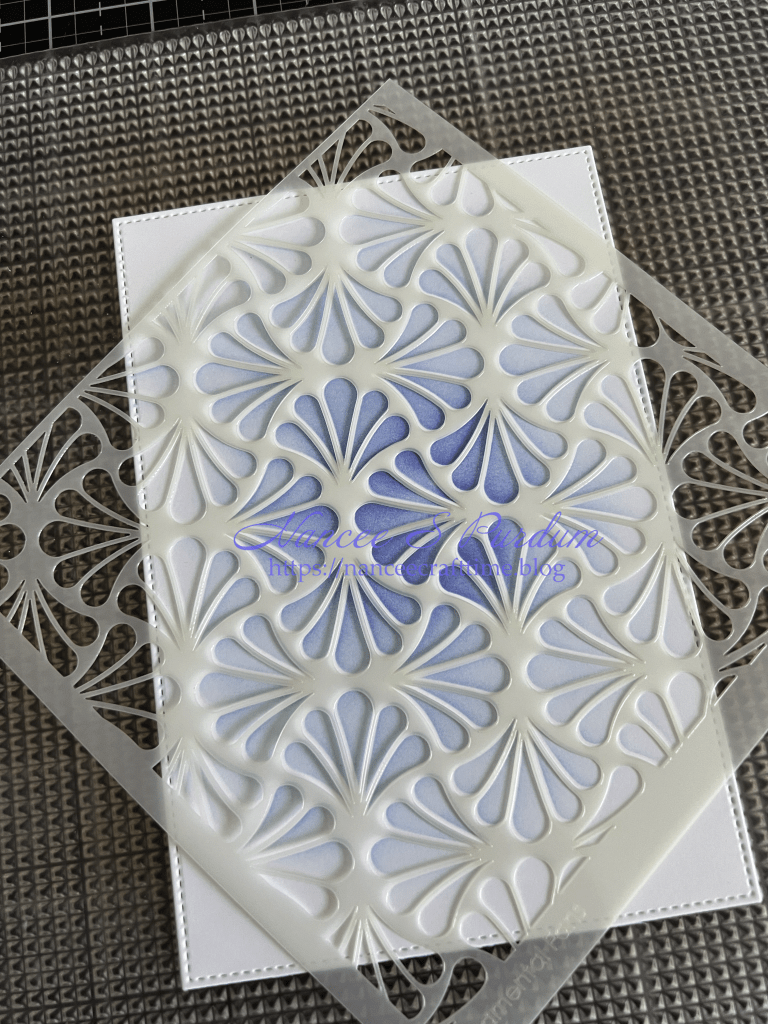
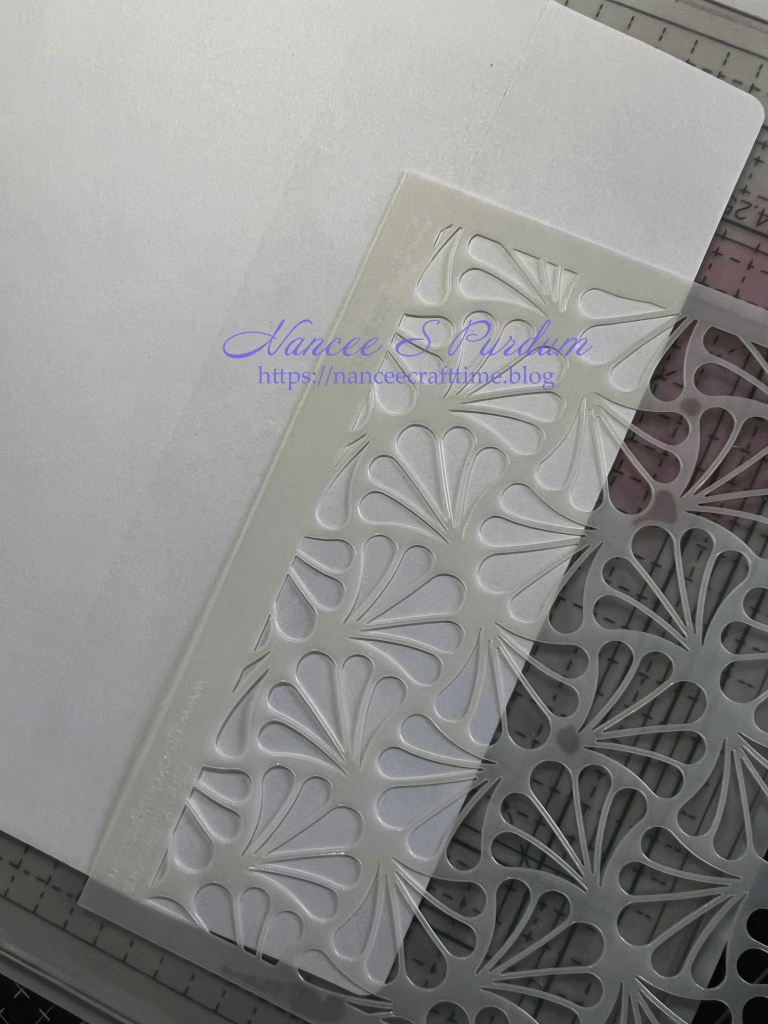
- On the white panel, I used Ornamental Fan stencil from Gina K.
- I started in the middle of the stencil and card panel using my darkest color.
- I worked my way out changing to a lighter ink.
- Because this is a 6 X 6 stencil, I repositioned the stencil at the top and bottom matching the stencil parts I had already colored.
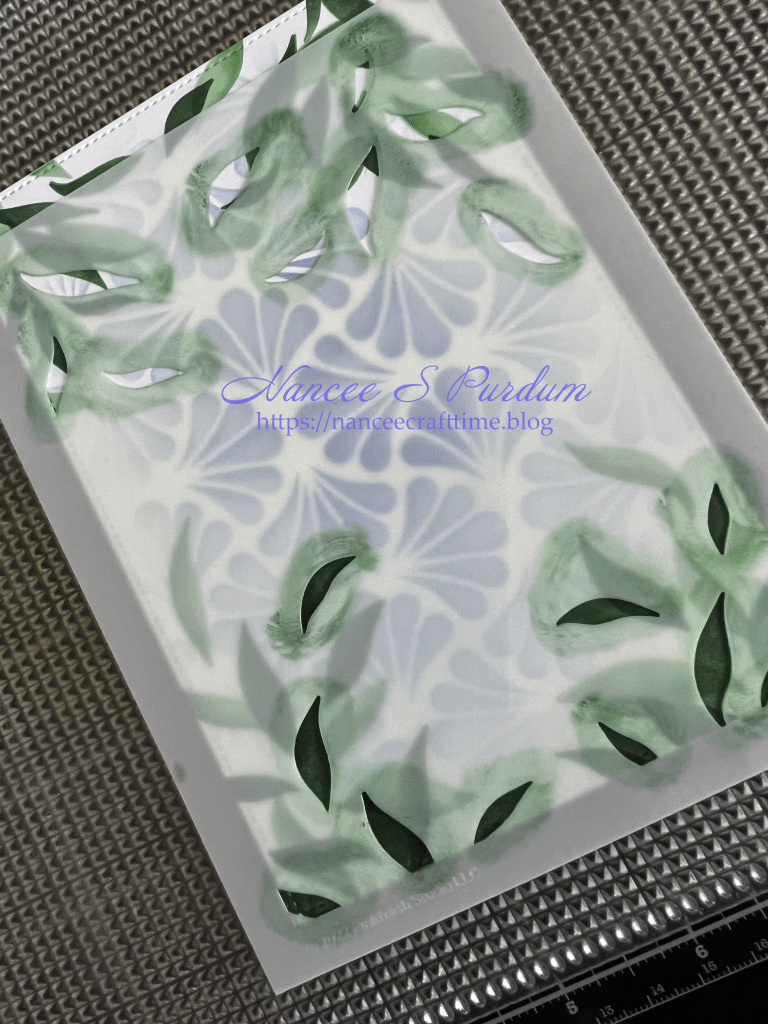
- Once I had the background done with this stencil, I changed to Leafy Background layering tencil from Pinkfresh Studio and ink colors from blues to greens.
- The Leafy Background layering stencil is also a 6 X 6 stencil, so first positioned the first stencil towards the top of my white background and added my lightest color blending into a medium color.
- I repositioned the stencil at the bottom of my panel and repeated the blending process.
- Once I had the inking of the first stencil complete, I positioned the second stencil at the top and added a medium green ink and blended it with a darker ink.
- I repeated this process for the third stencil starting with my darker ink and blending it with my darkest ink.

- Once I had my background complete, I moved on to my focal point.
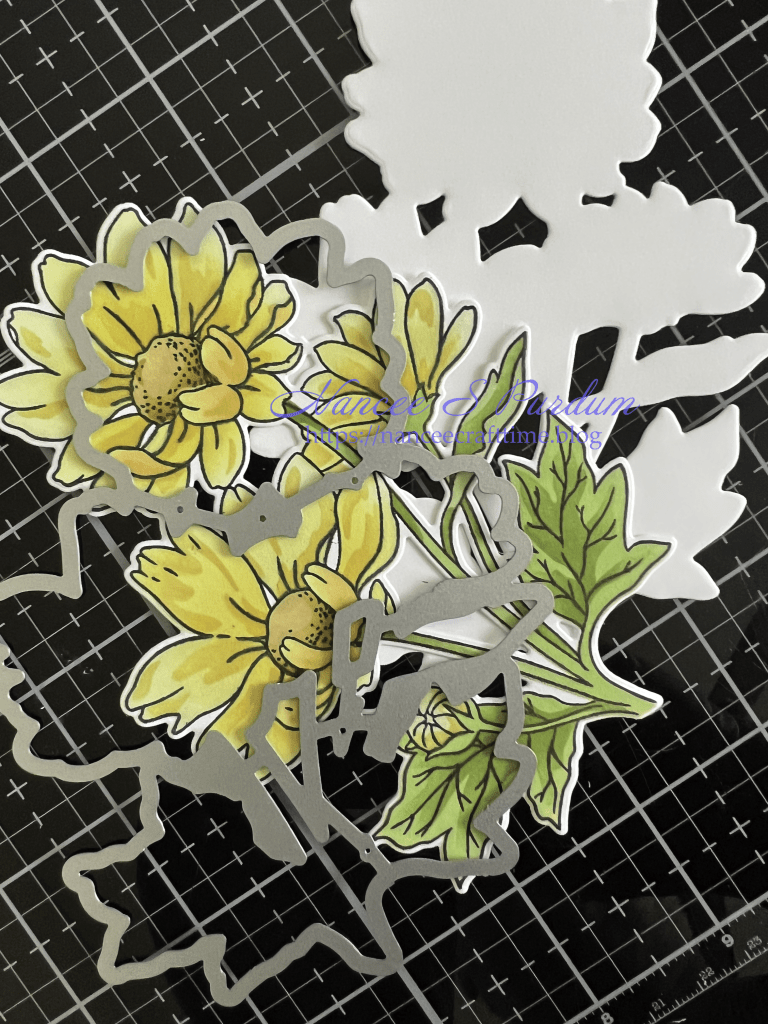
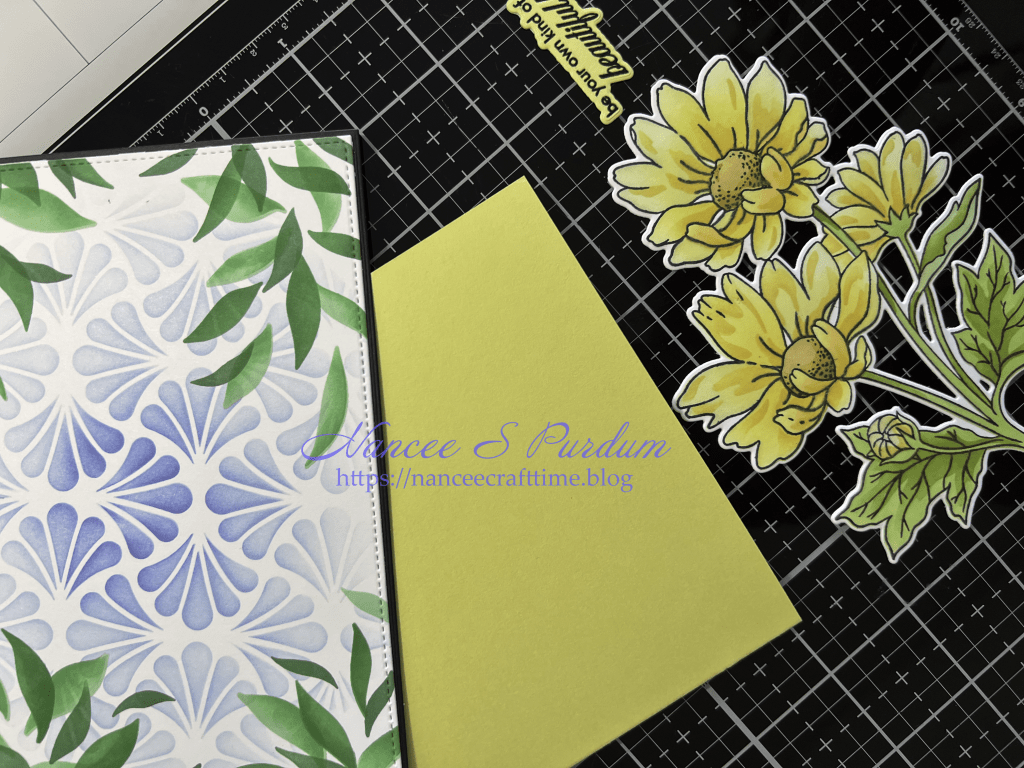
- I first stamped my image using a black ink.
- I then used the layering stencils to color the image blending the colors between each shade.
- Once I had my image colored, I used the coordinating die to cut the image out.
- I also cut an additional die cut from some white cardstock to adhere behind my colored image. This gives my image a little more stability.


- I wanted the inside panel to have some color so I used the same Ornamental Fan stencil.
- On the inside, however, I wanted to leave the middle area white so a sentiment or personal message could be written.
- I positioned the stencil towards the top and began ink blending towards the center.
- I repositioned the stencil so the pattern would be repeated around the entire panel in a continuous manner.
- I adhered the panel to the inside of my card base.
- I also added the same stencil to the flap of the envelope and the lower left hand corner of the address side of the envelope. This helps to tie the card and envelope together.


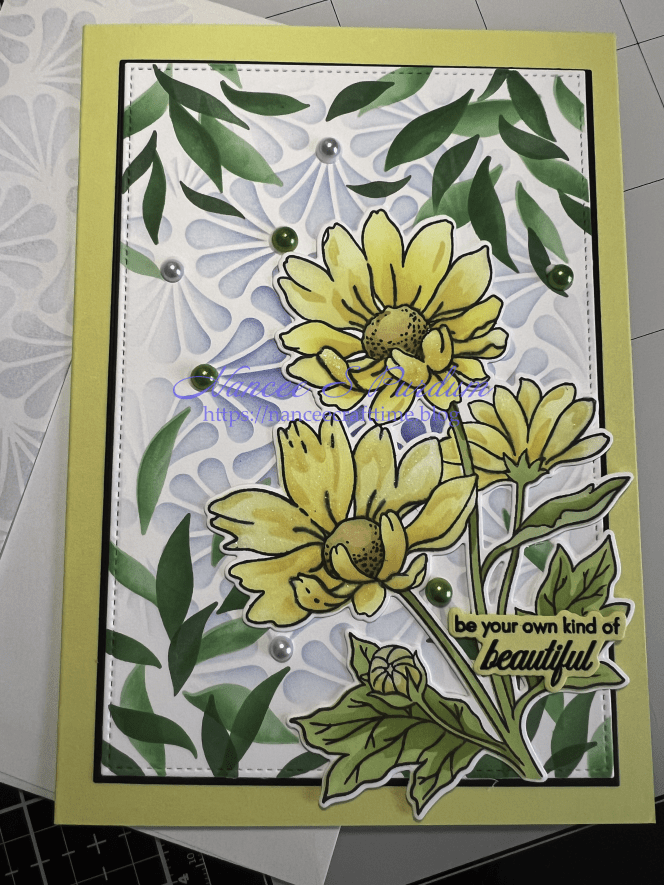
- Once I had completed the inside of my card I started the assembly process on the front of the card.
- I added my stenciled panel to the black mat and then onto my yellow card base.
- I then positioned my die cut flowers towards the lower right hand corner letting part of the leaves overhang my white panel.
- I added some Nuvo Aqua Shimmer Glitter gloss to some of the flower petals.
- I stamped and heat embossed my sentiment and added it to the front of my card.
- To finish my card, I added some light blue and green pearls from my stash at the base of some of the “fans”.
Thanks for stopping by and Happy Crafting!

Supplies Used:
Gina K: Master Layouts #8, Ornamental Fan stencil, Detail Clear Embossing Powder
Pinkfresh Studio: Leafy Background
Altenew: Oxeye Daisy (stamp, stencil, die)
Cardstock Used:
Gina K: Lemon Drop, Black Onyx
Inks Used:
Altenew Fresh Dye Inks: Persian Blue, Caribbean Sky, Arctic, Citrus Burst, Just Green, Hunter Green, Sweet Leaf, Fresh Leaf, Fresh Lemon, Maple Yellow, Lime, Limeade, Pumpkin Pie, Yellow Ochre, Jet Black
Embellishments & Miscellaneous:
Versamark Watermark Ink
Nuvo Aqua Shimmer Glitter Gloss
Pearls from my stash

