
Today’s birthday card involves some stamping, stenciling, coloring with Copic markers, masking and die cutting.

I have so many stamps that I had not used and this is one of those stamps. It is so cute and makes for a great birthday card. I think it would also be a great image for a retirement card.
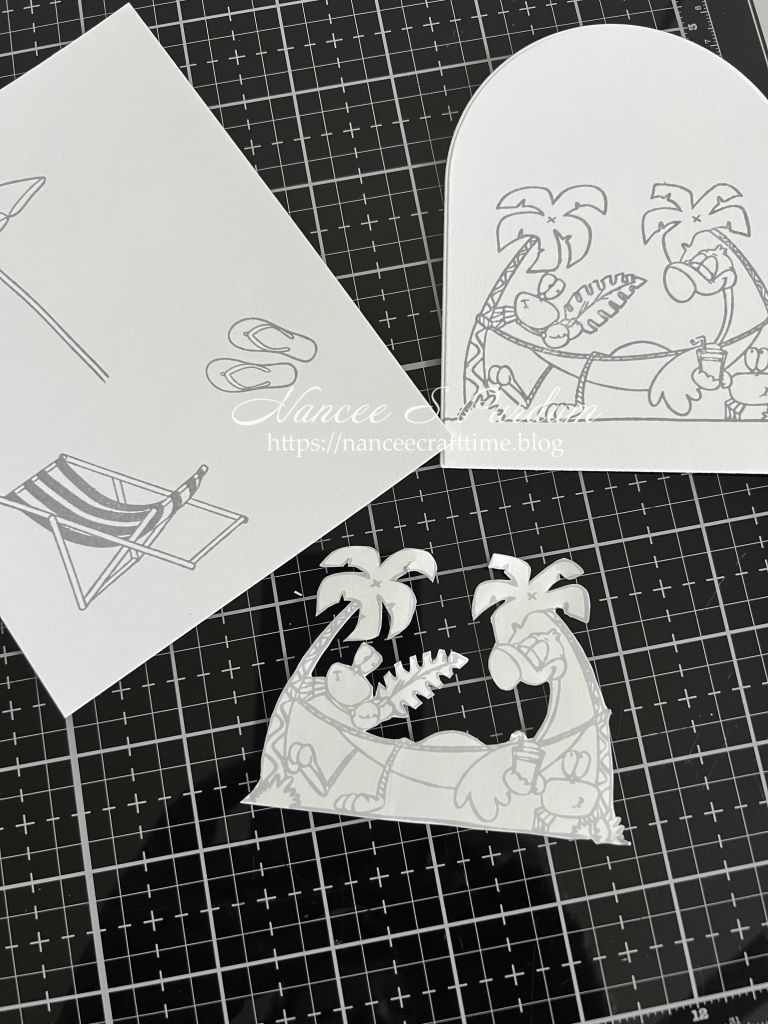


- I first stamped my focal image along with some other images that I thought I might use.
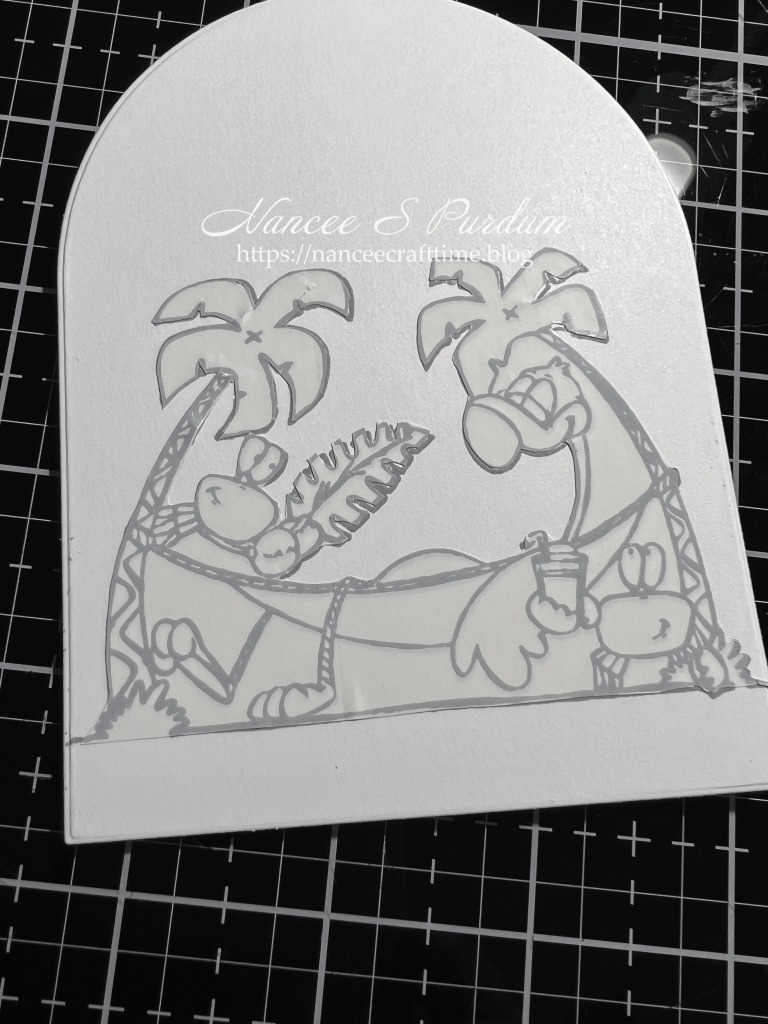
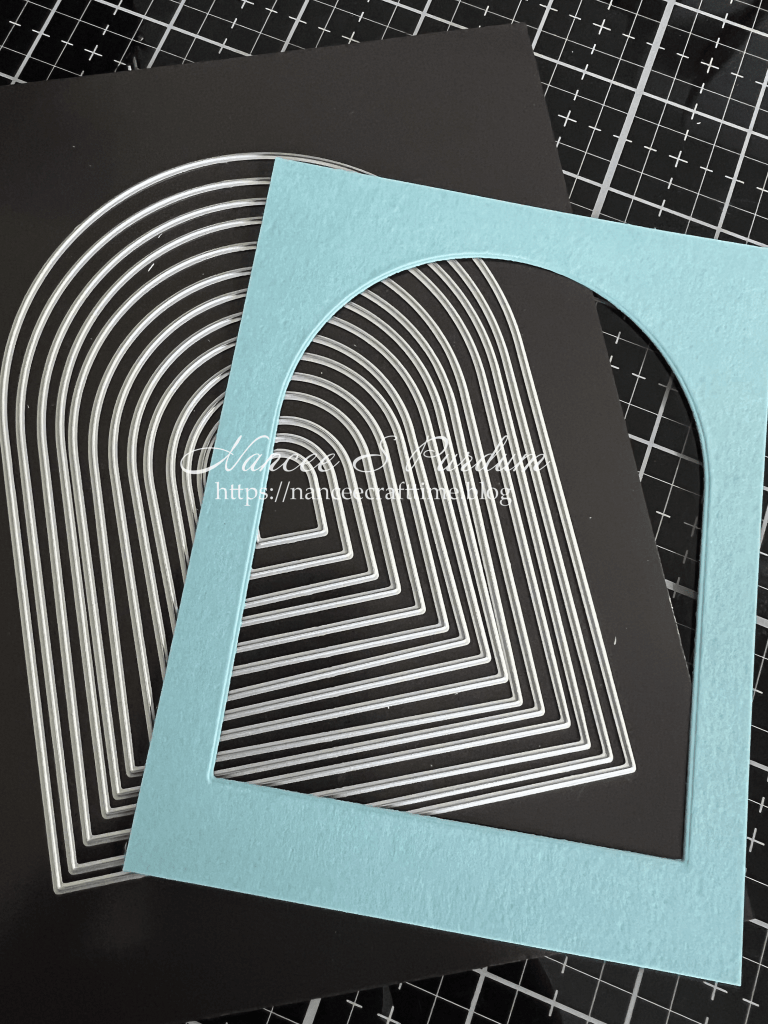
- Once I had my focal image stamped, I used a die to cut the image into an arch.
- I then stamped my focal image on some Masking Magic paper and then fussy cut it out.
- I used a 1″ punch to punch a circle to use as the sun.
- After covering my image with the mask, I started working on the background.
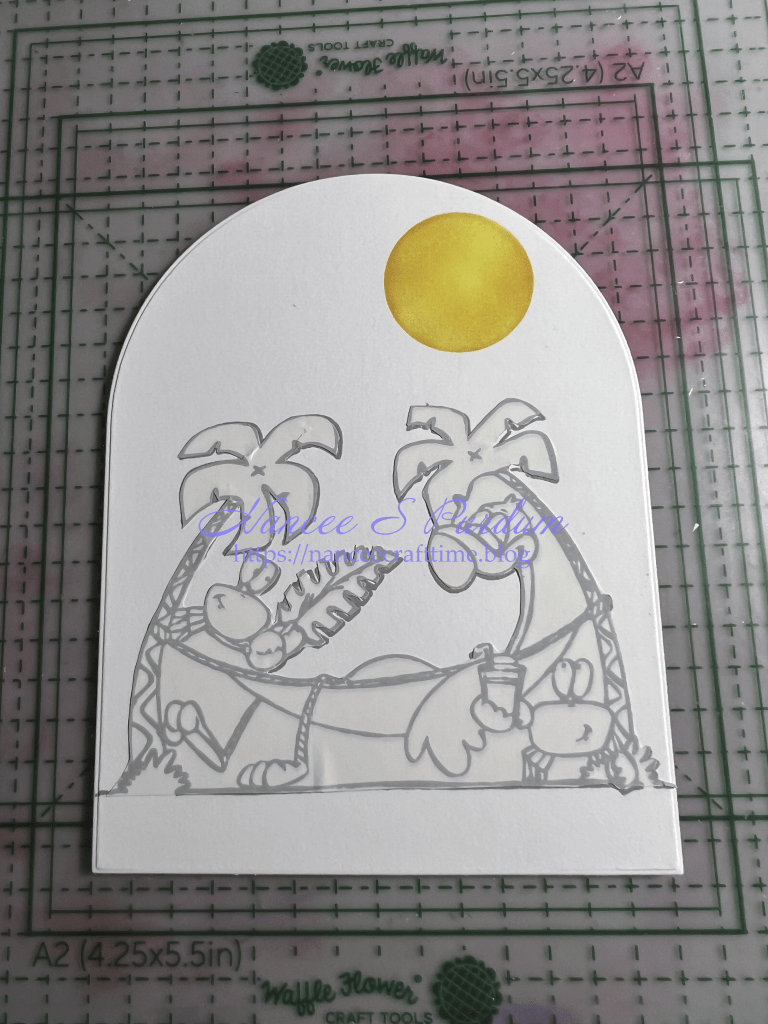
- I first applied the reverse mask where I wanted the sun and applied color to the area.
- Once I had the color for the sun, I covered it with the mask.
- The clouds were created with Clouds for Days stencil. I started at the bottom for the first section and then repositioned the stencil and applied the next layer. I continued this until I reached the top of the arch.
- Once I had the clouds completed, I removed the mask on the sun and applied a light application of the yellow ink around the sun over the clouds.
- I then added a base color of ink for the sand at the bottom of the image.
- Once I had the stenciling and inking done, I removed the mask over the focal image.
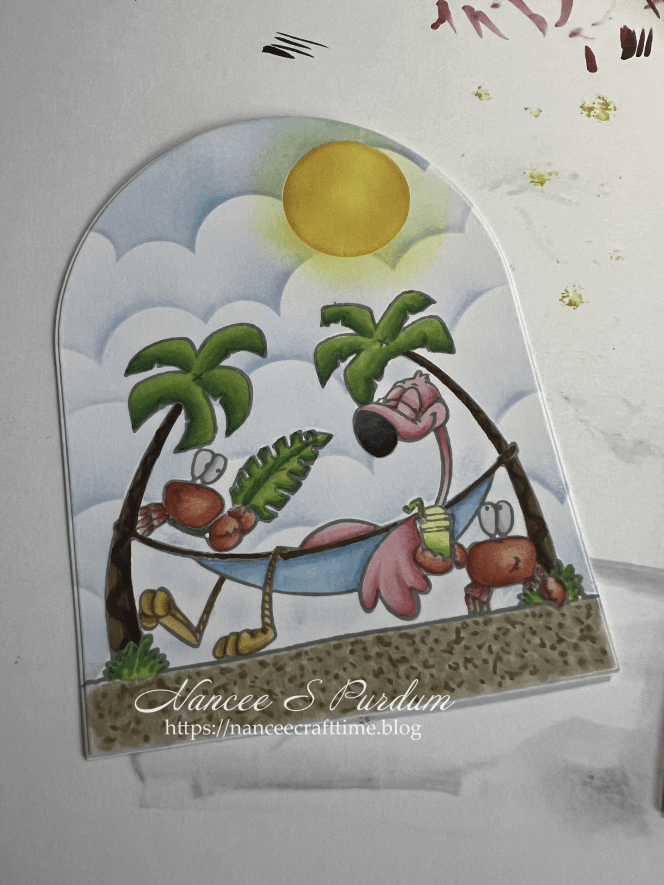
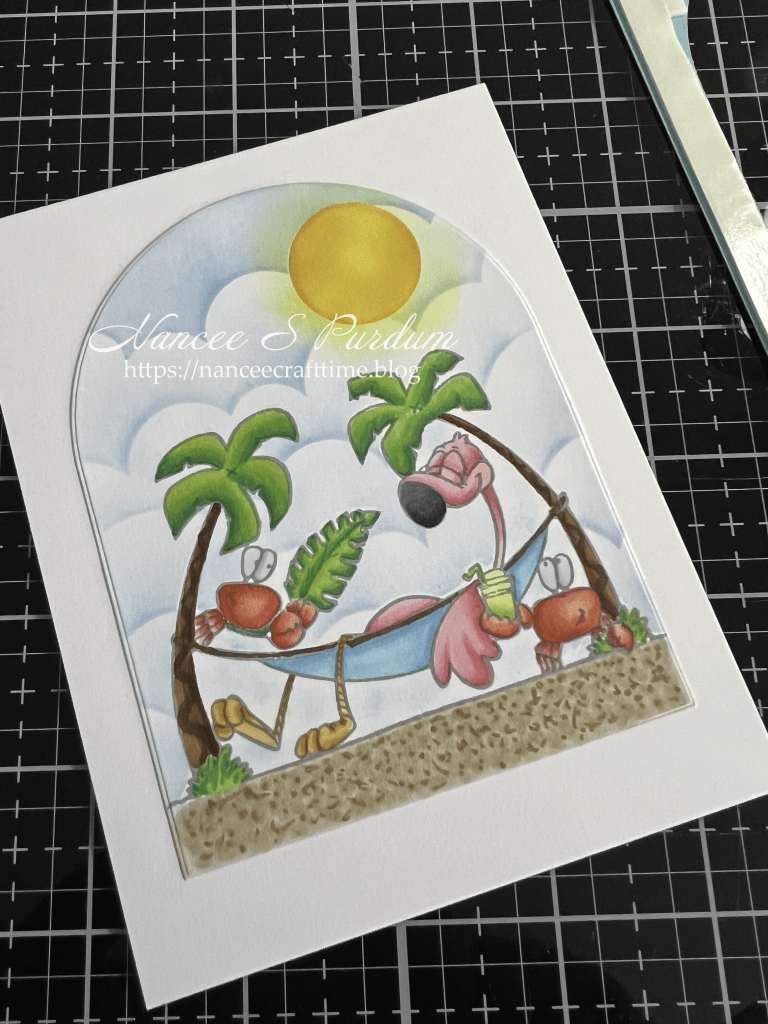
- My next step was to color my image.
- I started with the bird and then moved onto the other images. I always start with the darkest color and blend into the next lightest color.
- Once I had my image colored, I then added some Copic marker to the sand to give it more of an appearance of sand.

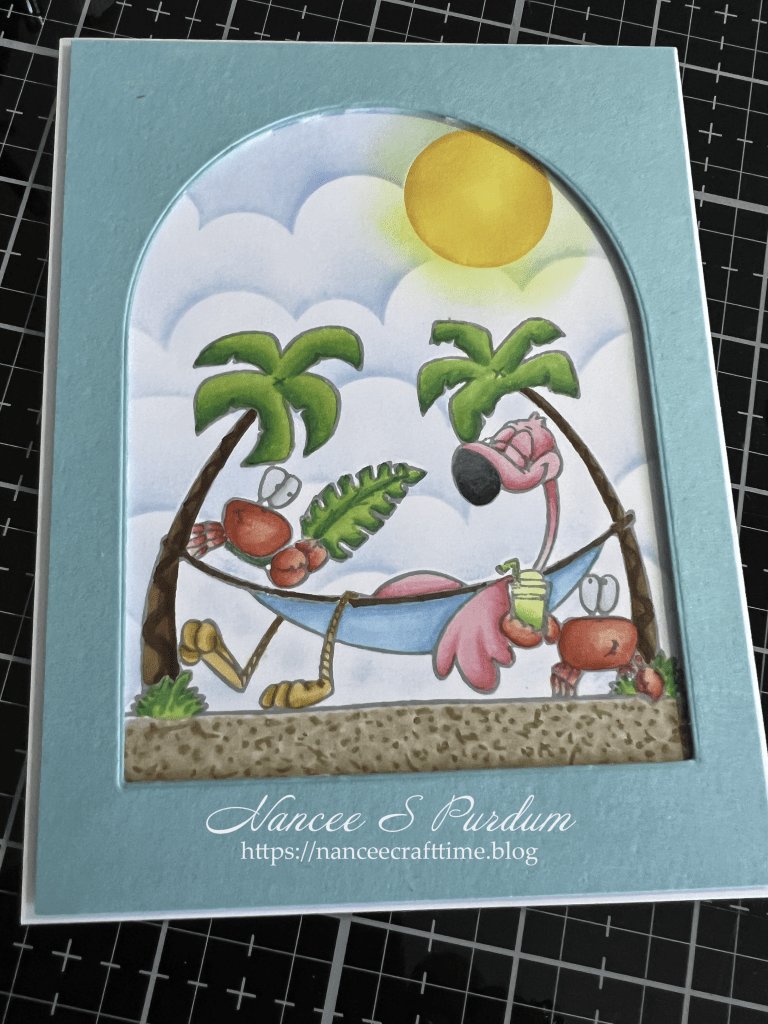
- I decided I wanted to have a “raised” panel over my colored image.
- I first centered and adhered my image to a white panel that would fit on my card base.
- I then selected a die that was slightly smaller than my image.
- I cut down a piece of blue cardstock to the same size as my white panel and placed the die in the center of the blue cardstock and ran it through my die cutting machine.
- I then added some foam tape to the back of my blue panel and added over the top of my colored image.
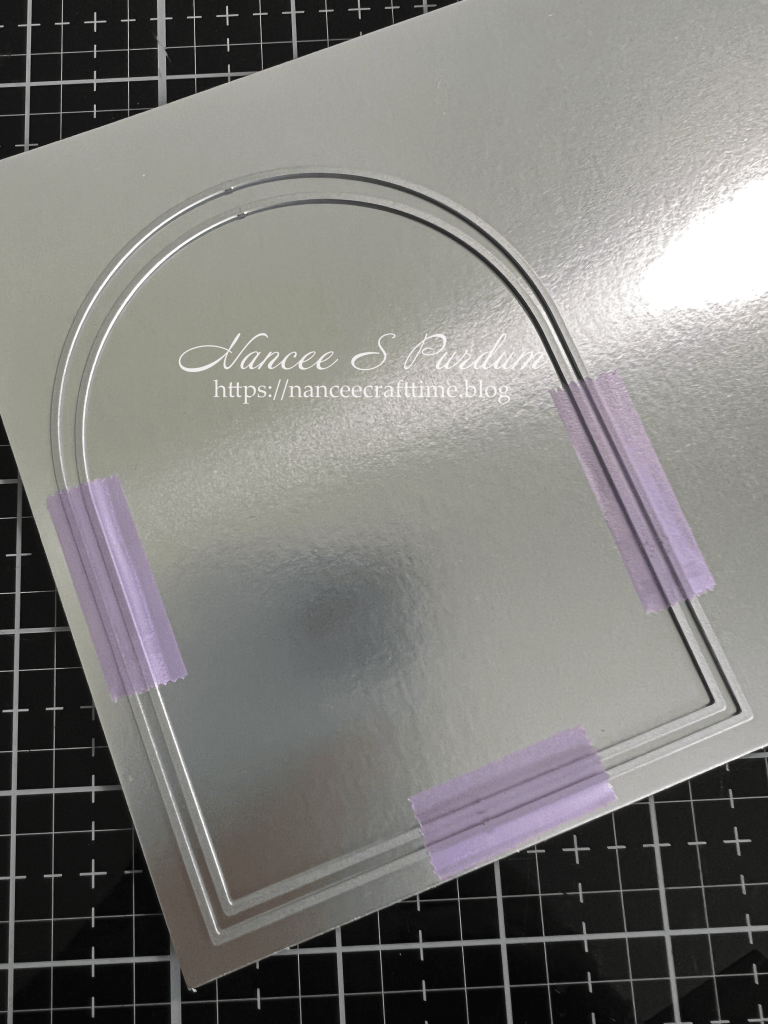
- I decided I wanted to emphasize the opening with a border.
- I used the same two dies that I used to cut down my white panel and the one I used to create the opening in my blue panel.
- I arranged the dies on some silver cardstock and ran it through my die cutting machine. This created a thin frame to go around the opening on my blue panel.
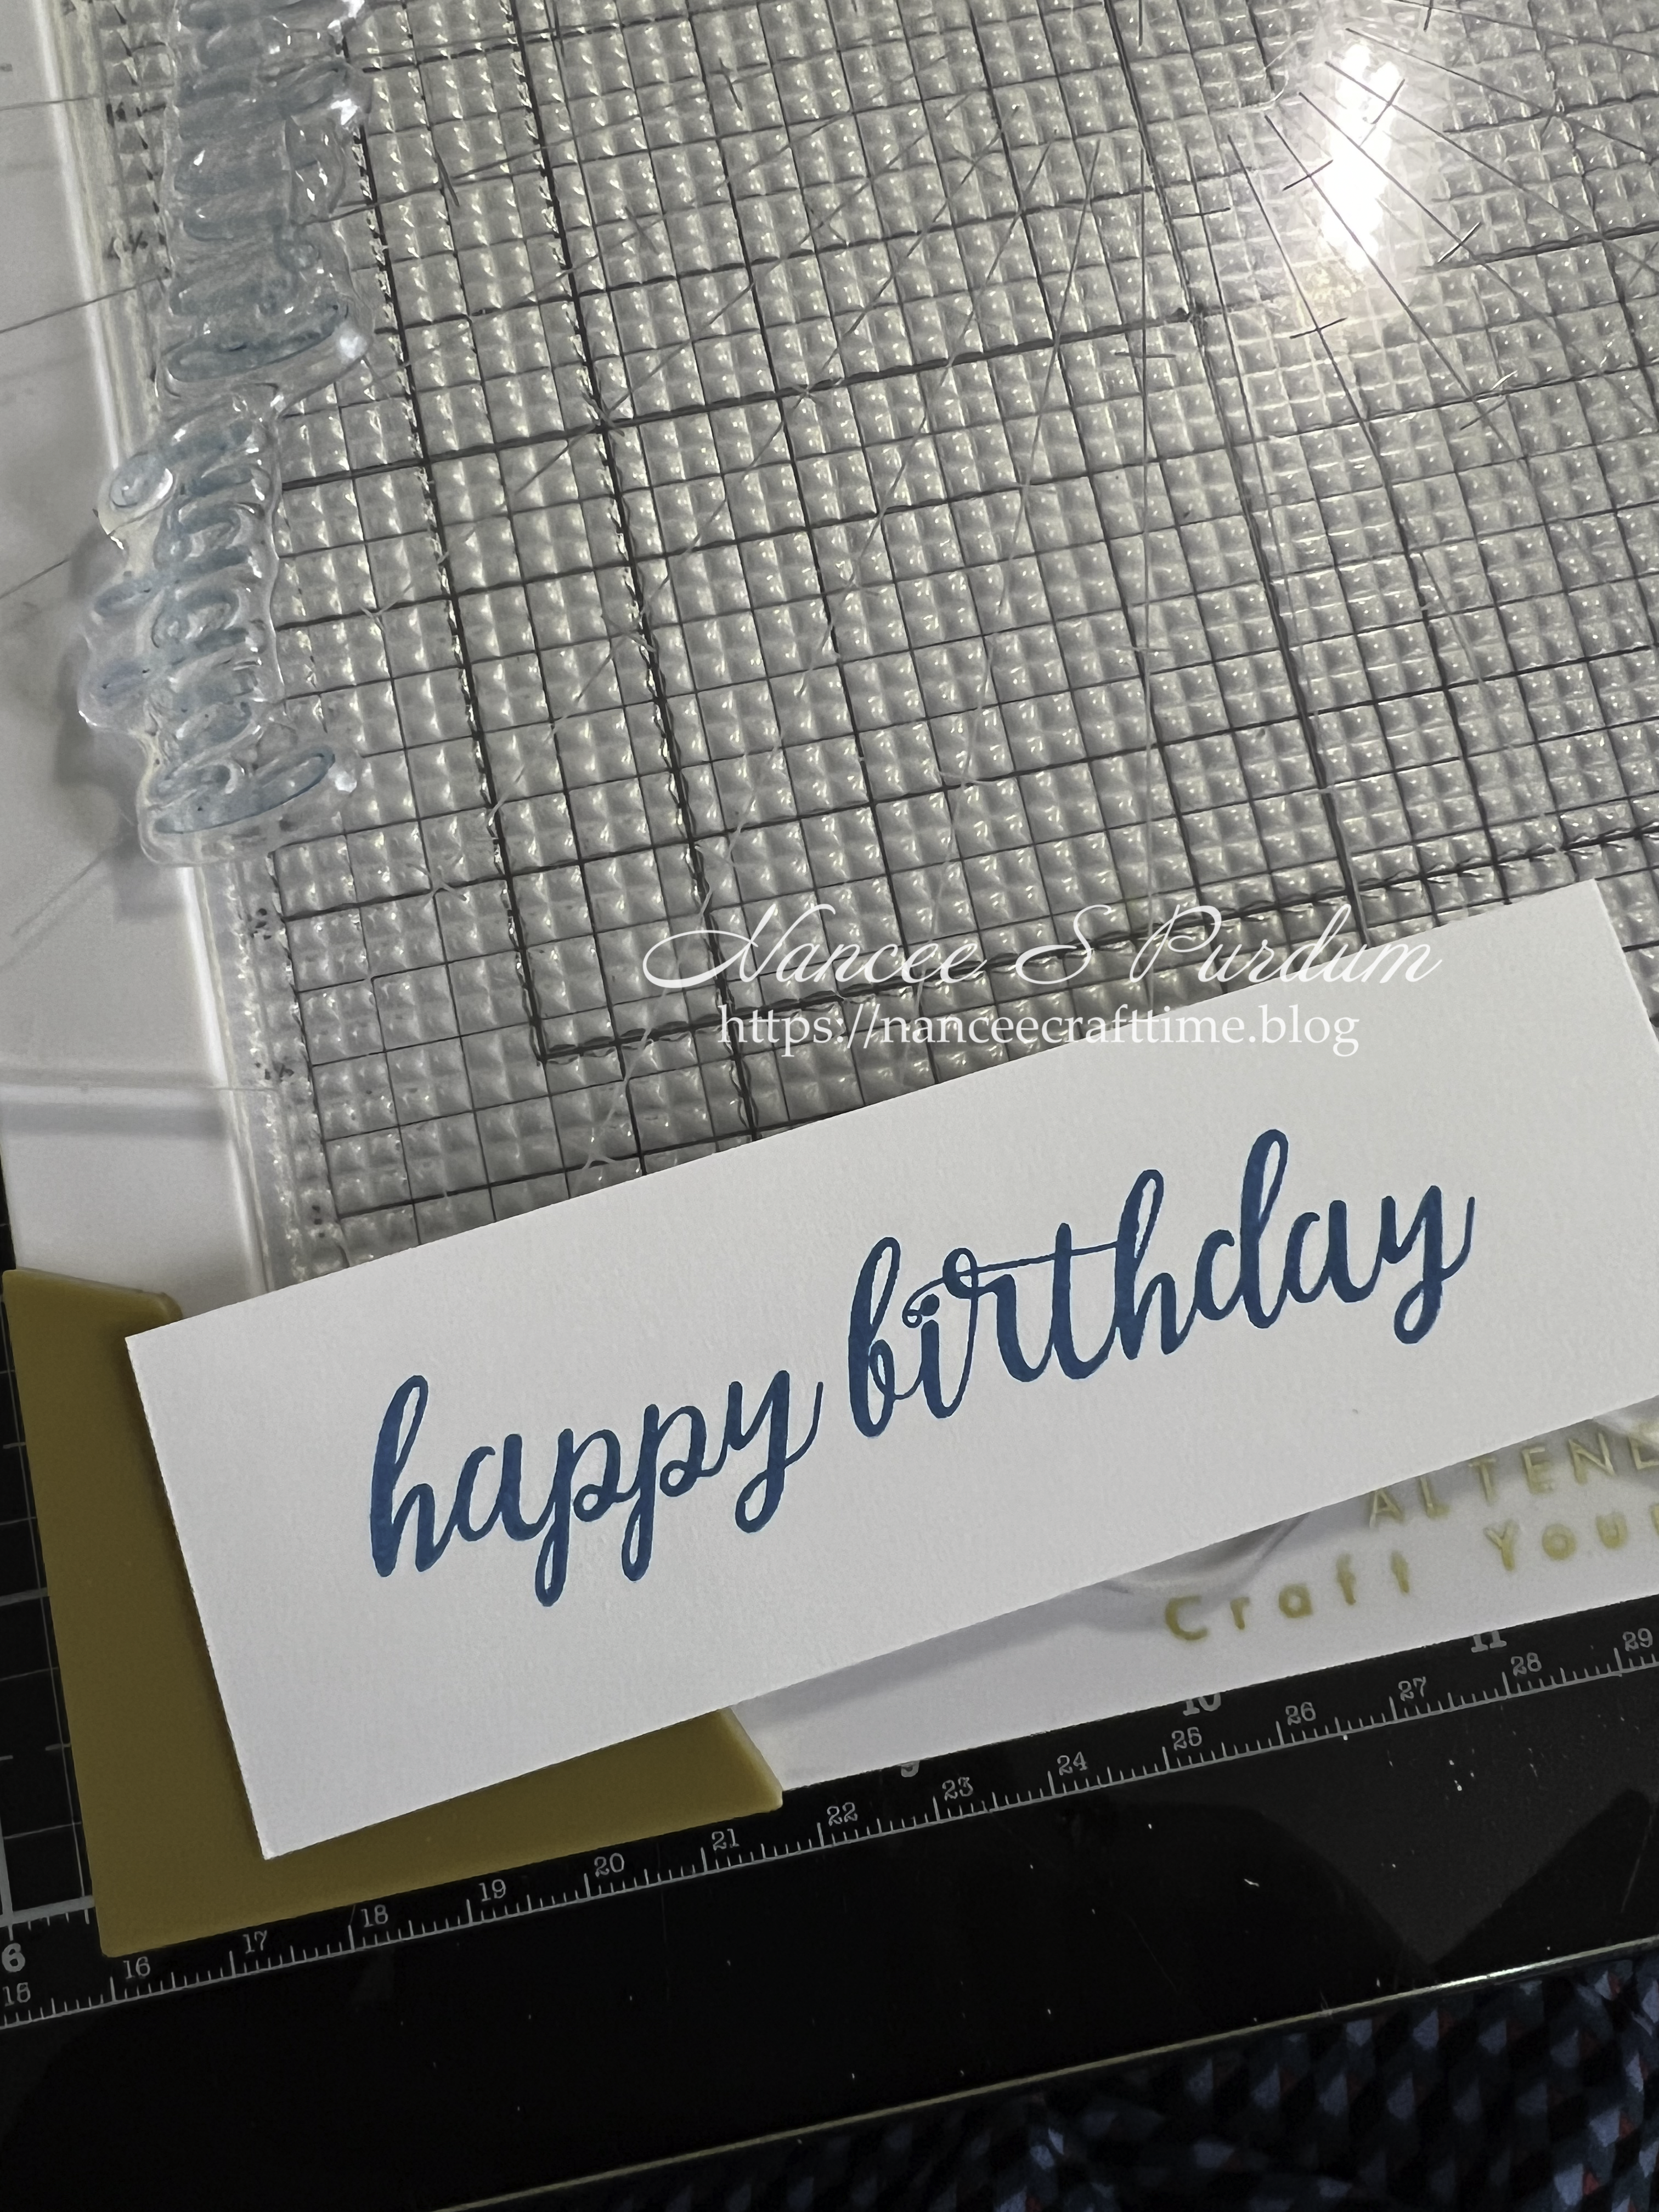


- My next step was to create my sentiment.
- I first stamped my image in some Versafine Clair ink.
- Since the ink is a pigment ink and stays “wet” for a little while, I do not need to restamp the sentiment with Versamark Watermark ink.
- I then added some clear embossing powder over the stamped sentiment.
- After tapping off the excess embossing powder, I heat set the sentiment.
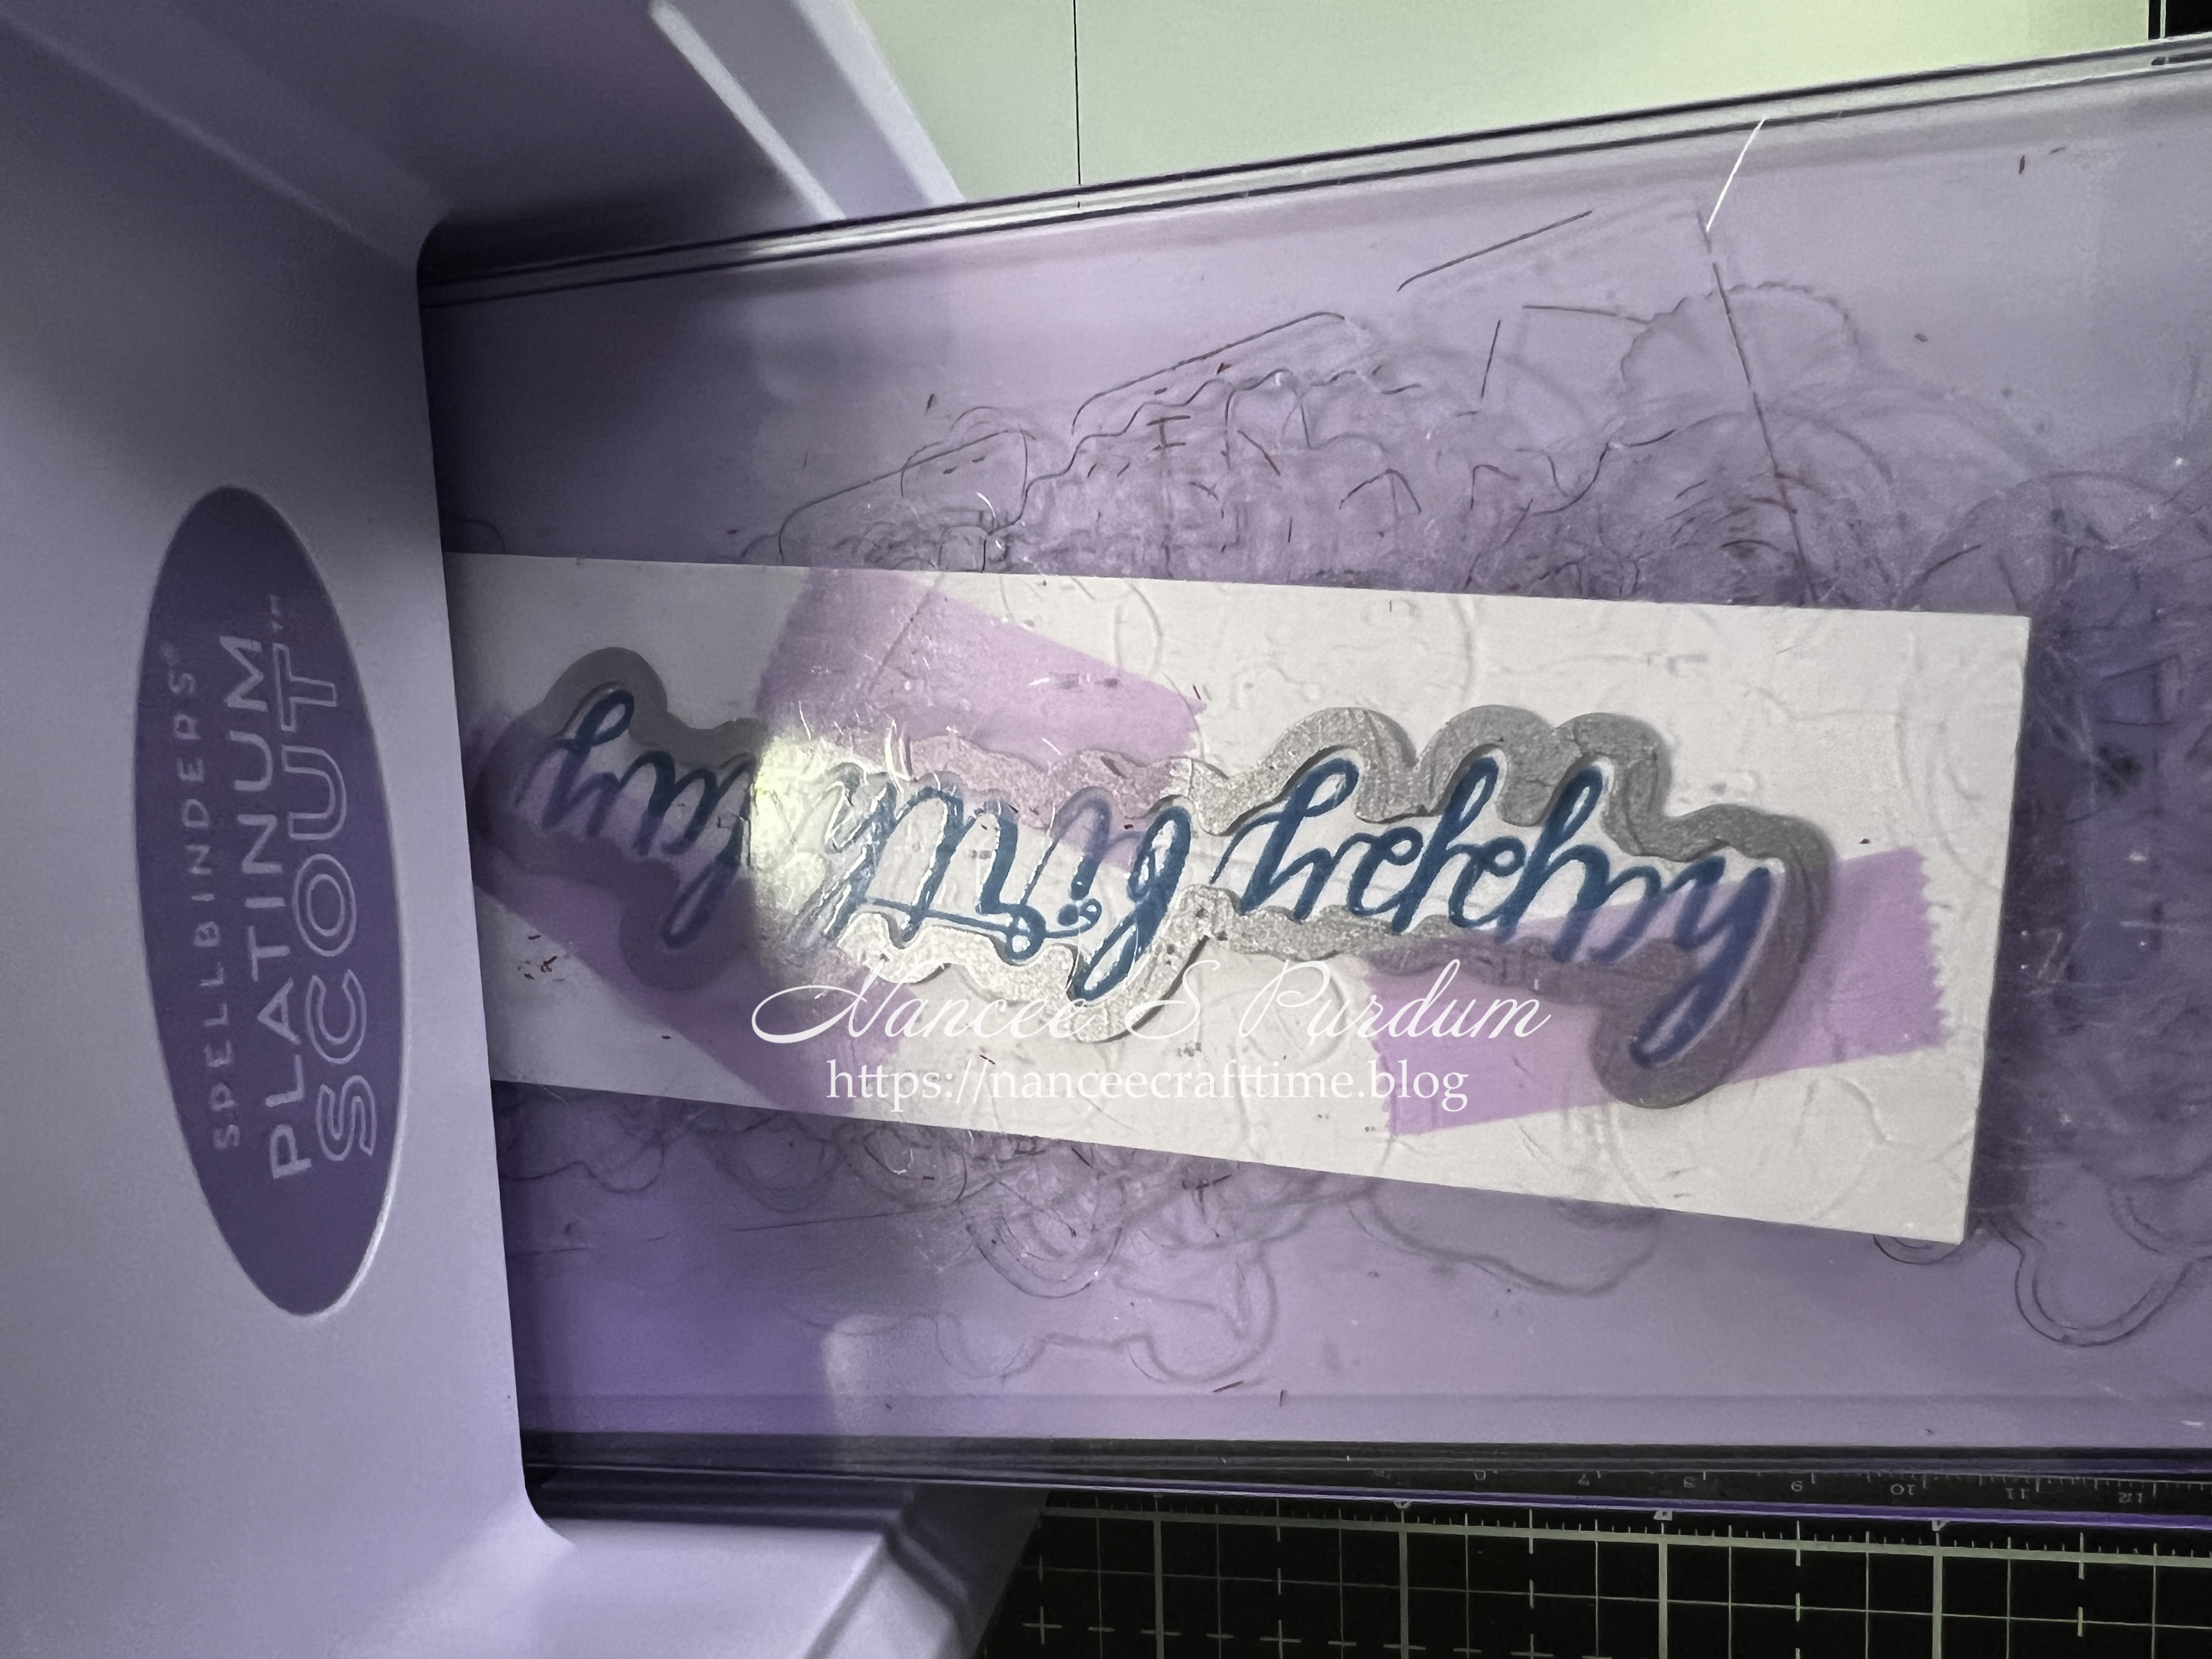
- I used the coordinating die to cut out the sentiment.

- For the inside sentiment, I used the arch from my front panel.
- I stamped my sentiment in the same ink I used for the sentiment on the front of my card.
- I heat set the sentiment after adding the clear embossing powder.
- I then added the sentiment to the inside of the card.
- I felt it needed a little something more so I added the flip flops I had colored to the bottom.
- From some of the other images I had colored, I decided to add the flip flops to the inside of my card.
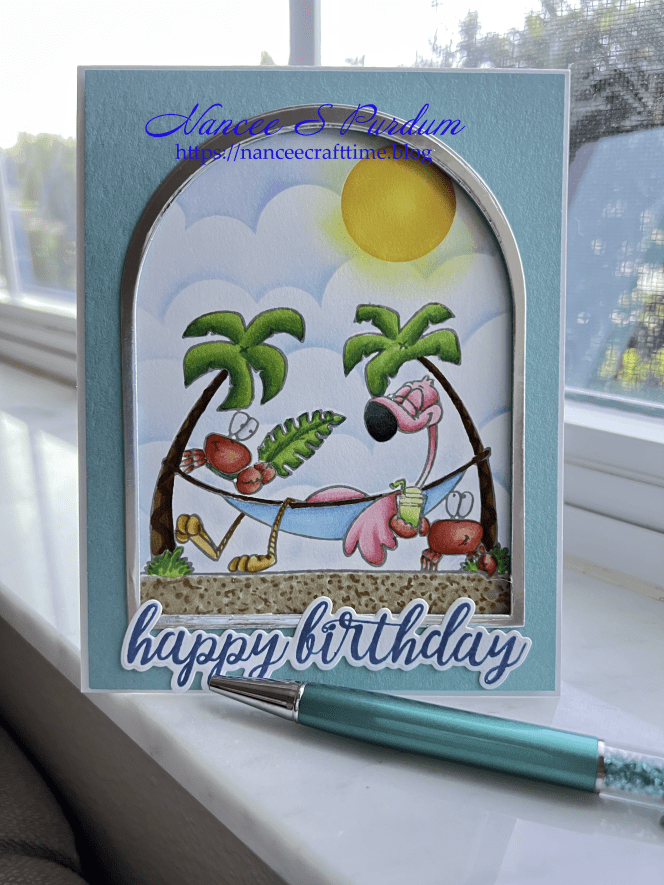
This completed my card. I was happy with the way this one turned out. I have some left-over colored images that I can use on future cards.
Thanks for stopping by and Happy Crafting!

Supplies Used:
Whimsy Stamps: Beach Babes stamp set
Gina K: Masking Magic, Sun Kissed (retired), Slay Queen, Birthday Cheer
Hero Arts: Nested Arches
Simon Says Stamp: Clouds for Days
Cardstock:
Gina K: Turquoise Sea
Inks Used:
Altenew Fresh Dye Inks: Sunray, Snapdragon, Fresh Lemon, Pink Sand, Caribbean Sky
VersaFine Clair: Warm Breeze
Copics Used:
C9, C7, C5, C3, C1, R17, R14, R12, BG05, YR21, YR23, YR24, RV13, BG02, RV14, BG01, BG000, E27, RV11, YG01, YG05, YG03, E31, E59, E37, E39, E35, YG07, E30, G09, E42, E40, E25, B37, E29, B34, B32

