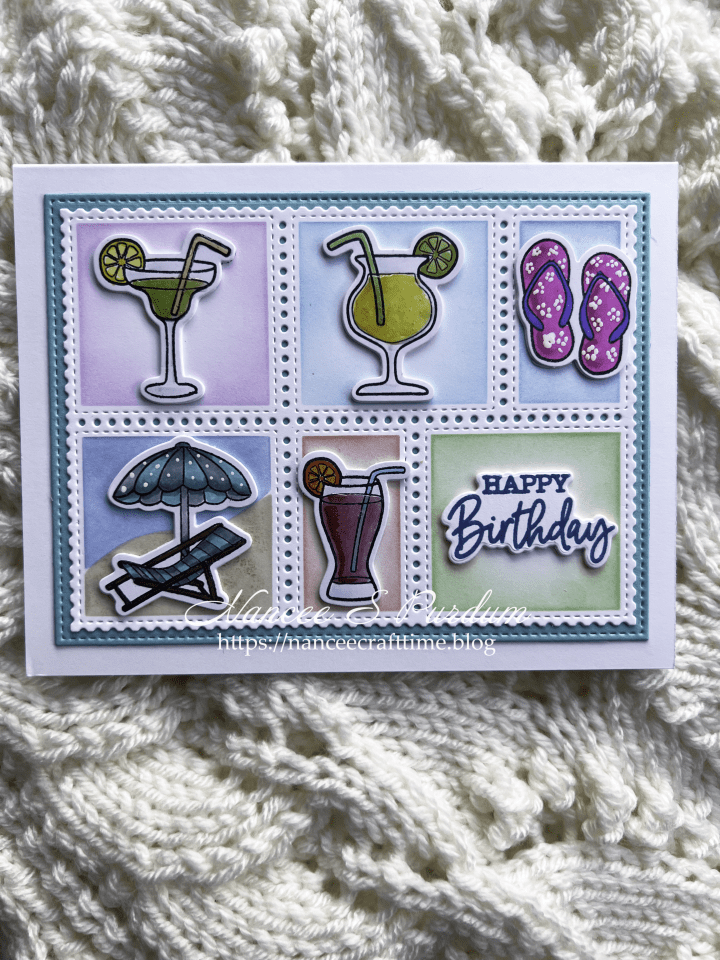
I have a lot of smaller images that seldom get used. With the “Postage” die and stencil sets by several companies, you can use those smaller images to create a cute card for any occasion. I have previously used the postage die sets to create Thank You cards. Today’s card uses them to create a birthday card.
I stamped each image and then colored them using my Copic markers. Once I had them colored, I cut them out using the coordinating dies. I also cut out two additional images from white cardstock to add to the back and give the images some depth. I then arranged them on my panel so I could decide what colors to use behind the images.
I used the matching stencil to add color to each section of the postage panel. Once I added the color to the panel, I adhered the images in the respective sections.

The sentiment is from the same stamp and die set as the smaller images. I stamped the sentiment in blue ink and then again Versa Mark Watermark ink. I added clear embossing powder over the sentiment and heat set the embossing powder.
I added glossy accents to the “drinks” to give those images some depth.
The “postage” die and stencil set is very versatile. I like how you can just change the images and background colors to fit any occasion. I look forward to using this again for different occasions.
Thanks for stopping by and Happy Crafting!

Supplies Used:
Gina K: The Good Life (stamp and die), Postage Grid stencil, Master Layouts #14, Detail Clear Embossing powder
Cardstock Used:
Gina K: Turquois Sea
Inks Used:
Gina K: Obsidian Amalgam Ink, Kraft, Powder Blue, Sandy Beach, Lovely Lavender, Applemint, Ocean Mist, Peach Bellini, Warm Cocoa
Copics Used:
BG75, BG49, BG72, E59, C5, YR04, C3, YR09, BG45, Y02, R89, YG25, YG03, Y08, R81, FYR1, B0000, C00, R85, FYG1, RV04, RV09, RV06, FBG2, FV2
Miscellaneous:
White Gelly Roll pen

