
I have another Thank You card to share today. I used Pinkfresh Studio’s Botanical Bunch stamp, stencil and die set.
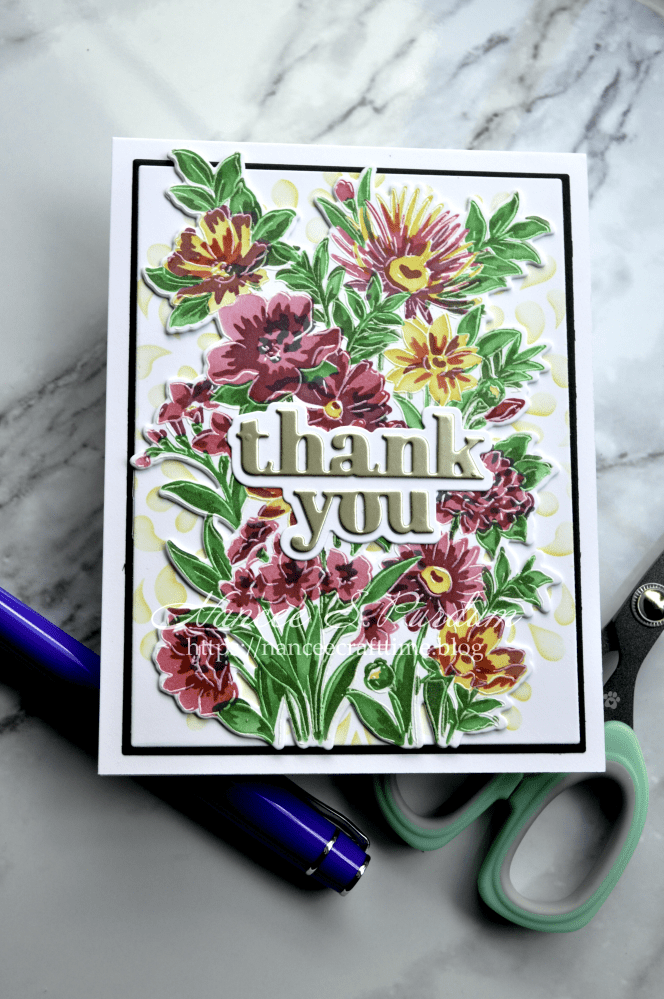
I first stamped the image with Versa Mark Watermark ink and added detail white embossing powder. I heat set the embossing powder.
Once my paper was cool, I started the coloring of my image using the layering stencil and ink with my blending brushes. Each layer adds more detail to the image. You can use different colors on each layer. You can also mask off some areas on the stencil so you can add different colors on the same layer. This is what I did so I could get different colored flowers.
Once I had all of the layers colored, I took a soft cloth and wiped over the entire image to remove any residual ink resting on the embossed image.

I die cut the image using the coordinating die. I also cut an additional image to add behind the colored image to give it some stability.
I cut a panel from some white cardstock and a black mat using Master Layouts #1. On the white panel, I used the Mandala stencil from Gina K and Lemonade ink. I used a light touch applying the ink as I didn’t want it to vibrant.
I die cut my sentiment from some gold mirror cardstock and a shadow from white cardstock. I layered my Mandala panel to a black mat and then to my card base. I added the floral image and my sentiment.
This card came together quickly. I liked the look of the white embossing with the colored image.
Thanks for stopping by and Happy Crafting!

Supplies Used:
Pinkfresh Studios: Botanical Garden (stamp, stencil, die)
Gina K: Mandala Burst stencil, Master Layouts #1, Detail White embossing powder
Simon Says Stamp: Simply Thank You
Cardstock Used:
Gina K: Black Onyx
Memory Box: Vintage Pastel Mirror card stock
Inks Used:
Simon Says Stamp: Lemonade Pawsitively ink, Cherry Pawsitively ink, Charcoal Pawsitively ink, Lucky Pawsitively ink, Evergreen Hybrid ink, Merlot Hybrid ink, Melon Hybrid ink


Beautiful! … As usual!!
LikeLiked by 1 person
Thank you!
LikeLike