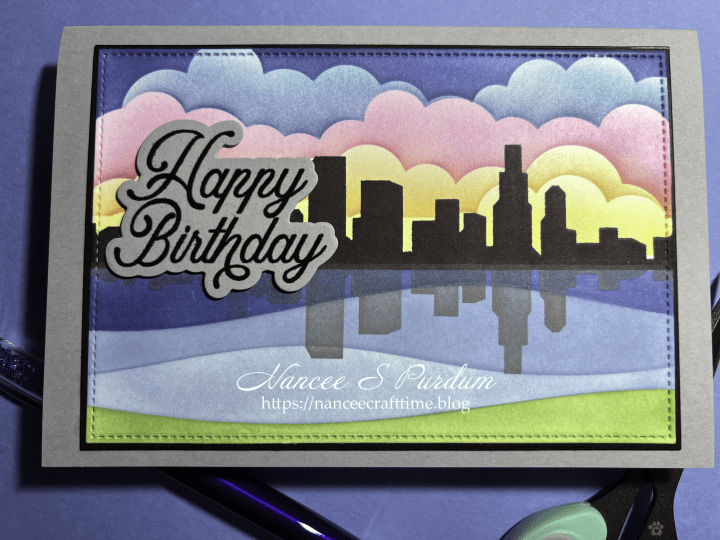
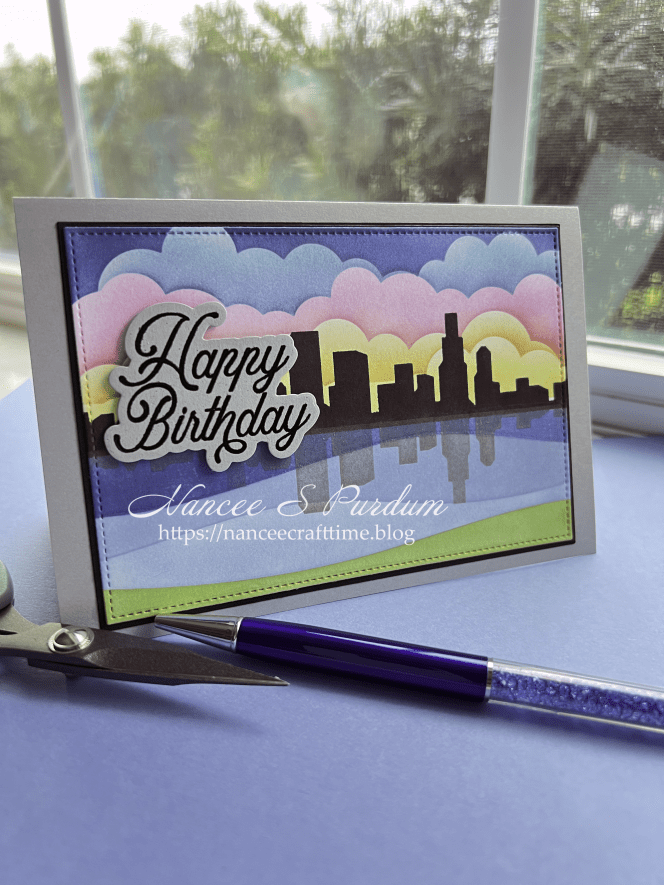
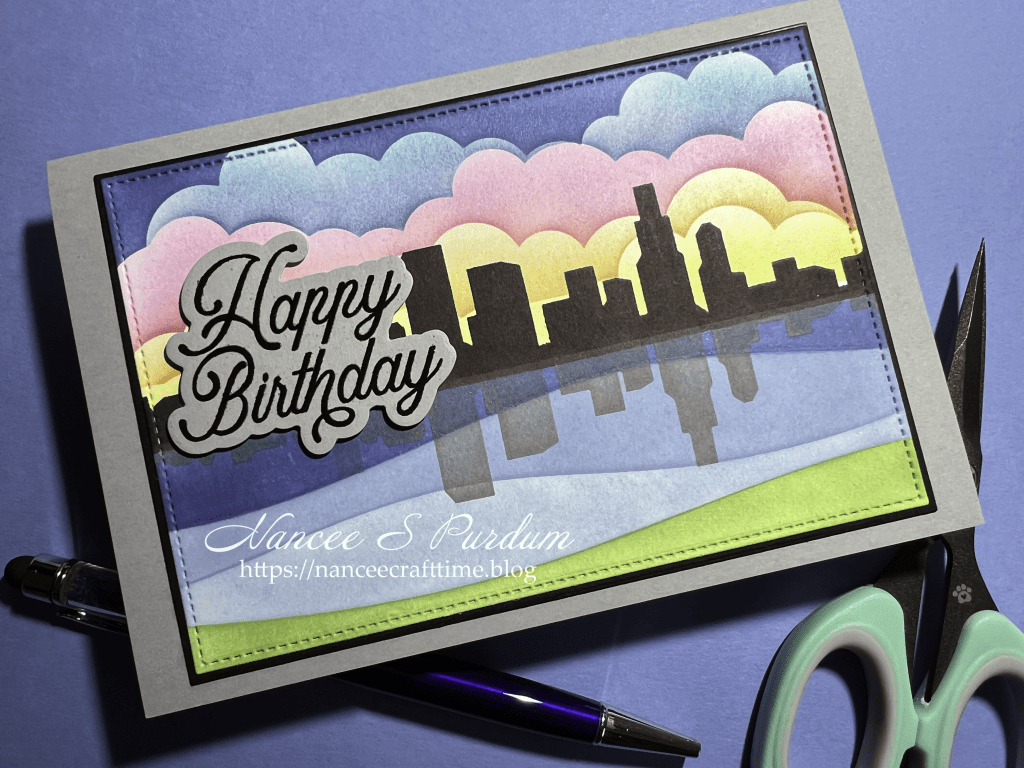
Today’s card could be made for any occasion. I needed a more “masculine” card, one that didn’t feature any flowers. My card today is an A6 card. I made the card using a couple of different stencils and die cuts.
My card today features Simon Says Stamp stencils and Gina K Designs inks.
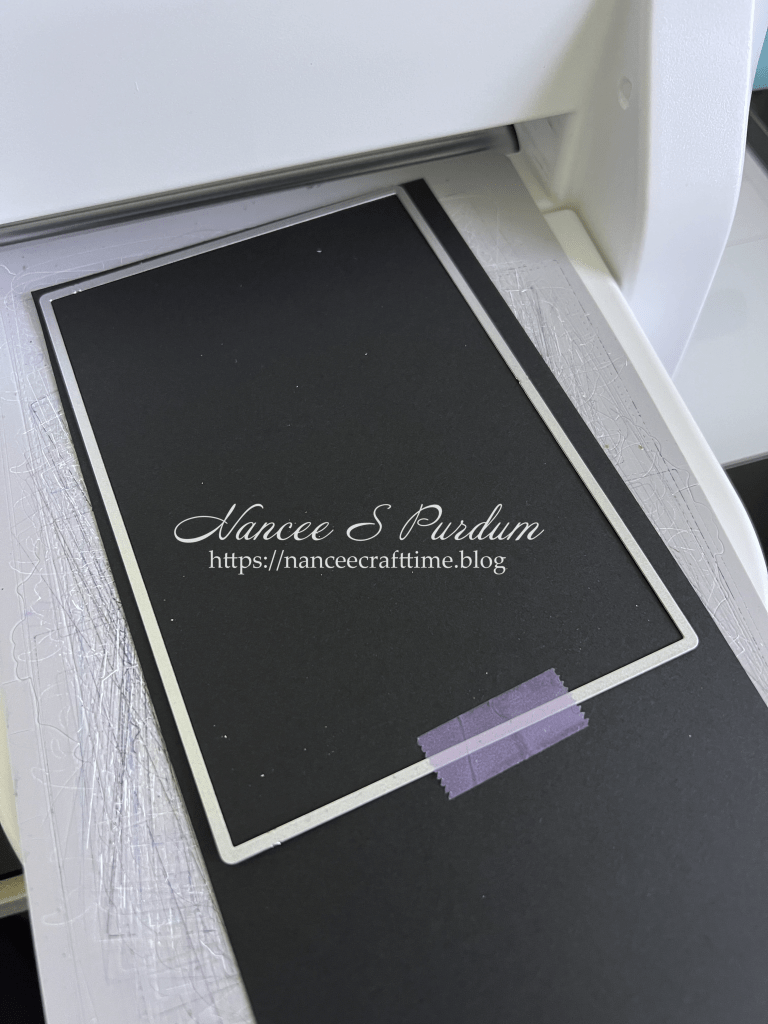
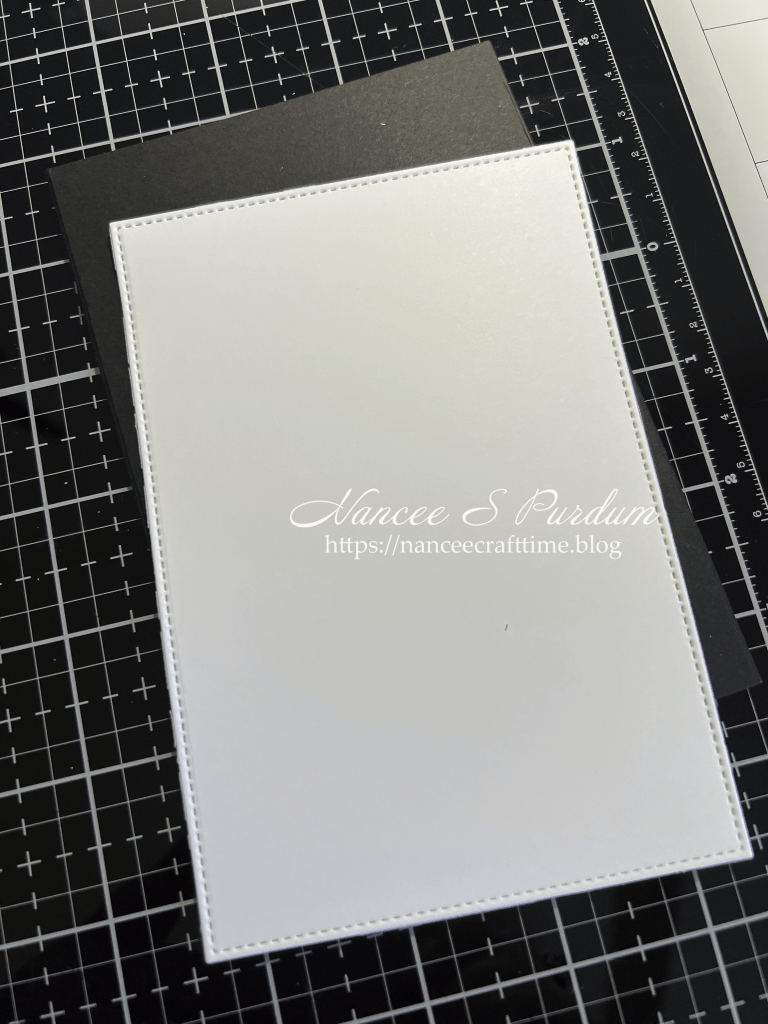
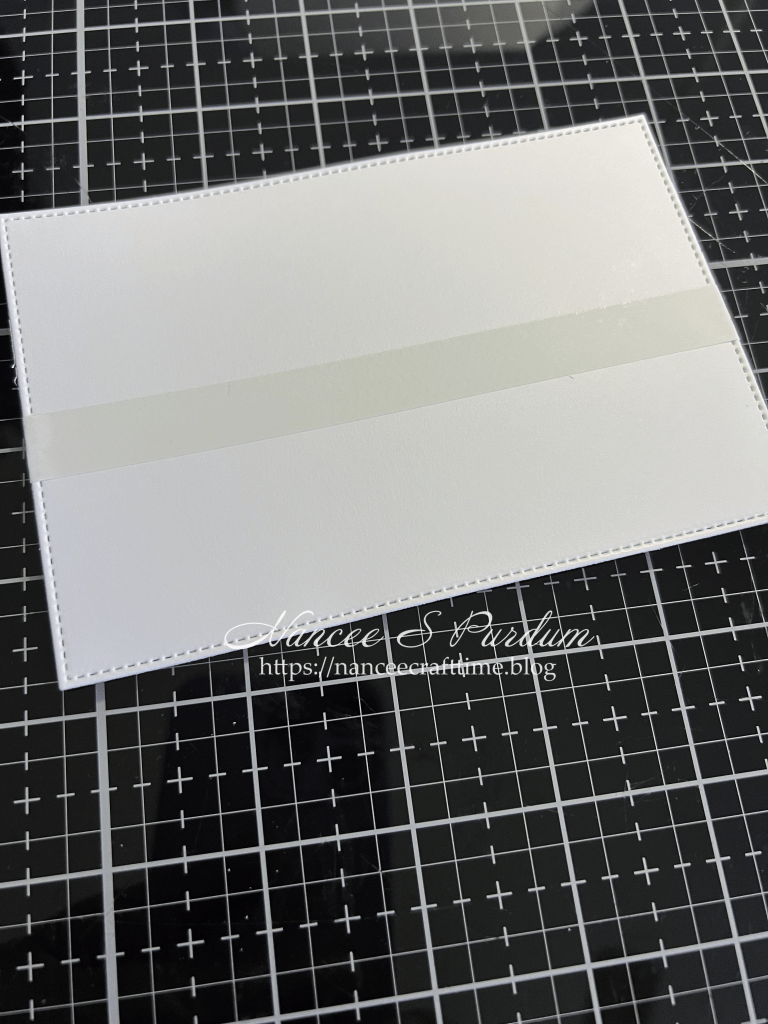
- My first step was to use Gina K’s Master Layouts to cut my card panel and a mat for the panel from some black cardstock.
- To prepare my white panel for stenciling, I masked off a portion of the panel with a strip of Masking Magic.
- This allowed me section off my panel between the skyline and the water and grass portion of my card.
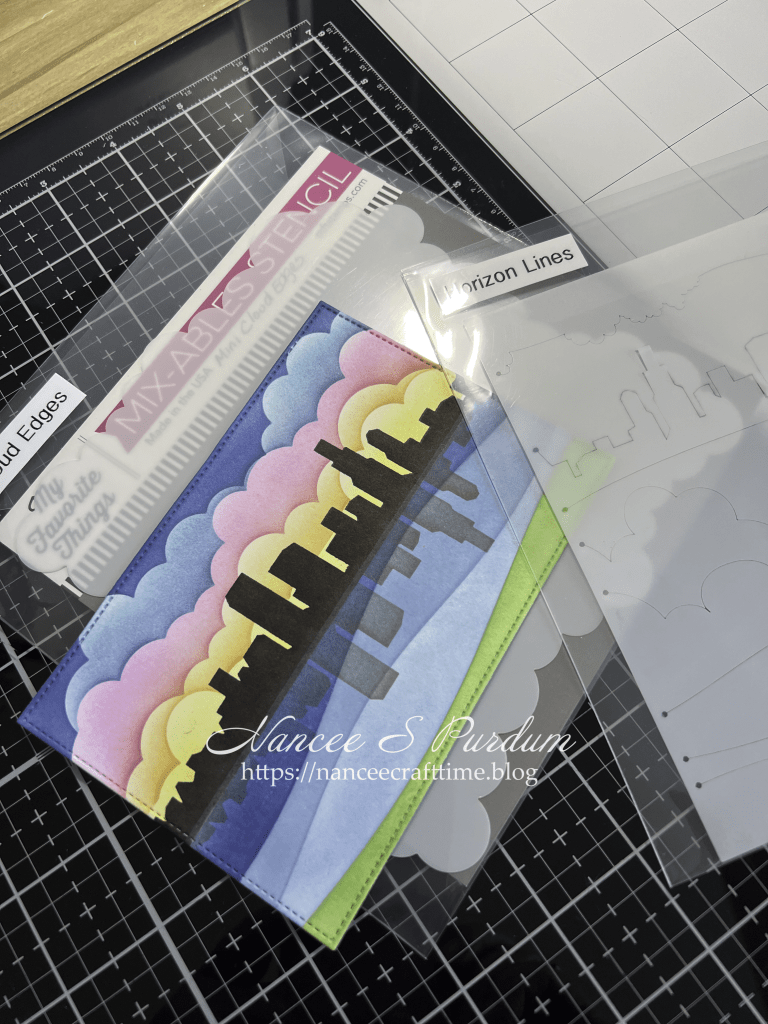
- The stencil has many different “stencils” for the many different horizons to create.
- I started at the bottom and created a “grassy” section. I positioned the stencil at the bottom so that only a small portion of my panel was exposed for coloring.
- I then repositioned the stencil so that it covered the grassy section and the area above the first section of the water.
- I repeated this until I had three different sections for water making sure that my stencil covered the area I had previously colored and only showing the next area that I was going to color.
- Once I had the bottom portion of my image colored, I repositioned the Masking Magic so that it covered the top portion of the water I had previously colored and exposed the entire top portion of the card.
- I changed stencils to the Clouds for Days stencil as I liked the cloud formations on that stencil. It has different sides that you can use so I could alter where the clouds appeared.
- I started at the bottom with a yellow ink and then rotated the stencil and added my next color.
- I continued this process until I had the top portion of the panel completed.
- Once I had completed the sky, I changed stencils again and lined up the “skyline” of buildings along the top of the water making sure that I had the stencil covering the sky and water.
- I added two layers of black ink to make sure that I had a really dark skyline.
- I wanted to show a shadow on the water, so I flipped the stencil over and lined it up as a reflection on the water. I added a dark grey ink over the “water”.
- This completed my stenciling.

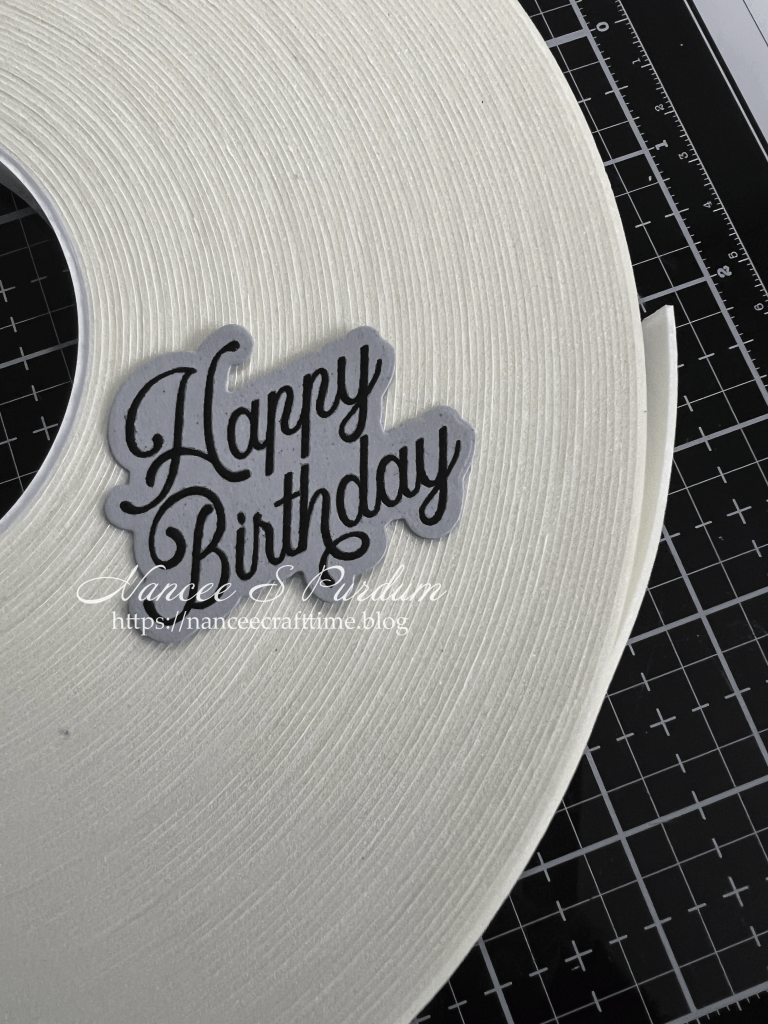

- For my greeting, I used a stamp and die set from Waffle Flower.
- I first stamped my greeting in Versa Clair Nocturne ink.
- Since this is a pigment ink, it stays wet long enough to add embossing powder over the greeting.
- I heat set the greeting. This gave the greeting some shine and a slight raise to the touch.
- I used the coordinating die to cut the greeting out.
- I added some foam tape to the back of the greeting before adding it to my panel.
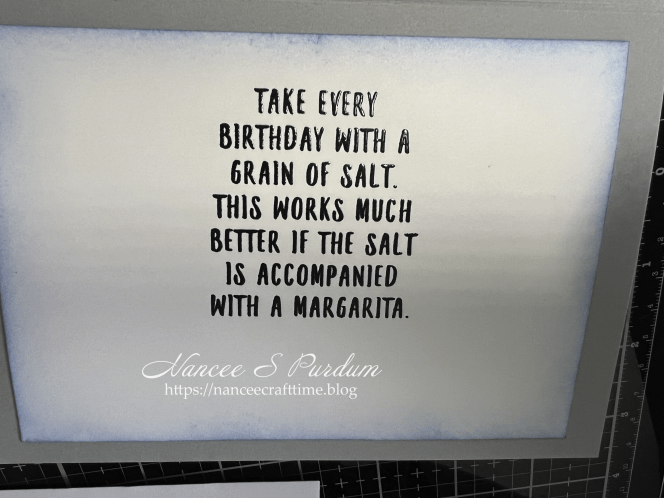
- I have several greetings from Riley & Company’s “Funny Bones” collection. I used one on the inside of my card.
- I stamped the greeting using the same Versa Clair Nocturne ink.
- I also added clear embossing powder and heat set the greeting.
- To make the panel stand out on the inside of the card, I used one of the blue inks to add a little bit of color around the outside of the panel before adhering it to the inside of the card.
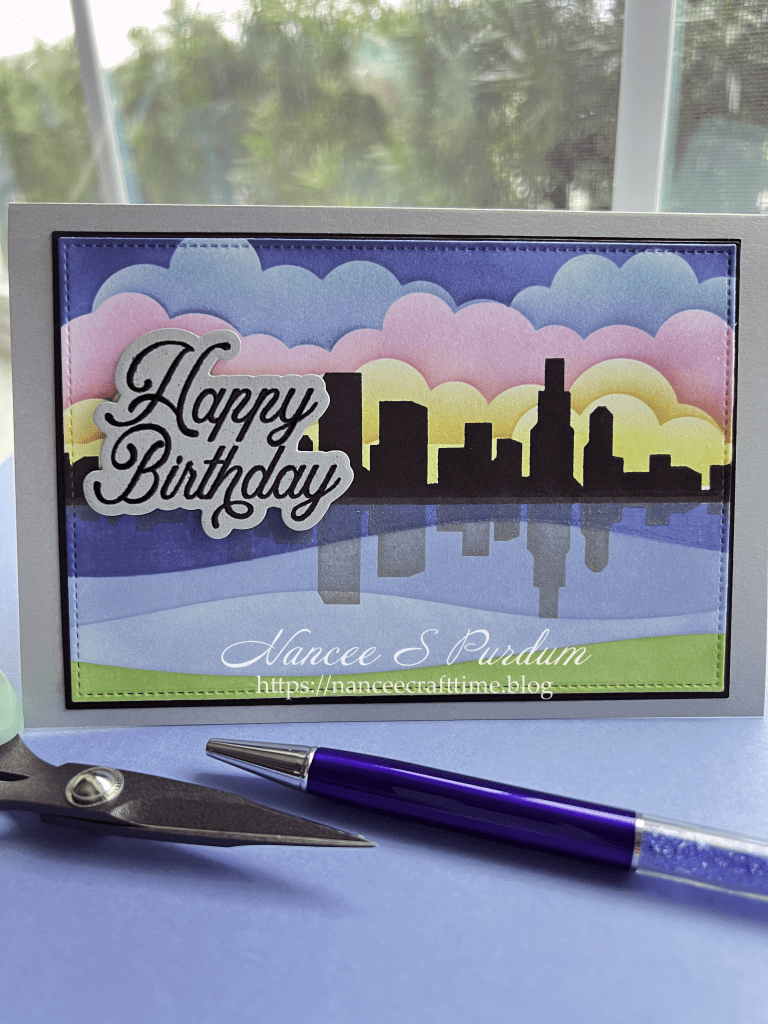
This completed my card. Since there is not a lot of layers, this card is easily mailed as a standard letter without having to add any additional postage.
Thanks for stopping by and Happy Crafting!

Supplies Used:
Simon Says Stamp: Horizon Lines stencil, Clouds for Days stencil
Gina K: Master Layouts 17, Masking Magic Strips, Detail Clear embossing powder
Waffle Flower: Best Wishes (stamp and die)
Riley & Company Funny Bones: sentiment on inside of card
Cardstock Used:
Gina K: Black Onyx
Concord & 9th: Dove
Inks Used:
Gina K: Wild Dandelion, Sweet Mango, Tranquil Teal, Jelly Bean Green, Powder Blue, Blue Denim, Passionate Pink, Stormy Sky, Black Onyx, Lucky Clover


Love this. Great card!
LikeLike
Love this. Great card!
LikeLiked by 1 person
Thanks Kim!
LikeLike