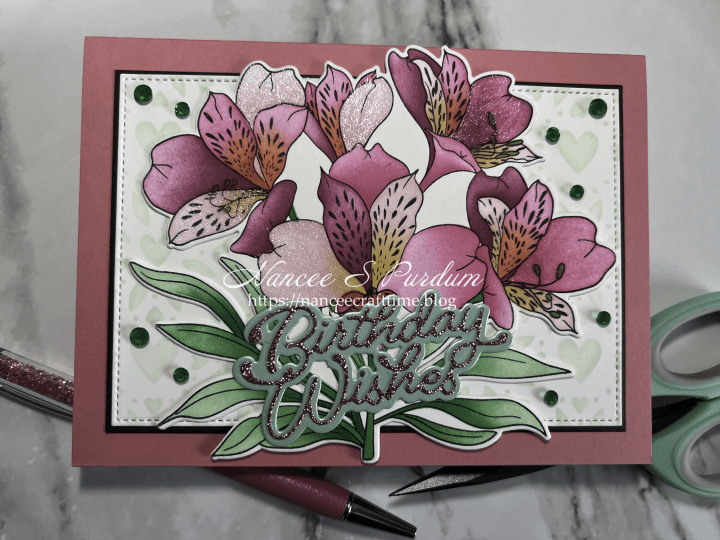
Today’s card uses a new stamp, die and stencil set from Altenew. I love how they offer different items for one image. You don’t have to purchase all three. You can use the stencil and stamp by themselves or with the die. Today, I decided to use all three.
My card today is an A6 card, which is slightly larger than the A2 cards that I normally make.
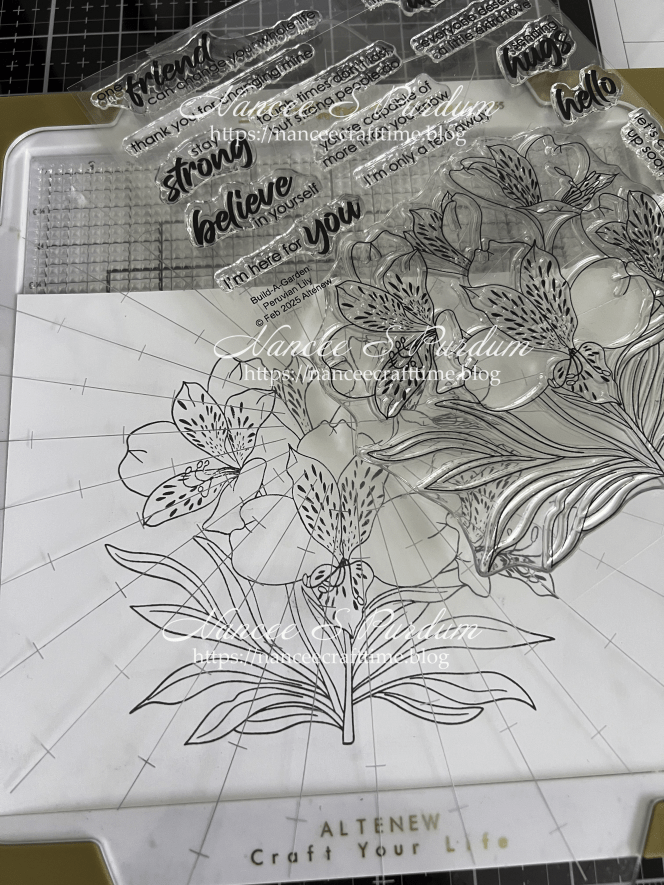
- My first step was to use the stamp to stamp the image.
- I added my cardstock to my Stampwheel and inked up my image.
- Because this is a large image, I stamped it several times to make sure I had a good crisp image.
With the Stampwheel, as with the Misty, you can stamp your image multiple times by leaving your paper in the base and just re-inking your stamp.
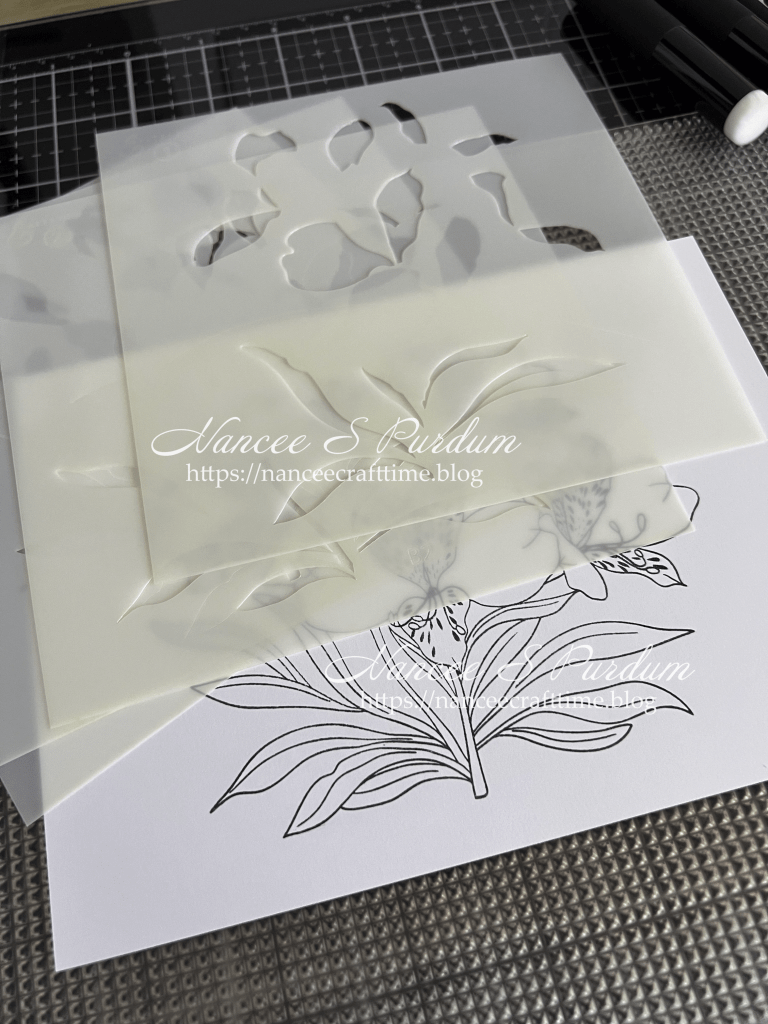


- My next step was to ink up the image using the layering stencils.
- I started with my lightest color and worked through the stencils using the next darkest color.
- Once I had the flowers colored, I worked on the leaves.
- After inking up the stencils the first time, I then decided to add some shading to the flowers.
- I started with the first stencil and added the second lightest color in the areas where the shadows would be.
- For the petals that contained the black spots, I added some yellow towards the middle of the flower.
- I repeated this process on all of the flowers.
- I then also went back through the leaves and added some shadow to them.

- After completing the stenciling, I die cut the image using the coordinating die.
- I cut one additional die cut from some white paper so I could give my image some stability.
- I glued the pieces together and set them aside.

- I was going to just add my flower image to a white panel but felt it needed something else.
- I cut a panel of white cardstock using Gina K’s Master Layouts #17.
- I sent through my stencils and settled on the Heart Blooms from Simon Says Stamp.
- I added some very light green ink to the stencil.
- I then cut a panel from some brown cardstock for a mat, also using Master Layouts #17.
By using Master Layouts dies, I am assured that my panels will fit perfectly with even borders around my mat and card base.

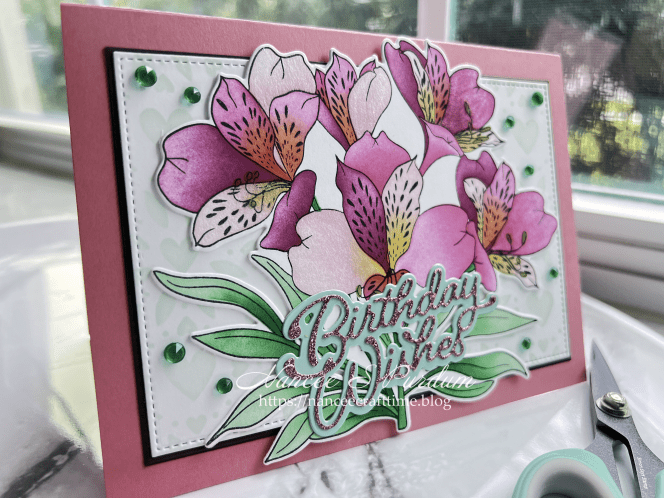
- Once I had my panels and image ready, I adhered them to my card base.
- For my sentiment, I wanted something that wasn’t too bit as I didn’t want to cover too much of my image.
- I found some light green mirror cardstock and die cut the shadow for my die.
- For the actual sentiment, I used some rose-colored glitter paper.
- I adhered the sentiment to the shadow and then added it to my card front.

- For the inside of my card, I stamped my sentiment in Versa Mark Watermark ink and added some rose gold embossing powder.
- I heat set the sentiment.
- To add a little more color, I ink blended a light green ink around the outside edges.
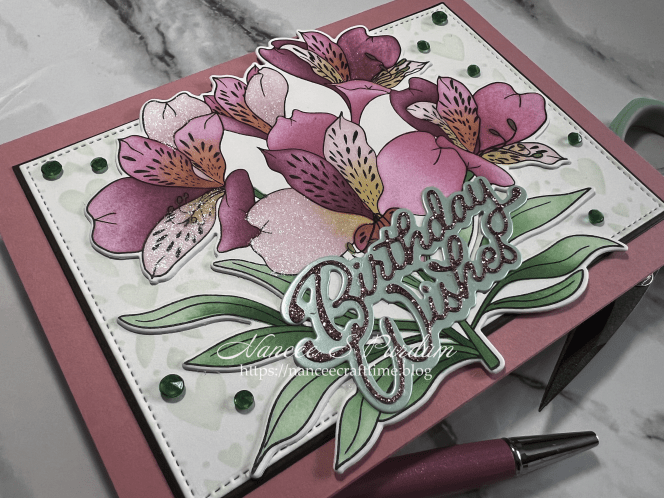
To finish off my card, I added some green jewels to the front of my card. I wanted a little sparkle on some of the flower petals so I went over some of the petals with my Nuvo Aqua Shimmer Gloss pen. This completed my card.
Thanks for stopping by and Happy Crafting!

Supplies Used:
Altenew: Peruvian Lily (stamp, stencil, die)
Gina K: Master Layouts #17, On the Inside-Birthday stamp, Rose Gold embossing powder
Poppy Stamps: Birthday Wishes Moonlight Script
Simon Says Stamp: Heart Blooms
Cardstock Used:
Gina K: Dusty Rose, Chocolate Truffle
Memory Box: Vintage Pastel Mirror
Simon Says Stamp: Assortment Glitter Pack
Inks Used:
Altenew Fresh Dye Inks: Pink Diamond, Rubellite, Razzleberry, Minty Mint, Pinkalicious, Sweet Leaf, Just Green, Forest Glades, Fresh Lemon, Hunter Green, Mint Choc
Gina K: Black Amalgam

