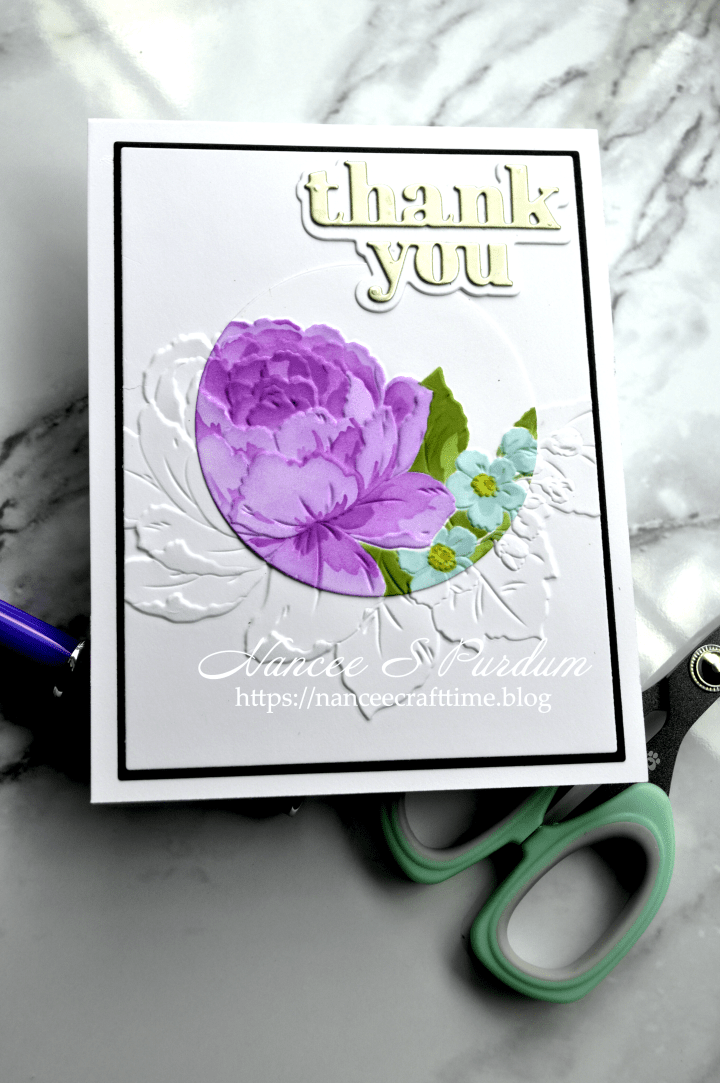
I’m sharing another card that I made but was pushed aside because I had more cards to make. This card involves using an embossing folder and coloring partial of the embossed image.
I don’t have photos of my step by step for this process. Hopefully in the future when I do this technique again I will remember to photograph my steps.

- My first step was to cut down my panel to the size I needed. Once I had done that, I ran it through my die cutting machine inside the embossing folder.
- My next step was to decide exactly where I wanted my coloring to appear.
- Once I had decided on where to color, I cut a circle from another piece of white cardstock.
- I then lined up the circle inside my embossing folder and ran it through my die cutting machine.
- I colored the image using the coordinating stencils.
- Once I had the coloring done, I lined up the circle on top of the full embossed panel and adhered it with some glue.

For my sentiment, I die cut the words from some gold cardstock and the shadow from some white cardstock. I didn’t want to cover any of the colored image, so I adhered it to the upper right-hand corner. I wanted to keep this card as a “clean and simple” card so I didn’t add any other embellishments to the front of my card.

Thanks for stopping by and Happy Crafting!

Supplies Used:
Altenew: Delicate Garden (stamp, stencil, embossing folder
Gina K: Master Layouts #1
Simon Says Stamp: Simply Thank You die
Pink & Main: Layered Circle Dies
Inks Used:
Gina K: Sea Glass, Wild Dandelion, Prickly Pear, Ocean Mist, Jelly Bean Green, Orchid Companion Ink cubes


Very pretty!
LikeLiked by 1 person
Thank you!
LikeLike
Gorgeous card!
LikeLiked by 1 person
Thank you!
LikeLike