
My finished card today is not how I had originally planned it. LOL! I seem to do that alot.

Here is how I created this card:
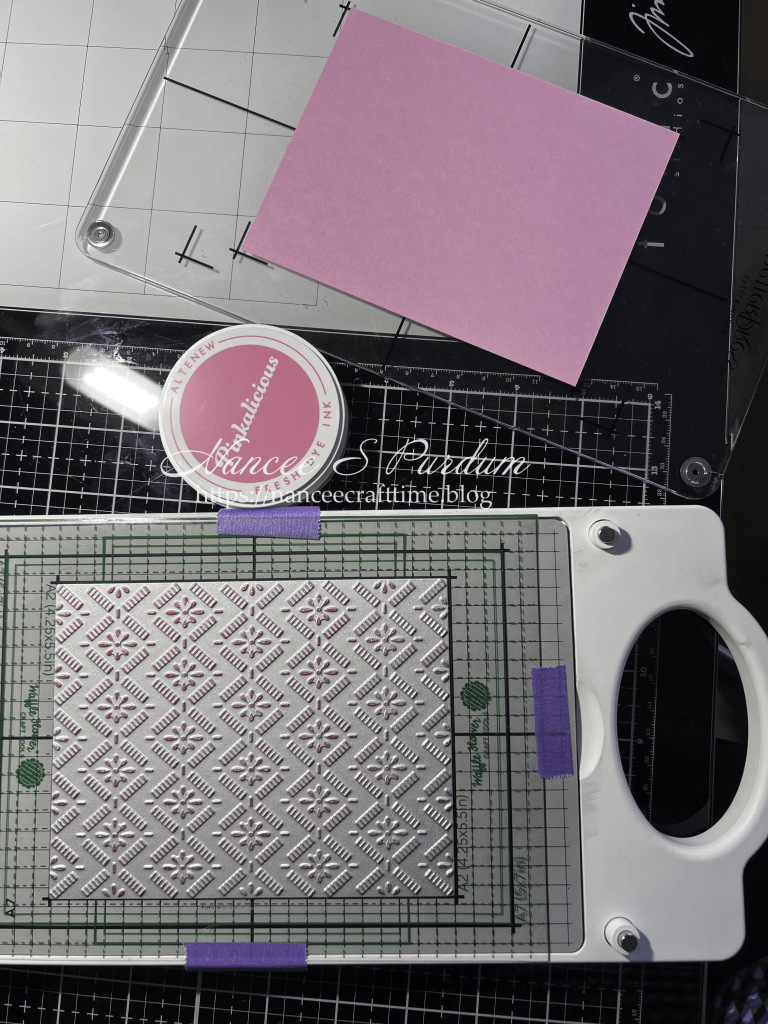
- For my background today, I used my BetterPress system and a BetterPress background plate from Pinkfresh Studios.
- I first cut down a piece of Bubblegum Pink cardstock from Gina K and adhered it to the plate for the BetterPress system.
- After putting the press plate on the platform, I applied some Pinkalicious Fresh Dye ink to the raised portion of the plate.
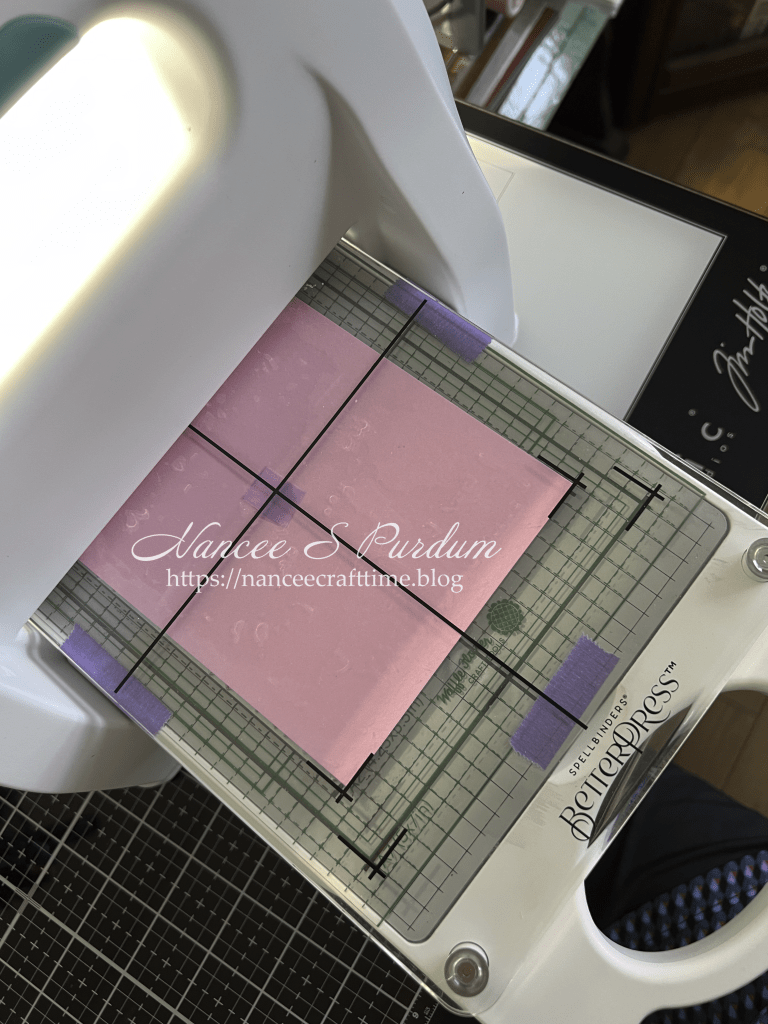
- The next step is to attach the top of the platform holding my paper using the attached magnets to line it up.
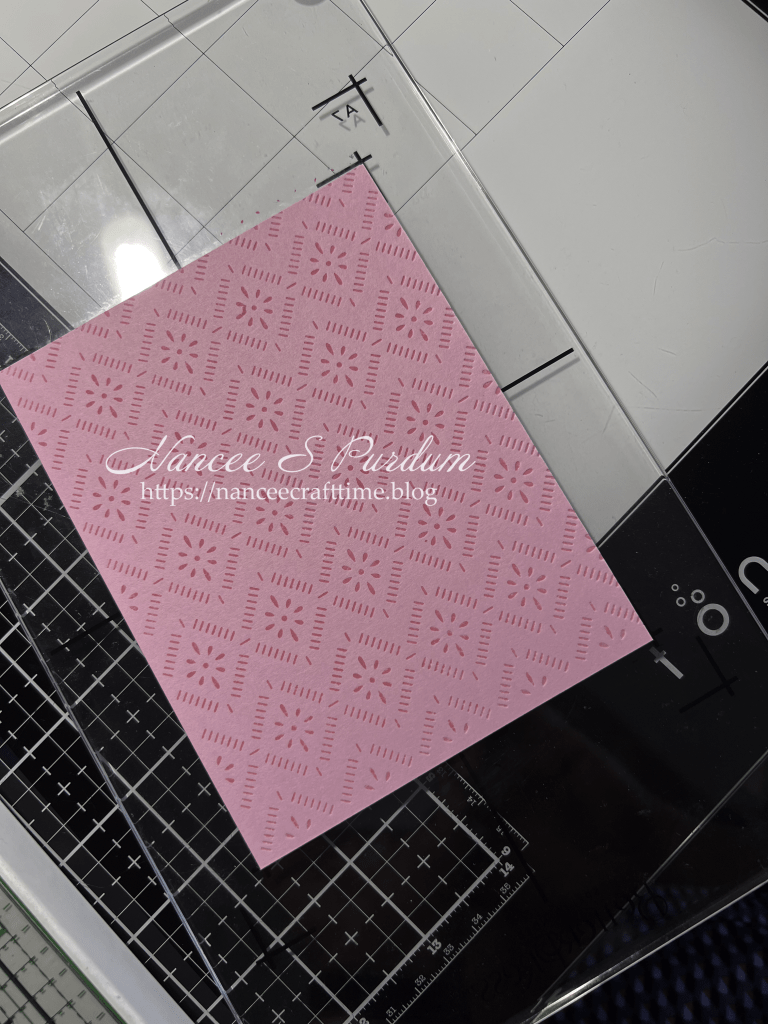
- I then ran the platform through my die cutting machine which leaves an impression and ink on my cardstock.
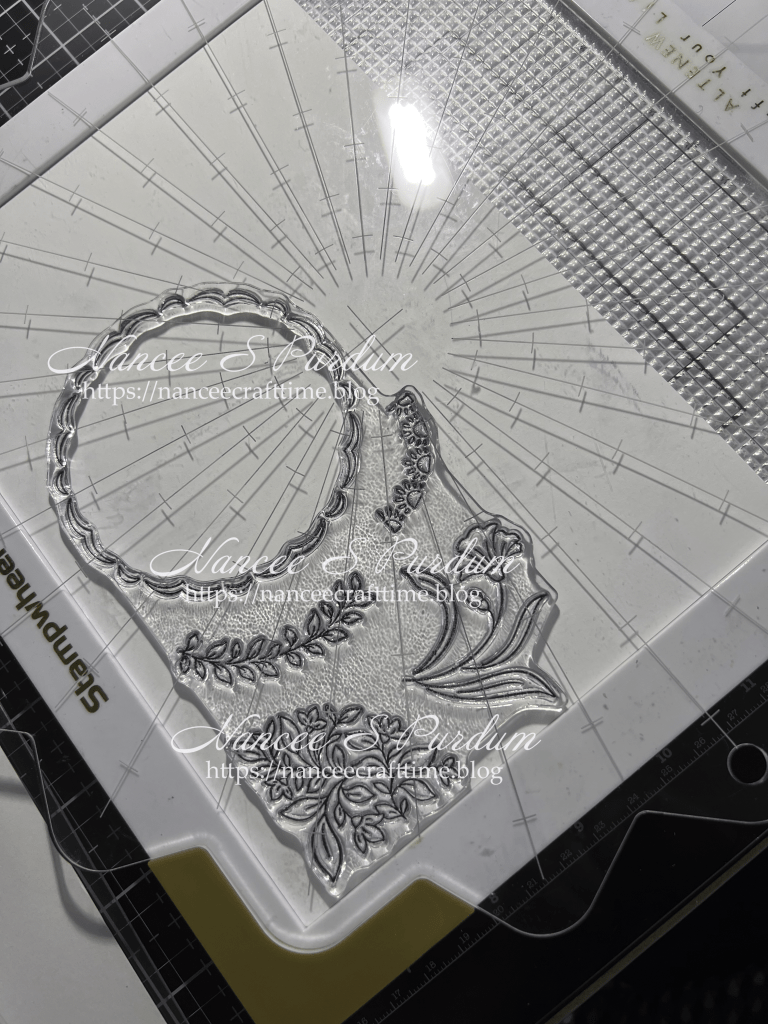
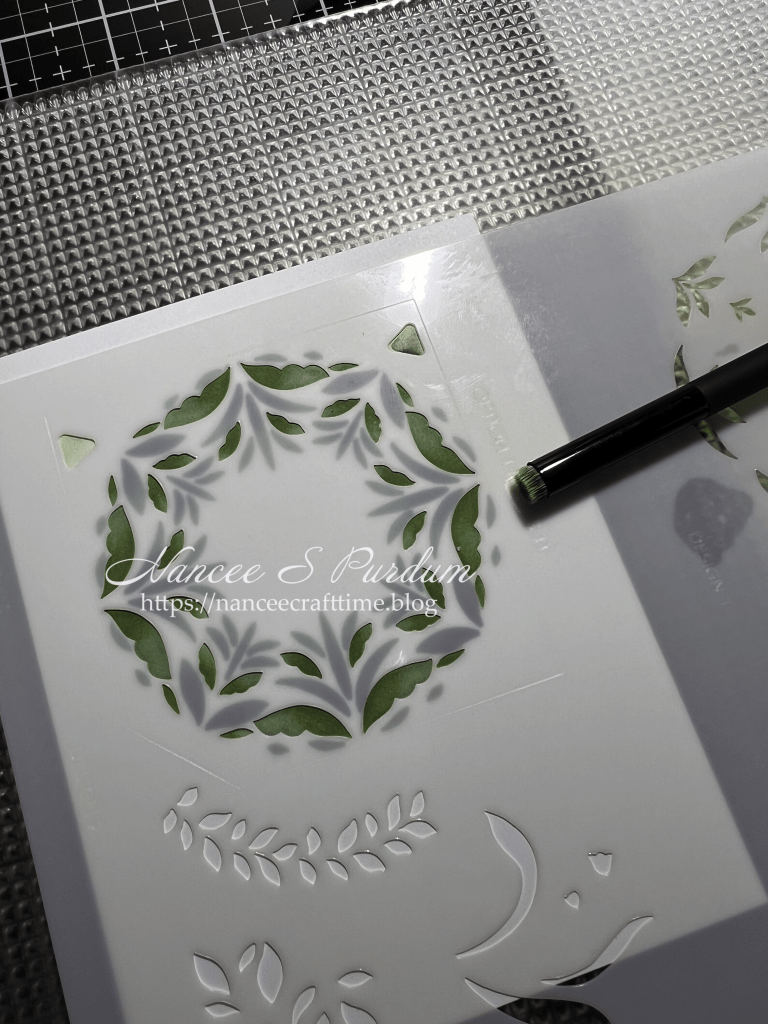
- To create a focal point, I decided to use the Floral Kaleidoscope which is also from Pinkfresh Studios.
- After adding my paper and the stamps to my Stampwheel, I stamped the images from the stamp set using Jet Black ink. I stamped all of the images from the stamp set as I was not sure which ones I was going to use.
- To apply to color to the images, I used the matching layering stencils. I started with my lightest color with the first stencil. I also added a little slightly darker ink with the same stencil to add some more detail.
- I did the same process for each of the remaining stencils.
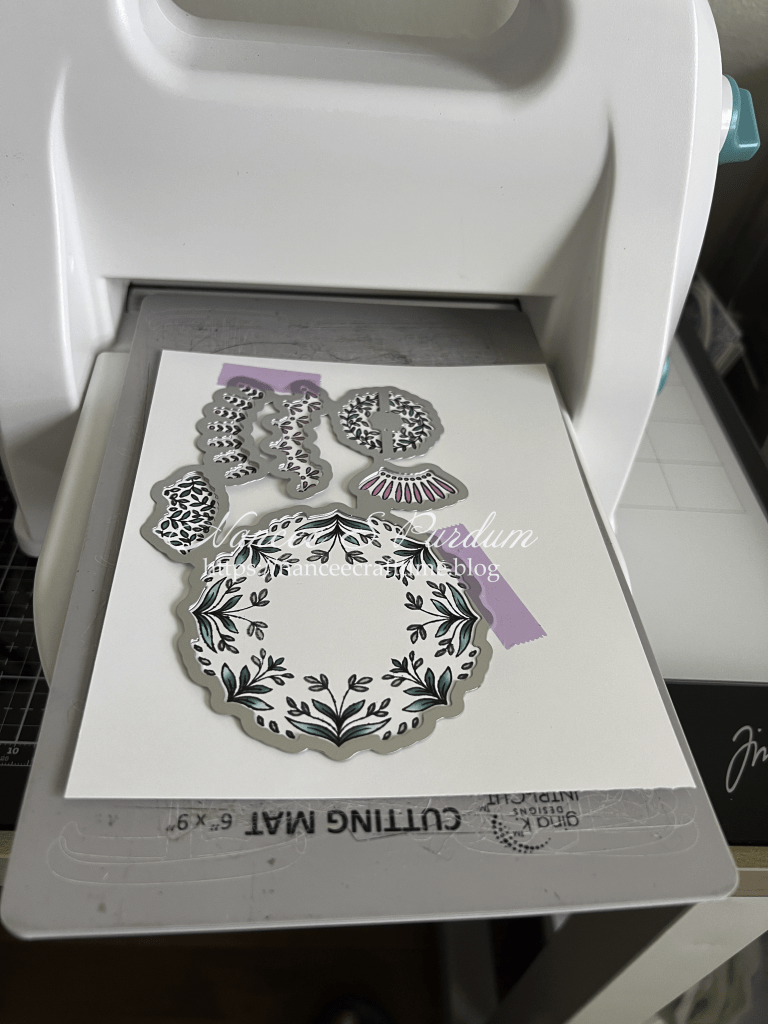
- After coloring the images, I used the corresponding dies to cut out all of the images.
- I also cut additional images using plain white cardstock.
- I adhered the colored image to the white cardstock to give the images some strength and to be able to pop them up.

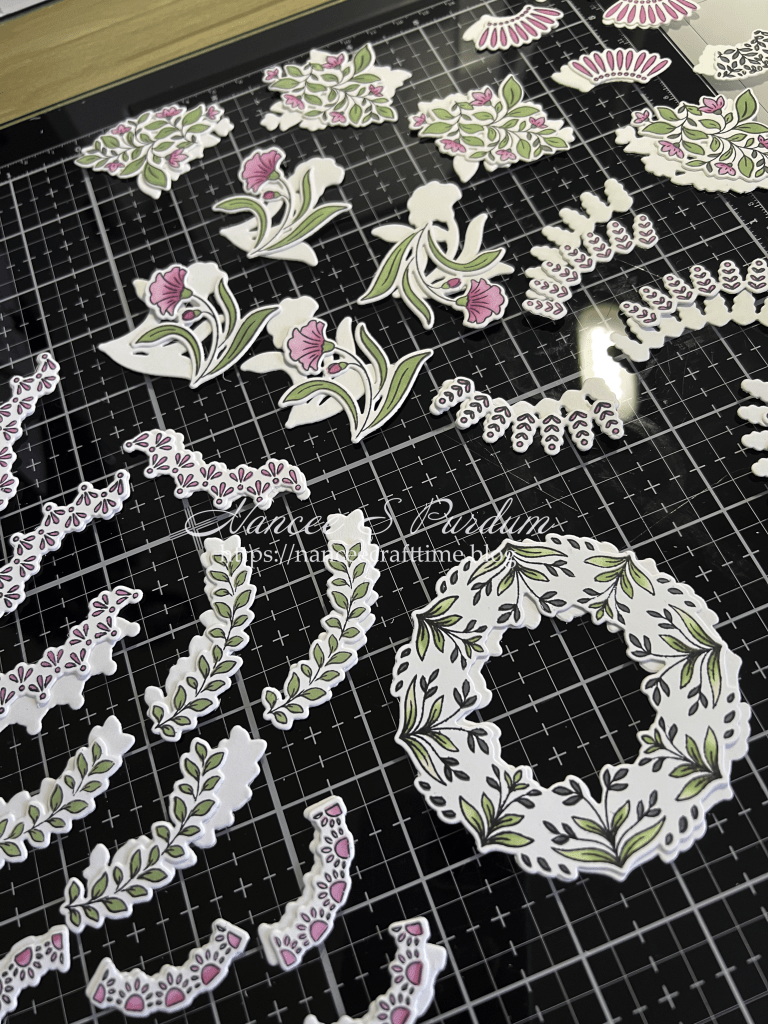
- I played with different images to create my focal point.
- I ended up using one of the full circles and some of the additional quarter circles to create my full image. I attached the quarter circles to the back of the full circle.
- I cut the largest circle from the Decorative Circles die set from some black cardstock to adhere my focal image to.
- Using Master Layouts #1, I cut down my pink panel and from black cardstock, I cut a mat to go behind my panel.
- After adhering my panels to my card, I added my focal point to the middle of the panel.
- I thought it needed something more, so I added some gems from the Rainbow Gem Stickers.
- For my sentiment, I die cut the Birthday Wishes from some black glossy cardstock and the shadow die from Bubblegum Pink. I added the sentiment to the center of the wreath.

- For the inside panel, I cut a panel using Master Layouts #1 and added stamped my sentiment using VersaFine Clair Nocturne ink.
- Since this ink is a pigment ink, it stayed wet long enough to add some clear embossing powder.
- I heat set the sentiment using my heat gun.
- I then added some Bubblegum Ink around the border of my panel and then added it to the inside of my card.
I was happy with how this card turned out even though it looks totally different than what I had planned. Because I stamped, colored and die cut all of the images in the set a number of times, I have quite a few pieces left which I plan to use on another card.
Thanks for stopping by and Happy Crafting!

Supplies used:
Pinkfresh Studios: Dashing Daisies BetterPress plate; Floral Kaleidoscope (stamp, die and stencil); Decorative Circles
Pink & Main: Infinity Circles
Poppy Stamps: Birthday Wishes Moonlight Script
Simon Says Stamp: Rainbow Gem Stickers
Gina K: On the Inside-Birthday stamp set
Cardstock:
Gina K: Bubblegum Pink
Simon Says Stamp: Black Glossy Cardstock
Inks:
Altenew: Jet Black, Forest Fern, Jade, Pinkalicious, Forest Glades, Evergreen, Rubellite, Frayed Leaf, Eucalyptus
Gina K: Bubblegum Pink

