I have a lot of card making supplies that I have purchased over the many years that I have been card making. Some of my cards going forward will show some items that have been discontinued. I apologize for that, but want to make it a point of using some older items. I have not “destashed” my supplies in over 5 years. I did not purge everything at that time, so I still have a lot of older stamp, die and stencils. Even if you have older items, you can still create “new” cards with new ideas or techniques using those older items.
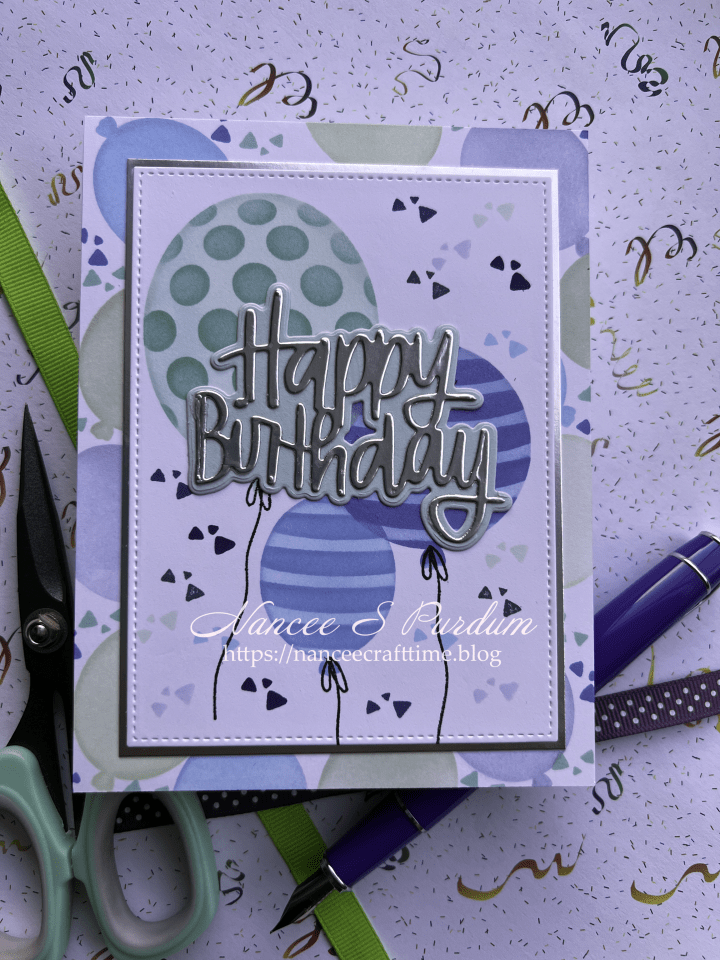
I have another card today featuring stenciling, a little bit of stamping and a little bit of die cutting.


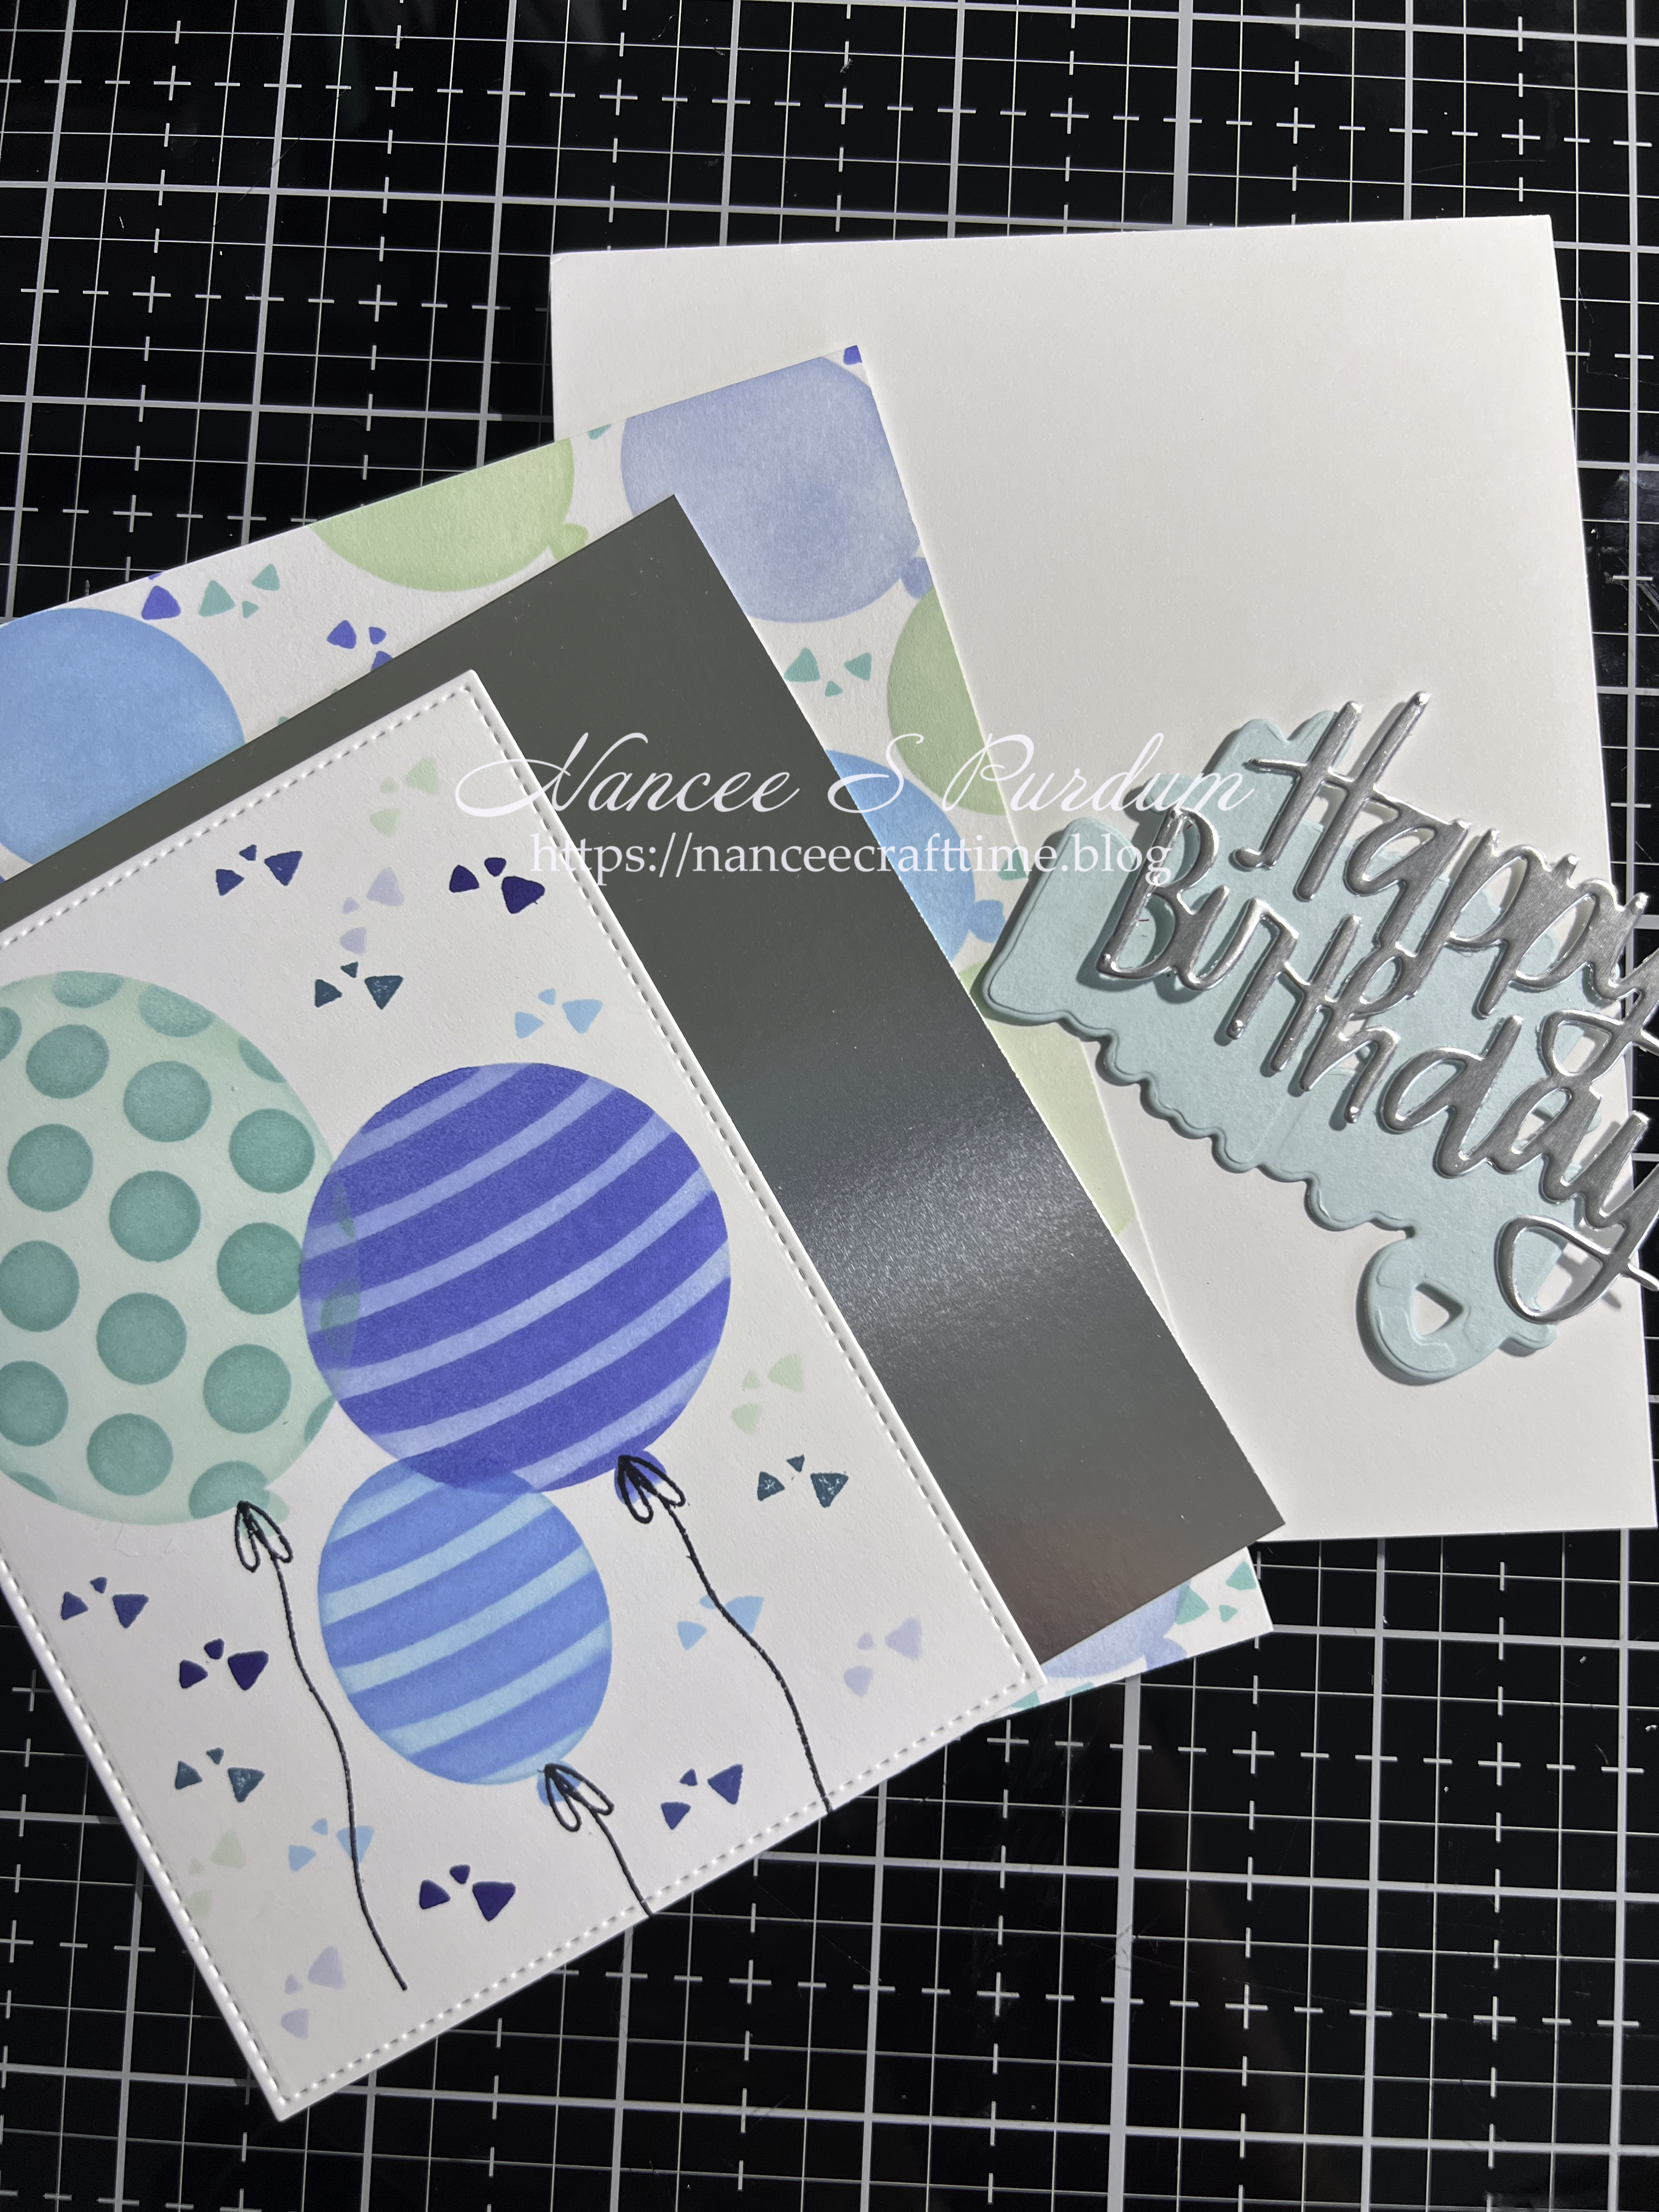
- I first cut down a piece of card stock to fit on an A2 card. (5 1/2″ X 4 1/4″)
- I then cut down a piece of card stock using Master Layouts #2 from Gina K. I used the smaller inner die for the front of my card.
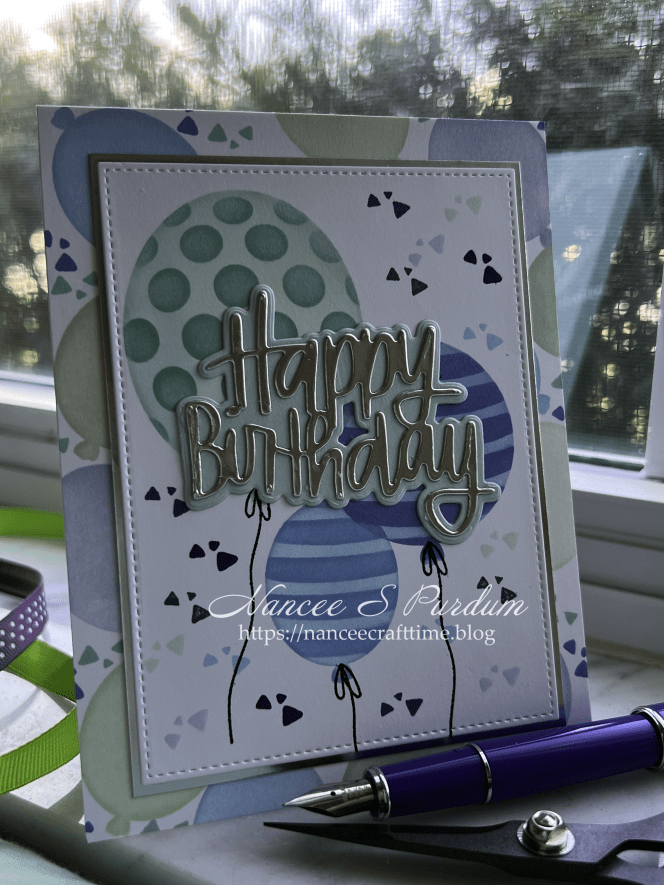
- On the larger piece of card stock, I stenciled the smaller balloon from the All The Balloons layering stencils from Simon Says Stamp.
- I only stenciled balloons around the outside of the card stock as I was adding another layer on top of this base layer.
- I felt it needed a little something more, so I found a small stamp of confetti in a stamp set, Celebrate You. Using the darker shades, I randomly stamped the confetti around the balloons.
- I then used three of the balloon sizes to color balloons on the smaller panel.
- To get the patterns on the balloons, I first laid the All The Balloons Patterns over the balloon stencils and added my darker color.
- Once I had the patterns on the areas, I removed the Patterns stencil and added my lighter color to the balloons.
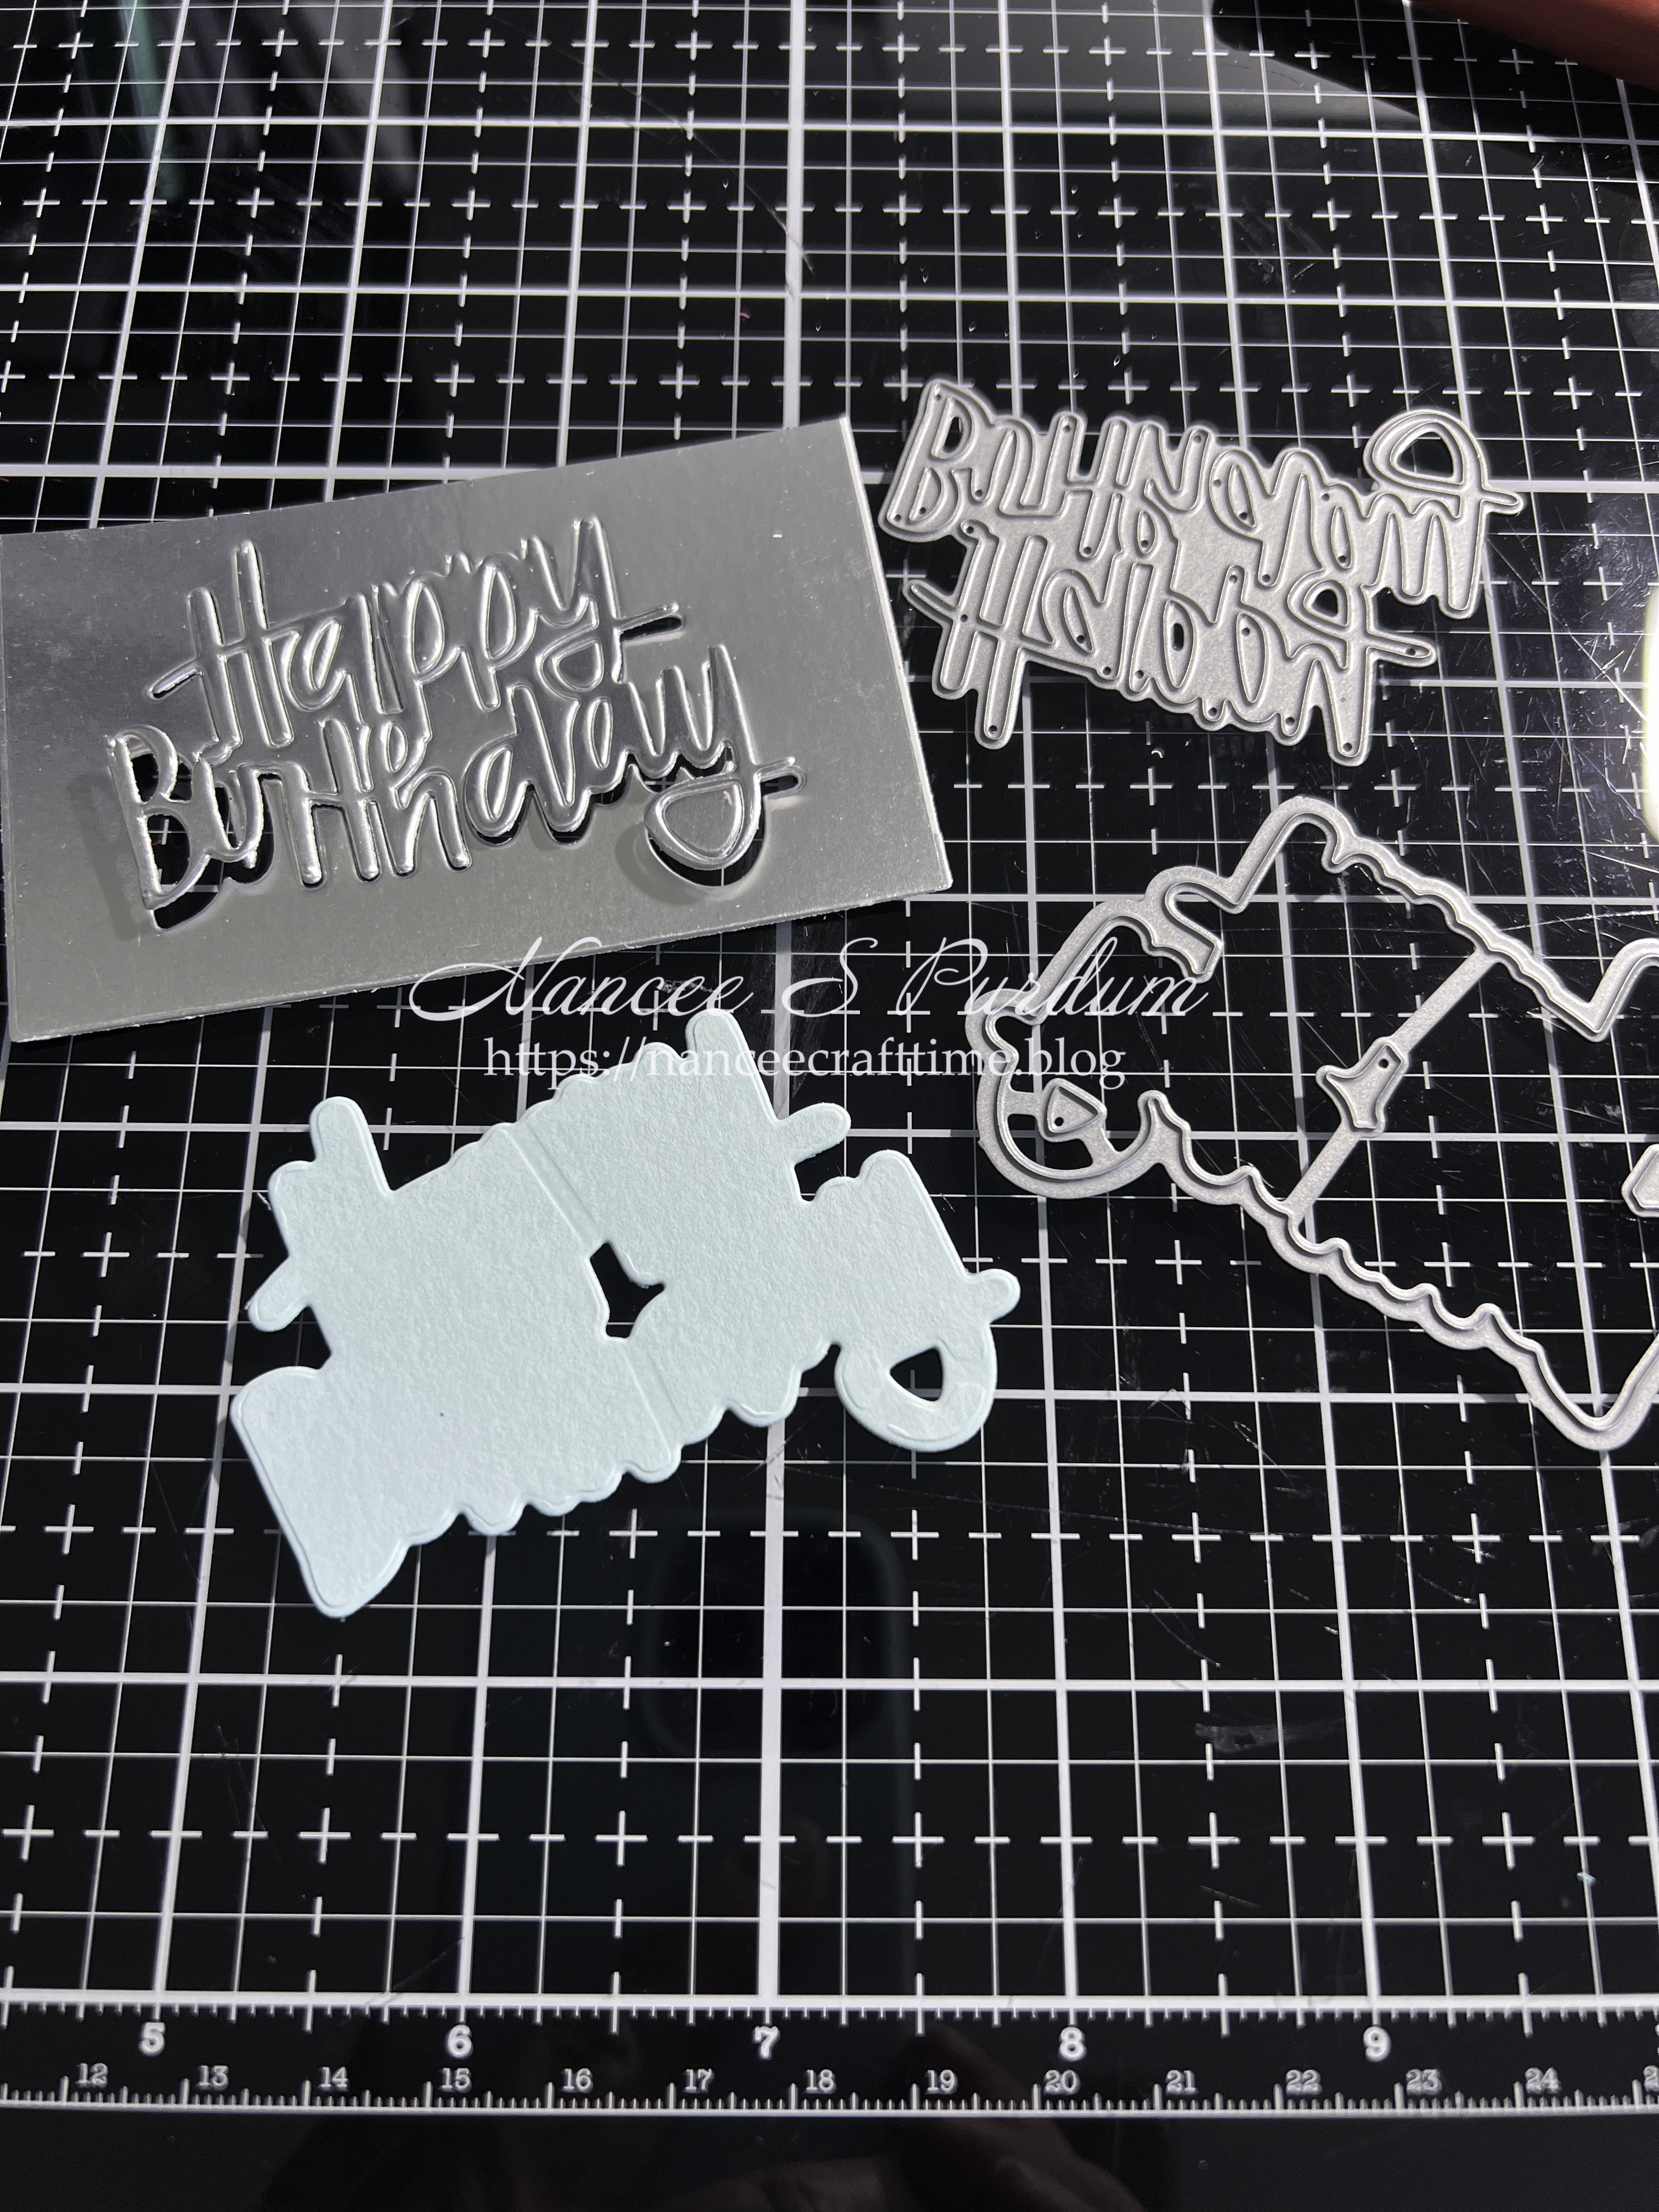
- My next steps were to create my sentiment.
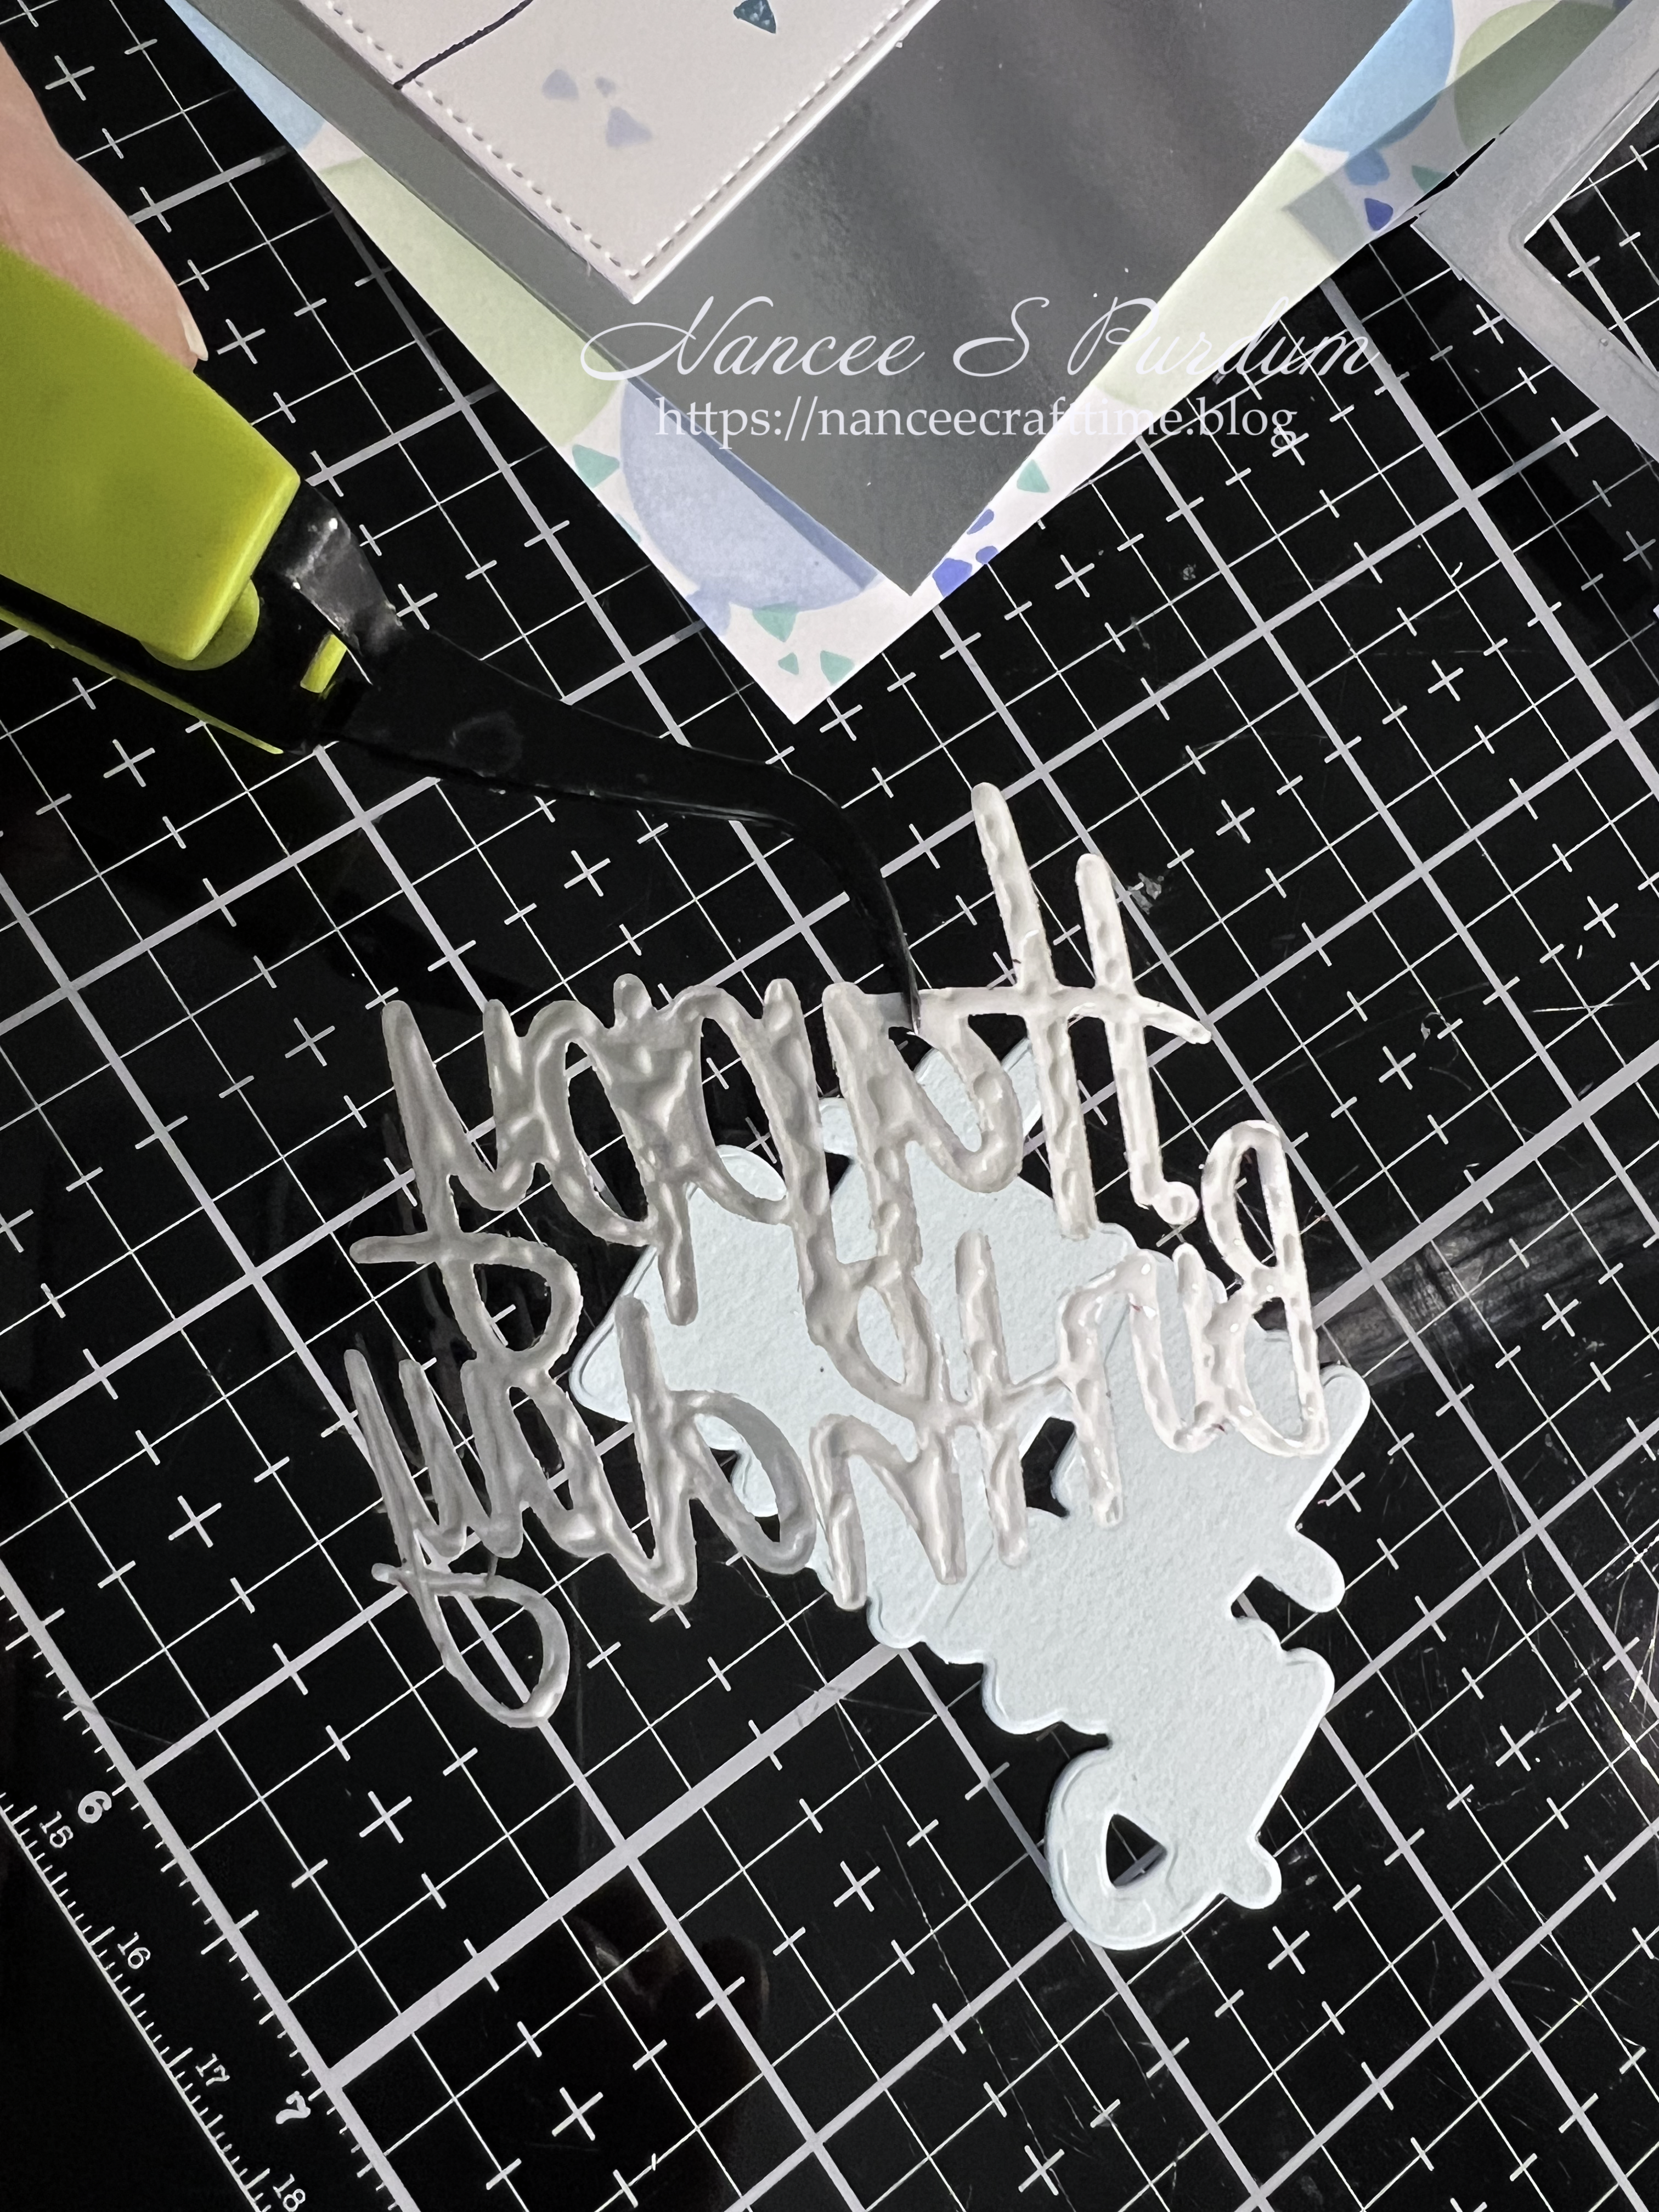
- I die cut the sentiment from some silver cardstock and the shadow from some sea glass cardstock
- I then glued the sentiment to the shadow.
- I cut a mat for my focal point from the same silver cardstock and I was ready for the assembly of my card.
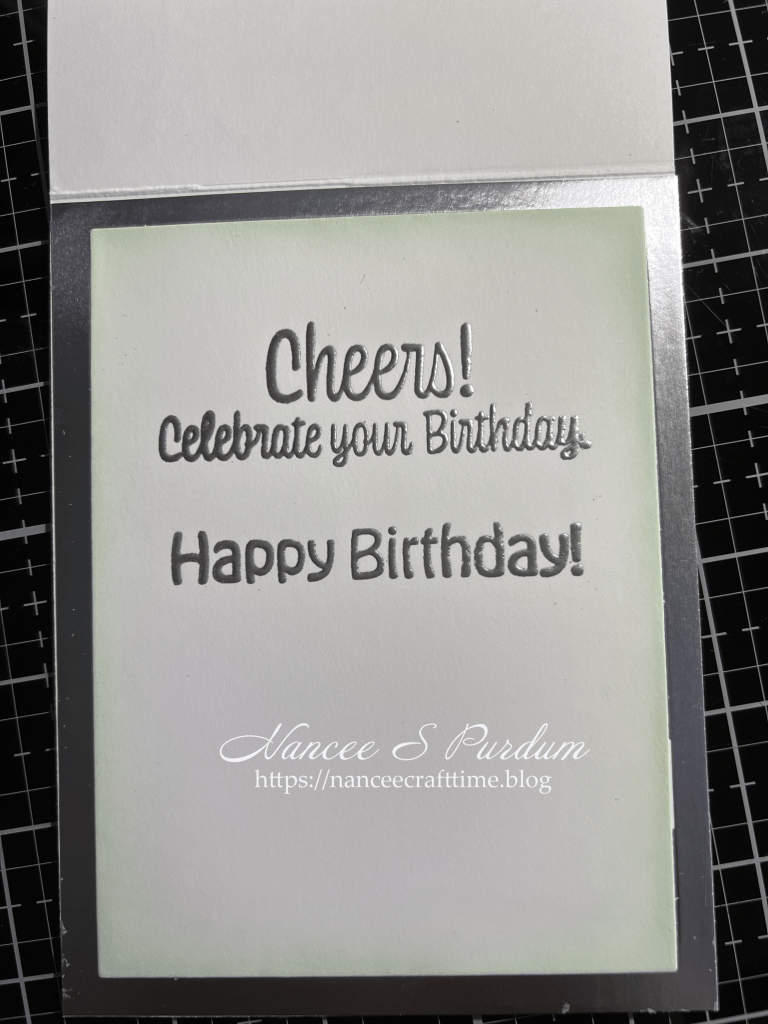
- I used the silver piece that was left over after I had cut my panel to add to the inside of my card instead of tossing it.
- I stamped my sentiment using VersaMark embossing ink and then added Gina K’s detail silver embossing powder and then heat set it.
- I added some Mint Choc ink to the outer edges of my panel before adhering it to the inside of the silver border.
Thanks for stopping by and Happy Crafting!

Supplies used:
Simon Says Stamp: All the Balloons stencil, All the Balloons Patterns stencil, Celebrate You stamp set (retired), Happy Birthday Brush Script die
Gina K: Master Layouts 2, On the Inside-Birthday stamp set
Cardstock:
Simon Says Stamp: Sea Glass, Matte Silver
Inks:
Altenew: Fresh Dye Inks – Mint Choc, Artic, Jade, Turquoise, Pool, Persian Blue, Mystic Lake, Tide Blue, Sea Breeze, Jet Black
Other:
Gina K: Detail Silver Embossing Powder
VersaMark embossing ink

