
When I was creating this card, I remembered to take photos along my way so this post will be a little heavy with photos. My card involves stenciling, die cutting and heat embossing.

- My first step was to create a background.
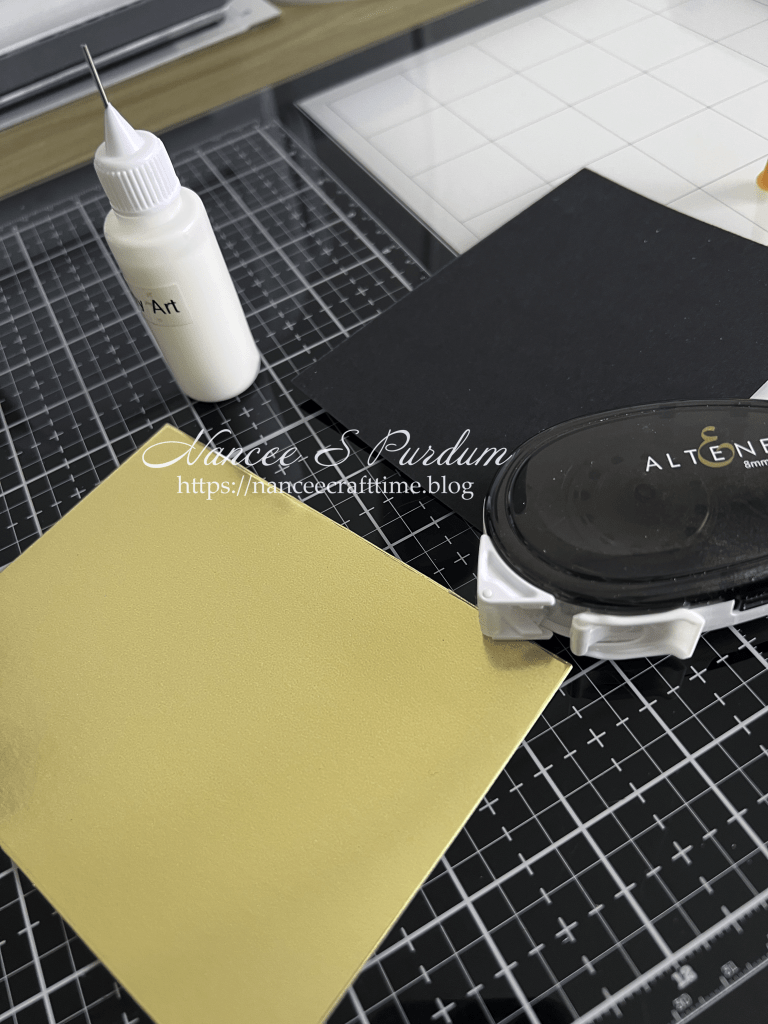
- I added my paper to my sticky mat and positioned my stencil over my paper.
- I first applied some Silver Shine ink over the stencil.
- I cleaned off my stencil and repositioned it on my paper and added Solid Gold ink.
- Once done, I cleaned off my stencil and repositioned it again and added Copper Pot ink.

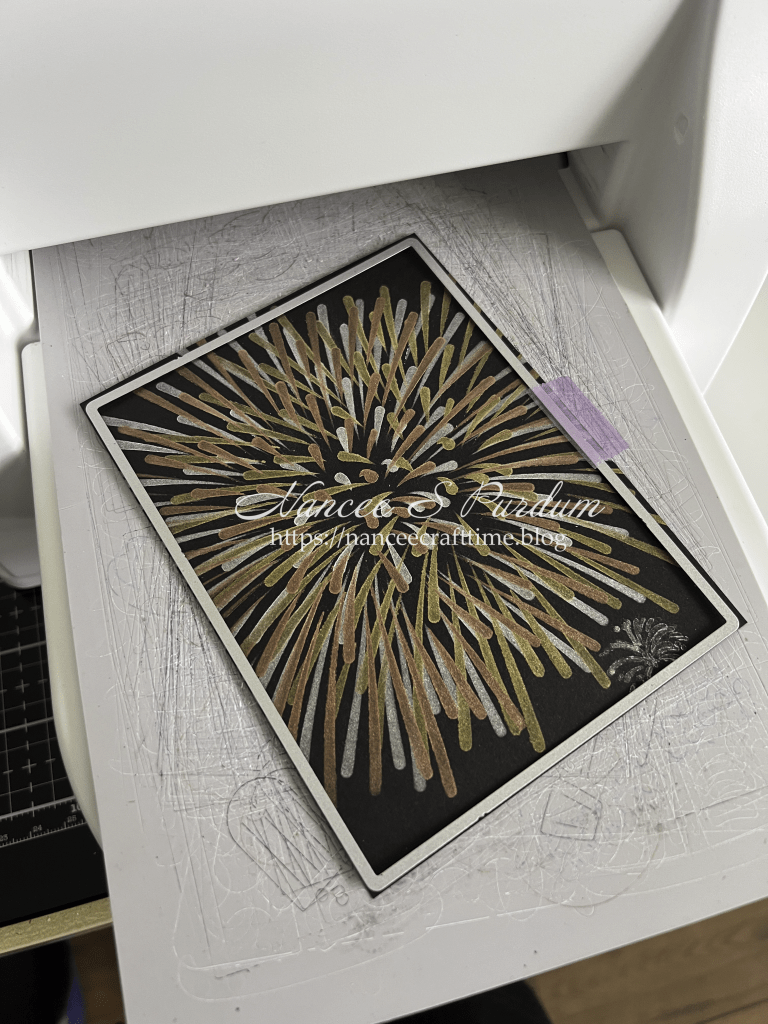
- Once I had my stenciling done, I decided to adhere it to a panel of gold cardstock.
- I cut down the cardstock and then used Master Layouts #1 to further cut down my piece of cardstock.


- I then cut down my stenciled background using the same Master Layouts.
- I added some tape and glue to the back of my stenciled panel and added it to my gold cardstock.
- I then used the same process to add the complete panel to my card base.
**If you notice on my stenciled piece some ink towards the bottom right, I tried stamping a fireworks stamp on my panel but was not happy with the outcome. You will see later how I covered that area to hide it. I did this instead of throwing the piece out and starting over.

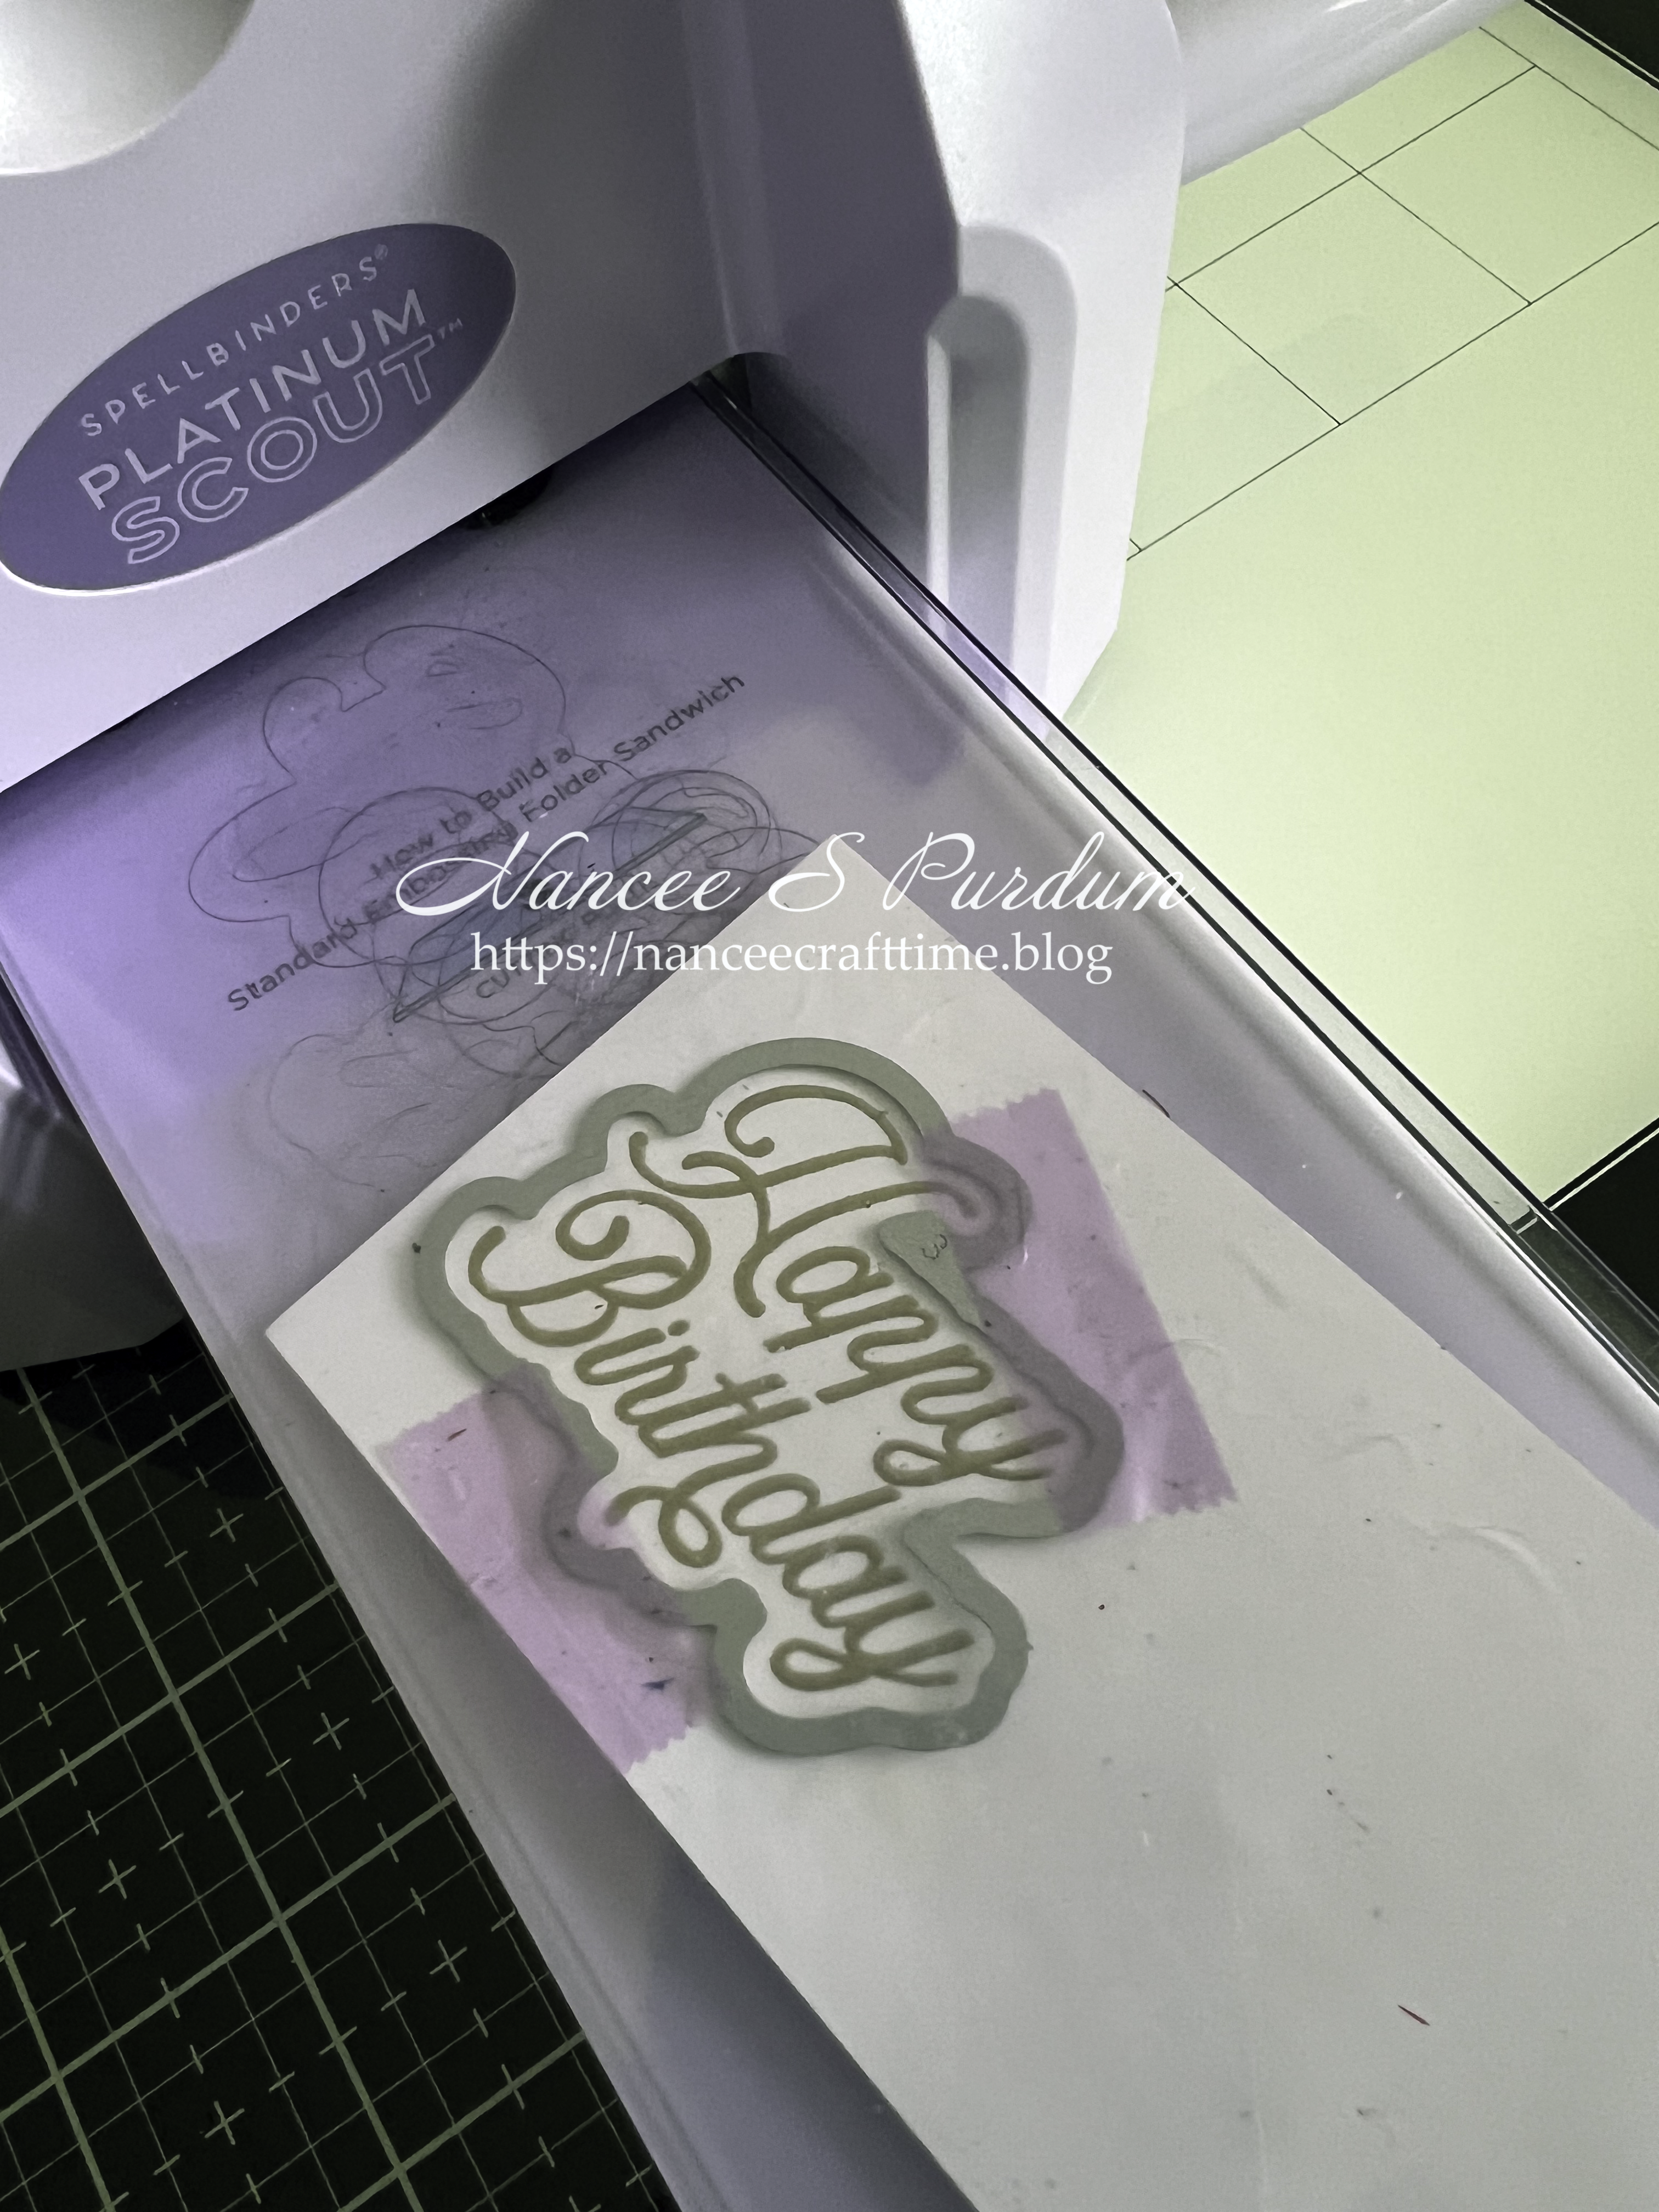
- Once I had my card assembled, I stamped my sentiment with embossing powder and added Gold Metallic embossing powder.
- I heat set the embossing powder and then die cut my sentiment with the matching die.
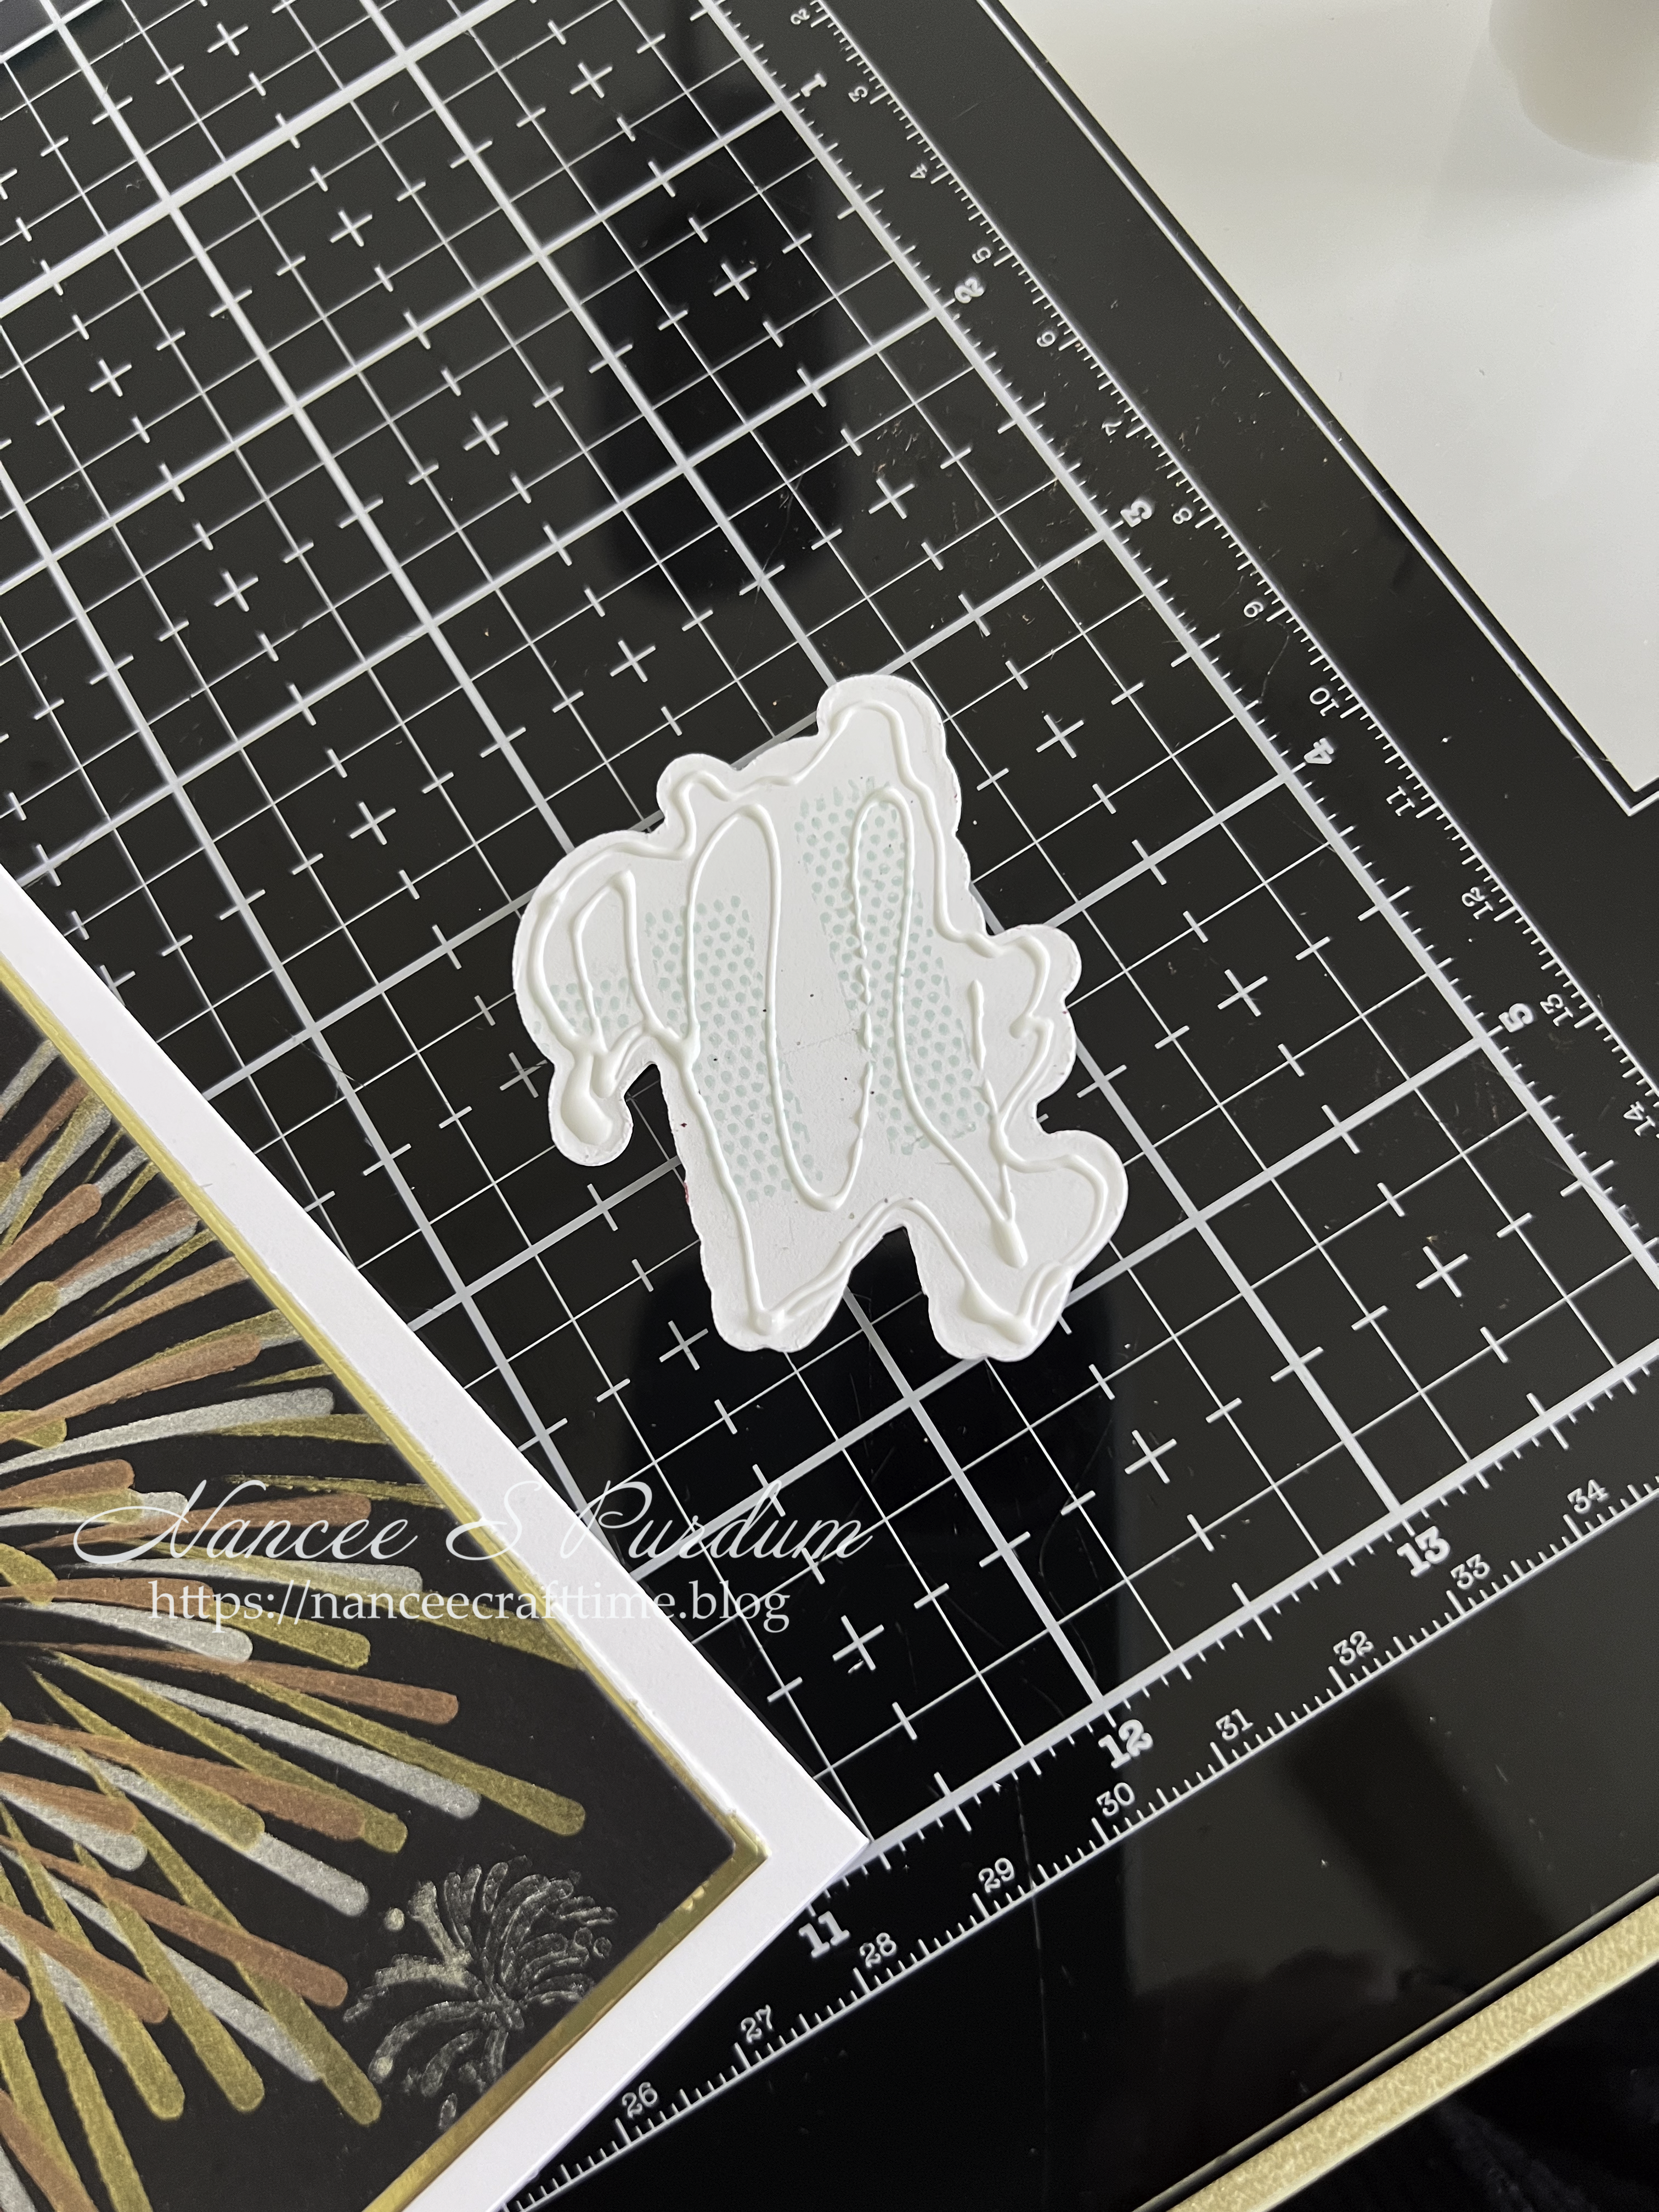
- I cut an additional piece of white cardstock to add behind the sentiment to give it some dimension.
- I then added my sentiment to my card and placed a magnet on top until it the glue was set.


- I almost always add an inside sentiment but usually don’t share that on my blog.
- I again cut down a piece of cardstock again using Master Layouts #1.
- I stamped my sentiment in embossing ink, added some silver embossing powder and heat set it.
- I then added some fireworks images using the same inks that I used on the front of my card.
- Once I was satisfied with the design, I added some Soft Stone ink around the edges using a blending brush.
- I then adhered the panel to the inside of my card.
By adding ink around the panel, I didn’t need to add an additional matt behind the sentiment which adds additional weight when mailing. Also, because my panel was white and I was adding it to a white card base, this helps to make the panel stand out.


I felt my card front needed something else, so I added some holographic stars I had in my stash. I added quite a few stars which helped emphasize the fireworks. I think by adding the stars added a lot to the card.


Thanks for stopping by and Happy Crafting!

Supplies used:
Simon Says Stamp: Giant Fireworks
Waffle Flower: Best Wishes stamp and die
Catherine Pooler: Bring on January stamp set
Ink:
Lisa Horton: Silver Shine, Solid Gold, Copper Pot
Gina K: Soft Stone
Gold Metallic powder from my stash

