
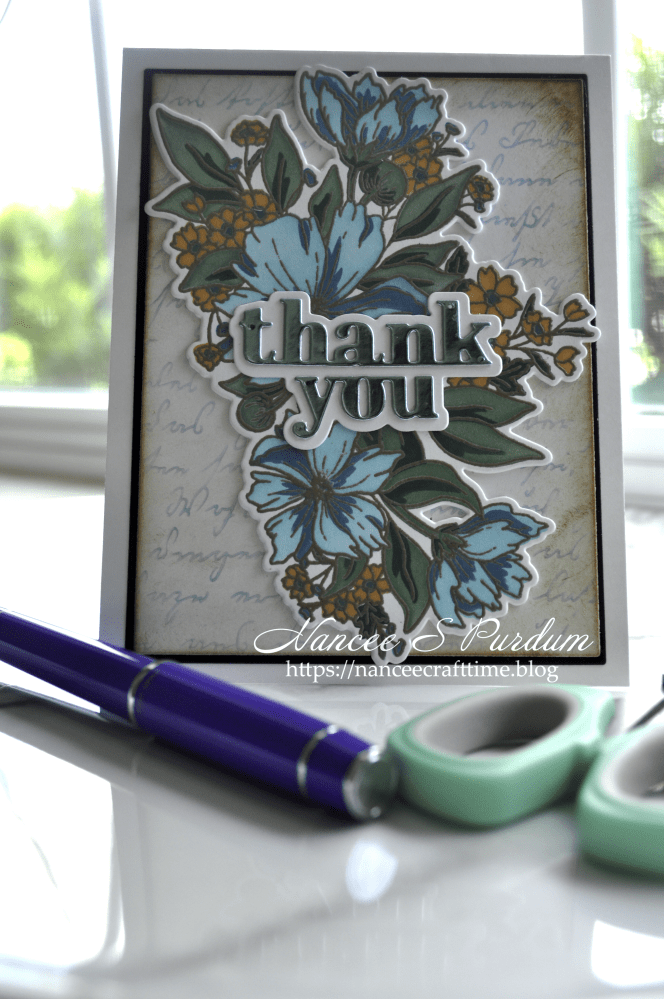
I recently made several “Thank You” cards for my sister. I made her several different cards and over the next few blog posts, I will be posting them. Some are similar but each are a little different.
This first card I did some stamping, heat embossing, die cutting and ink blending.
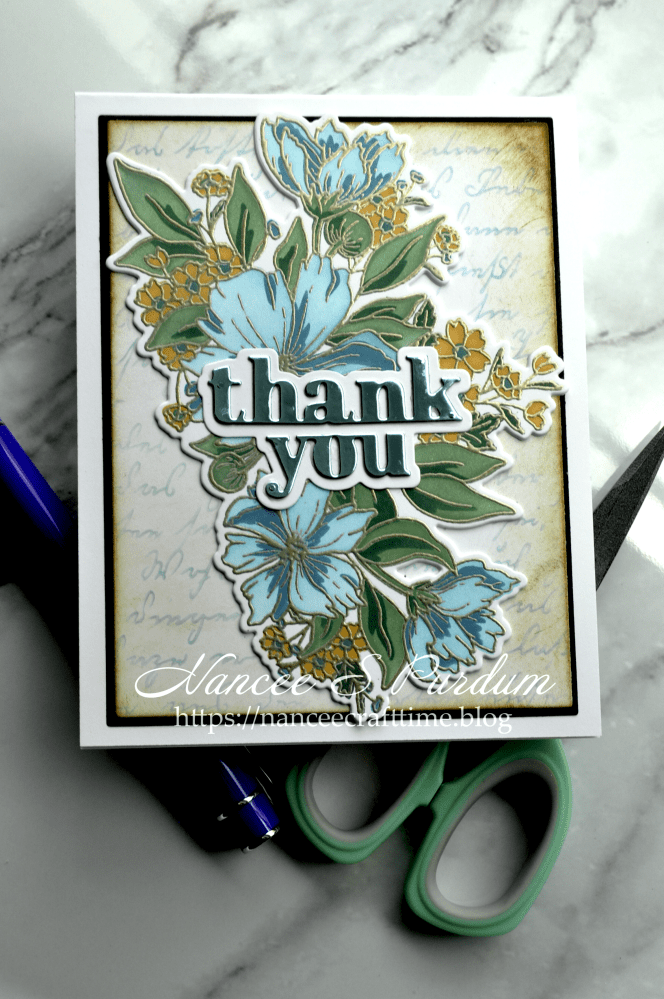
- For my background, I first cut my panel using Master Layouts #1 from Gina K.
- I stamped Hero Arts Script Stencil in Blue Lagoon ink.
- After stamping my background, I went over the background with some Vintage Photo Distress Ink to give the background more of a “vintage” look.
- I added my panel to a black mat, also die cut using Master Layouts #1.

- For my focal image, I used Pinkfres Studio’s Cosmos Bunch.
- I first stamped the image in VersaMark ink and heat embossed it using some gold embossing powder.
- My next step was to color the image using the corresponding stencils. This is a layering stencil set so you can add different colors to different sections of the image.
- Once I had my image colored, I used the matching die to die cut the image. I also cut two additional images from white cardstock to add to the back of my image so I could pop it up.
My sentiment is die cut from some mirror paper I had in my stash. I did add a couple of die cuts behind the sentiment to pop it up from the shadow.
Thanks for stopping by and Happy Crafting!

Products used:
Gina K: Master Layouts #1, inks: Blue Lagoon, Sweet Mango, Tranquil Teal, Medium Spruce, In the Navy
Hero Arts: Script Stencil
Pinkfresh Studio: Cosmos Bunch
Ranger: Vintage Photo Distress ink, Platinum Embossing Powder
Simon Says Stamp: Thank you die and shadow


so beautiful Nancee!
LikeLiked by 1 person
Thanks Pam! Getting our hurricane supplies organized!
LikeLike