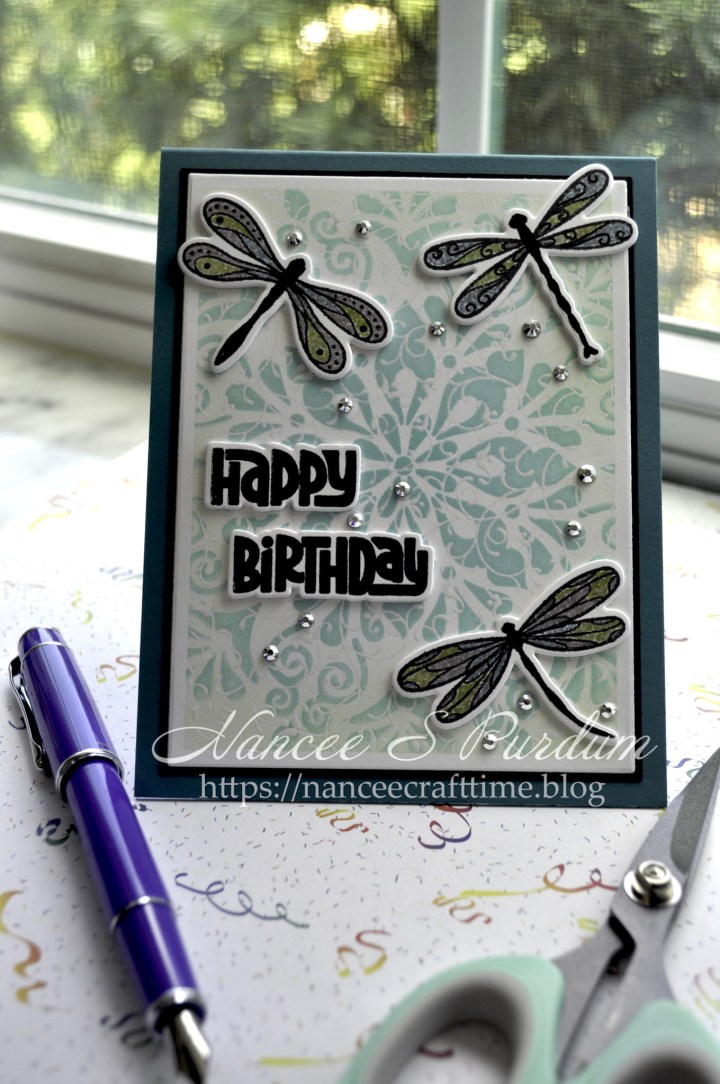
I have another technique to share that I recently saw in a YouTube video by Gina K. This technique involves emboss resist with stenciling over the embossed image. This is a fun technique that is easy to do.
- To begin, I cut my card panels using Master Layouts #1, one in white cardstock and one in black cardstock.
- I added a border with Masking Magic so I could have a nice crisp white border.
- Next, I prepped my cardstock using a powder tool to remove any oils from my cardstock.
- Because I was using a large rubber background stamp, I did not use my Stamping Wheel, but instead elected to place the stamp on my desk with the image facing up.
- I covered the image with VersaMark Watermark ink making sure to cover the entire stamp with plenty of ink.
- I placed my cardstock on my stamp with a piece of copy paper over it. This allowed me to rub all over the back of the cardstock transferring the Watermark ink to my cardstock without getting any ink on my hands.
- I then added white embossing powder and heat set it with my heat tool.
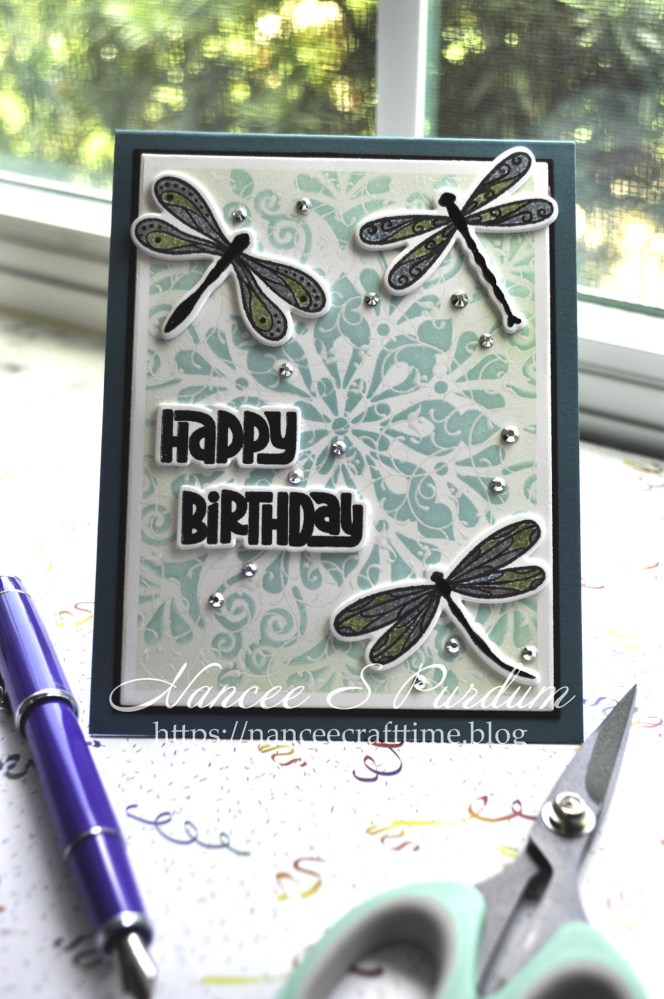
- My next step was to add color with a stencil. I added color using my blending brushes starting in the middle and my darkest color and blending towards the outside changing to lighter inks as I moved out further from the center.
- Once I had colored the image, I removed the stencil and added some light ink around the Masking Magic to further define the embossed and stenciled image.
- I added my embossed cardstock to my 9″ X 12″ Ultra Sticky Mat and placed my stencil over the top of my cardstock. The sticky mat keeps my paper and stencil in place while adding color to the stencil.
- I then adhered the colored panel to a black mat and then onto my card base.
- I stamped my images using my Stamping Wheel making sure I got atyou Spica glitter pens. There wasn’t a lot of space for coloring and I wanted sparkle so I thought the pens would work well.
- Once I had them colored, I used the coordinating die to cut them out. As usual, I cut three additional dies for each dragonfly to stack behind the colored image.
- I stamped my sentiment in black onyx ink and again in VersaMark Watermark ink. I added clear embossing powder and heat set the powder with my heat tool.
- Once I was done, I used the coordinating die to cut it out.
- I arranged the dragonflies and sentiment on my card and then added some jewels to the background.
This is a fun technique. I have several other background stamps and stencils that I am going to try with this technique. It makes for a quick and easy background. Give it a try!
Thanks for stopping by and Happy Crafting!

Supplies used:
Gina K: Master Layouts #1, Snowflake Mandala stencil, Close to My Heart stamp & die, Birthday Sparkle stamp & die, Petite Flourish background stamp, Tranquil Teal cardstock, Black Onyx cardstock, Detail Clear embossing powder
Gina K inks: Sea Glass, Ocean Mist, Turquoise Sea, Applemint, Jet Black, Black Onyx
Simon Says Stamp ink: Thistle
atyou Spica Glitter pens: Baby Blue, Mint, Lilac
Other: Versafine Onyx black ink, Black Glaze pen
Tools:
Altenew: 9″ X 12″ Ultra Sticky Mat
Gina K: Intri-Cut die cutting and embossing machine

