
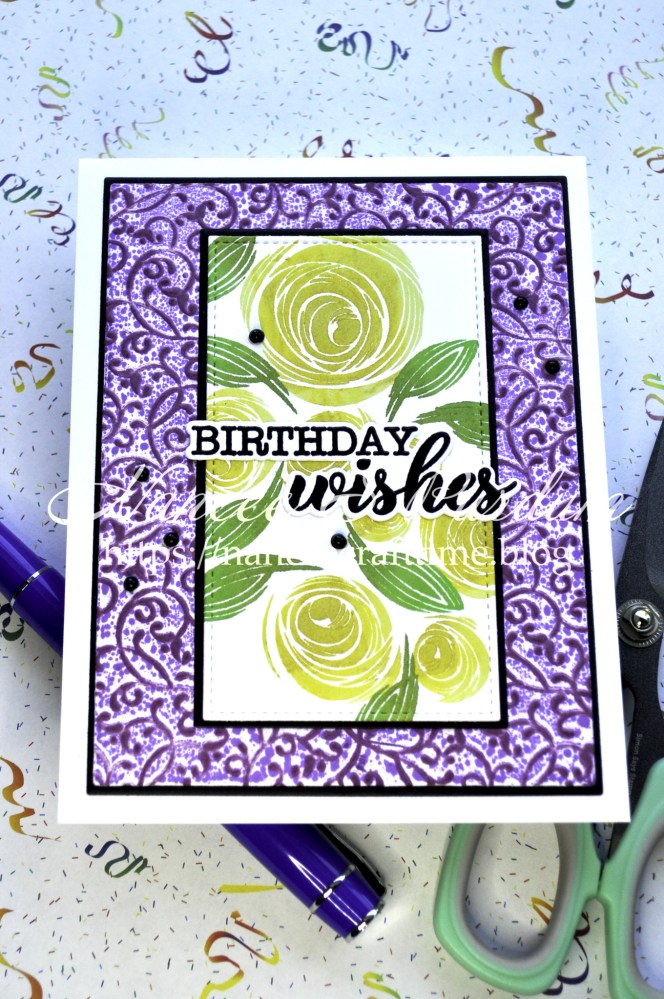
Today’s card revisited a technique that I previously posted on my blog. This card uses embossing folders, die cutting and stamping.

After cutting my panels using Master Layout #1, I followed the same process of inking up an embossing folder and running it through my Intri-Cut die cut and embossing machine as I did here.
I adhered my embossed panel to some Edible Eggplant cardstock and then onto a white card base.
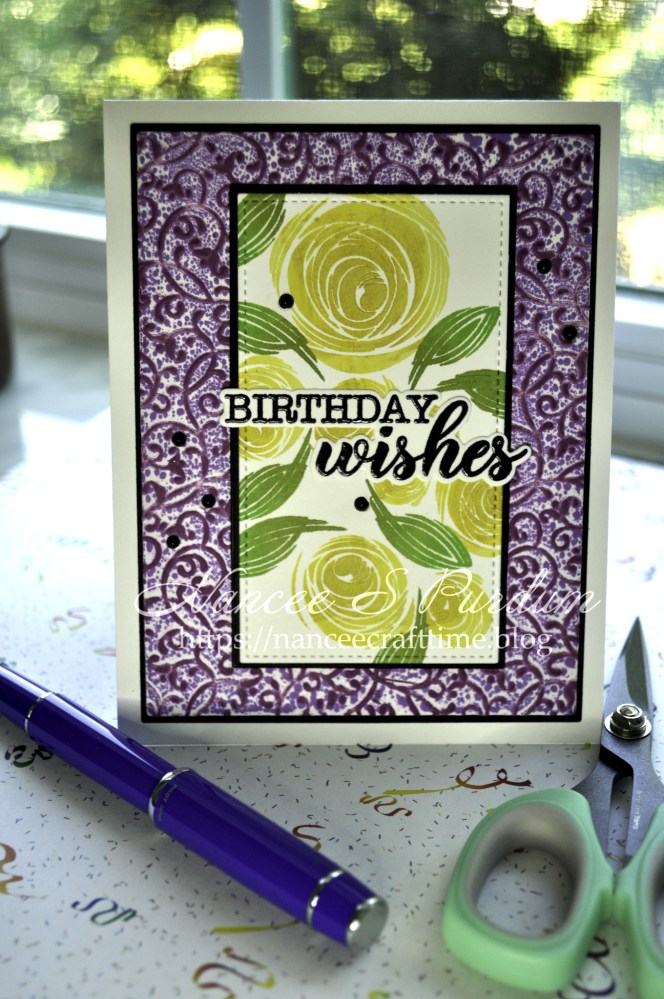
- For my focal point, I cut a panel from Master Layouts #8.
- I used Modern Roses stamp set as my focal point.
- Because this is not a layering stamp set and I wanted some variation in the color, I used my Stamping Wheel. I first stamped the images using a lighter shade. Without removing my image or paper, I added a darker ink to various parts of my image tapping the edges of my ink with a blending brush to soften the change of color. I was then able to stamp the image in the same place adding the darker color to parts of the image.
- Once I had my stamping done I added a mat in black onyx cardstock.
- My sentiment is from the same Modern Roses stamp set. I stamped the sentiment using black onyx ink and VersaMark Watermark ink and added clear embossing powder.
- Once I heat set the embossing powder I cut it out using the coordinating die.
- To finish my card, I added some black pearls from my stash.
Thanks for stopping by and Happy Crafting!

Supplies used:
Gina K: Modern Roses stamp set, Petite Flourish Embossing folder, Black Onyx cardstock, Master Layouts #1, Master Layouts #8, Detail Clear Embossing powder
Gina K inks: Black Onyx, Fresh Asparagus, Jelly Bean Green, Lemon Drop, Lovely Lavender, Lucky Clover, Plum Punch, Prickly Pear, Wild Dandelion, Wild Lilac
Other: VersaMark Watermark ink
Tools:
Gina K: Intri-Cut die cutting and embossing machine

